my rio pink vtec

Keep a Diary of your Civic project here, keeping photo records and providing step by step guides and tips.
onnyuk
Learner - Newbie
Learner - Newbie
Posts: 49
Joined: Wed Oct 14, 2009 3:52 pm
Location: dundee

my rio pink vtec

Post by onnyuk »

Hey all, not really been much of a speaker on here,was on a couple years ago when i first got my civic but my account was closed ???? and was unable to log in or get my new account activated for ages, and since just the odd comment here and there, so basically here it is.

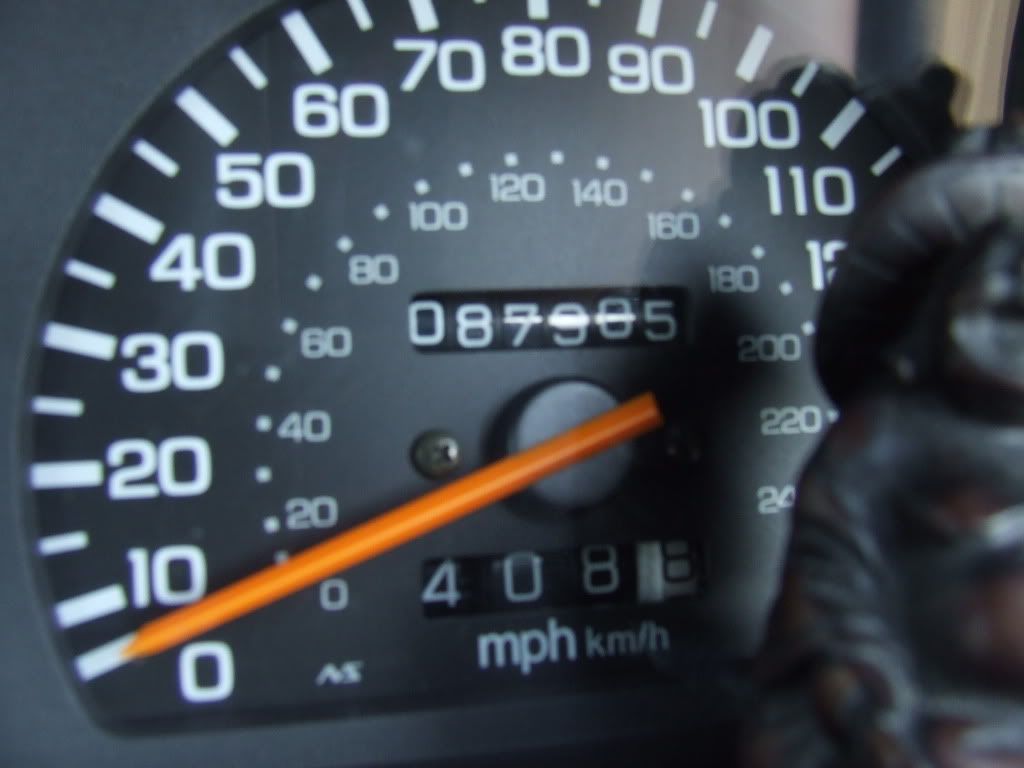
My names Andy, and im from dundee, i have a rio pink 4g civic vtec currently sitting on a genuine 87k, i picked up my civic four years ago for not very much from a fiend who owned it 8 years previous to that and have loved it all that time and still do.

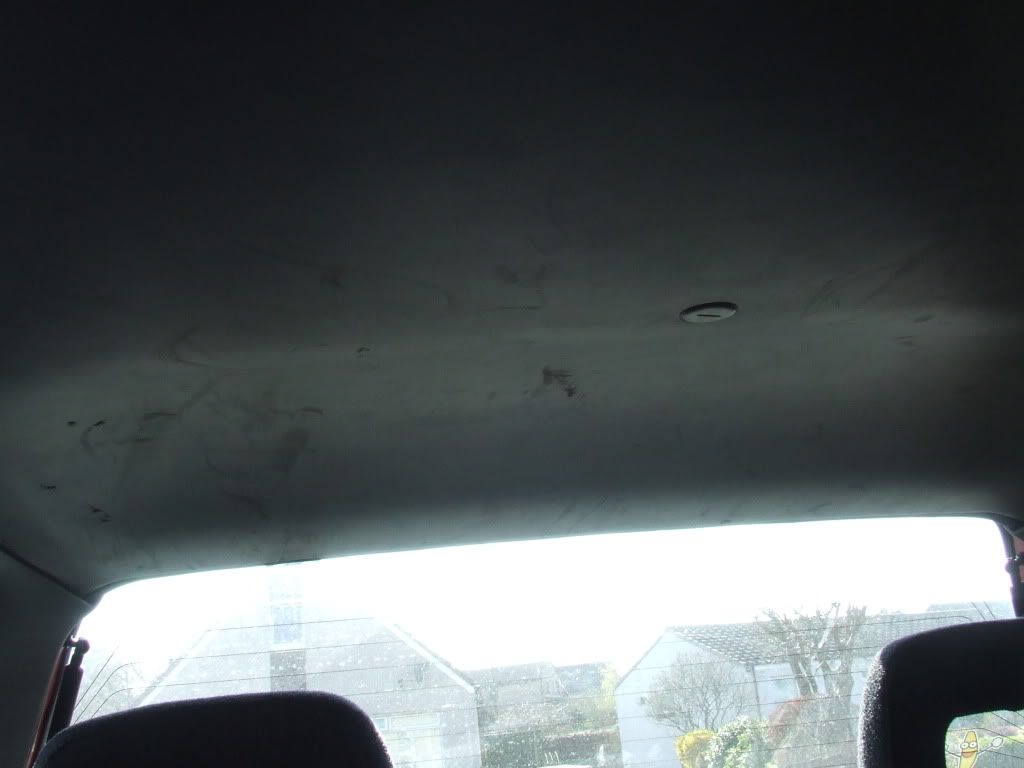
But i've embarrassingly neglected it, (altough still doing regular servicing and mechanical repairs ) and it has suffered the ravages of time, so here we are at the point of no return, its off the road, with 3 months mot still remaining but not much chance of it passing, i got myself a new (old ish) car to use indefinitely as the civic is now destined to be always as a second car.

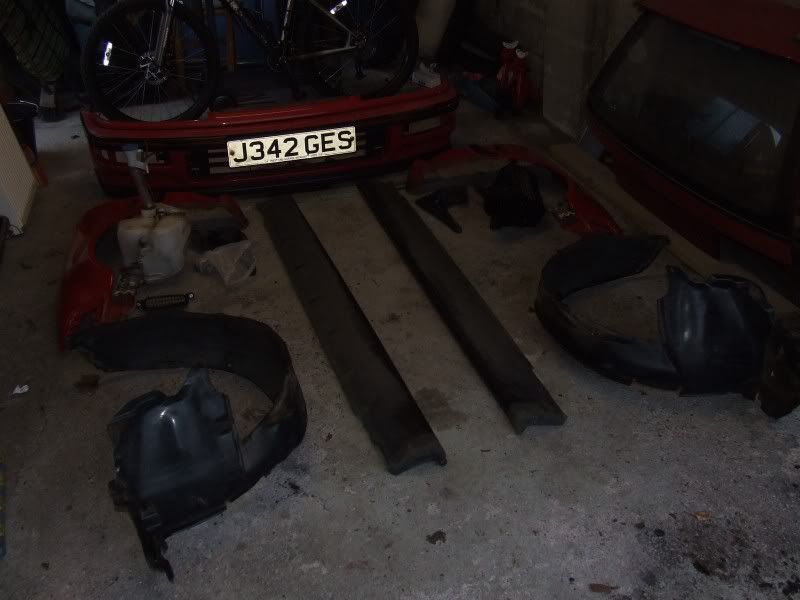
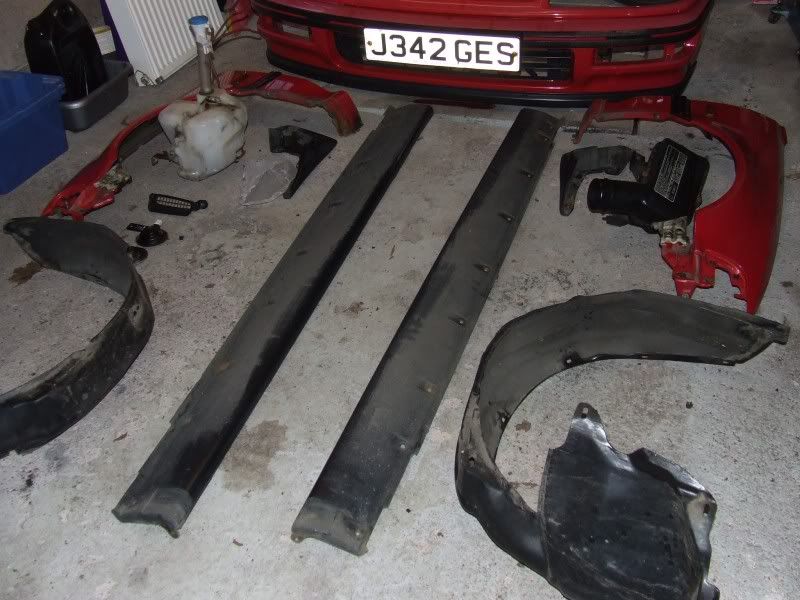
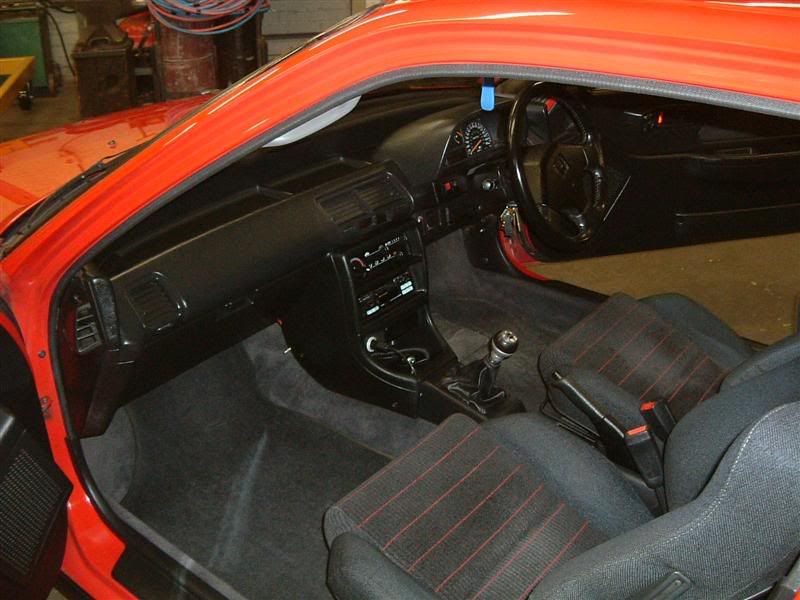
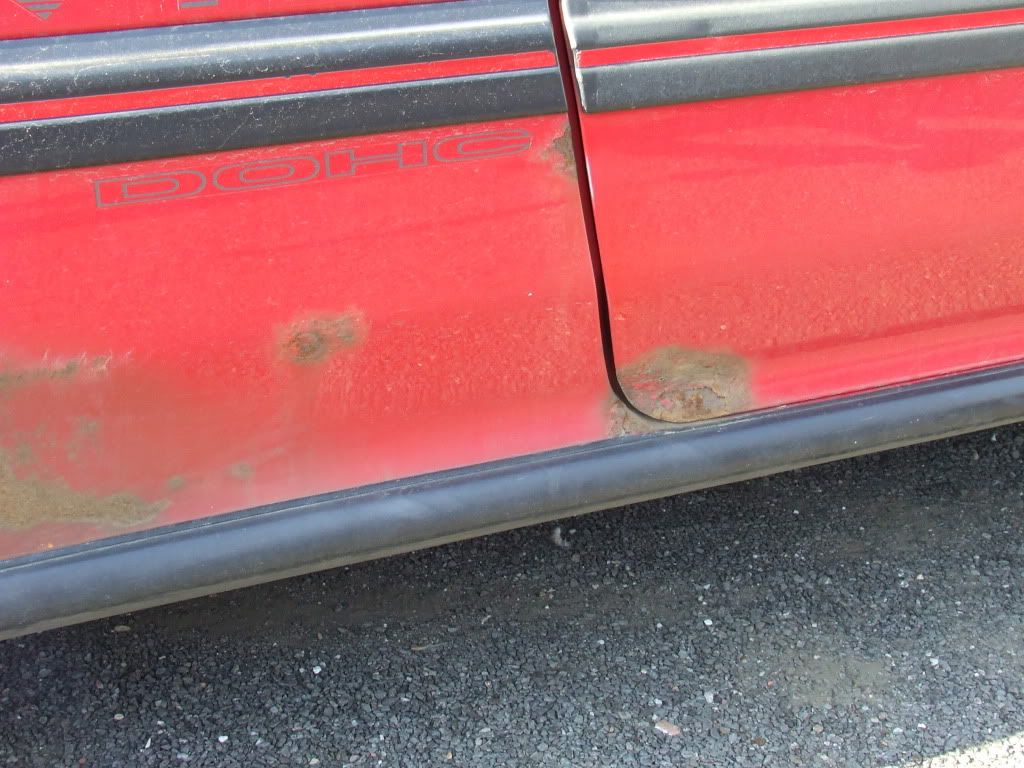
Cleaned out my garage and tomorrow will be the start of a almost complete strip down for a check and refurbish/refresh where needed, there is no timescale and no mad budget either so will not be a mega power performance beast, but want to eradicate all rust, sort bodywork, fresh paint ( colour/s undecided as yet ) tastefully modified interior and possible crx front end conversion with upgraded suspension brakes and wheels suggestions are welcome but please understand i'm not made of money ( house, wedding, possible kids etc ) and mad tyte jdm upgrades are pretty much out of the question.


here is the car to help me through my civic resto

Image
Image
Image
Image

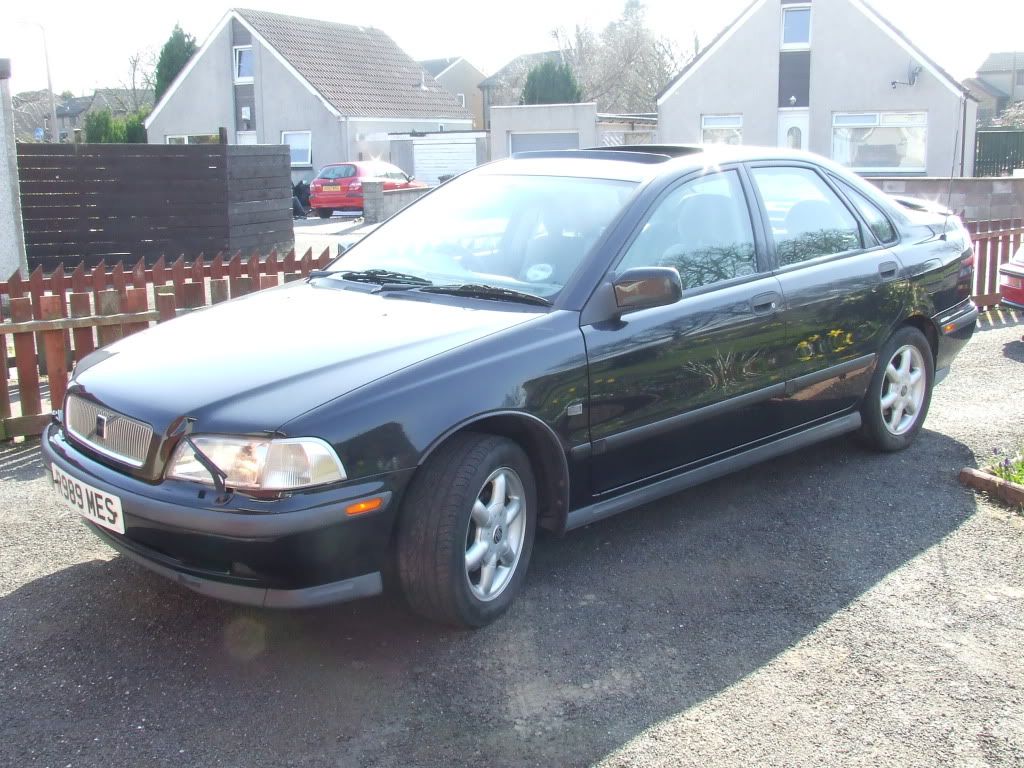
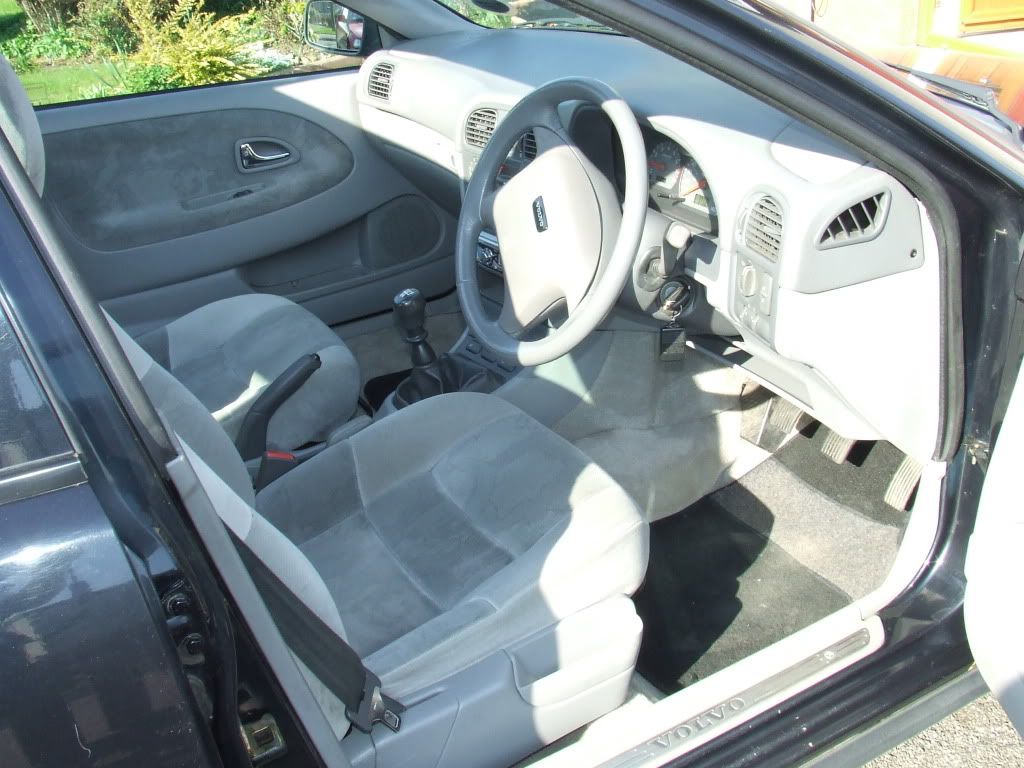
dont ask, its in decent nick and it was pretty cheap


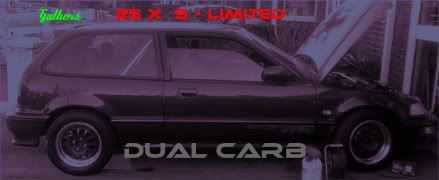
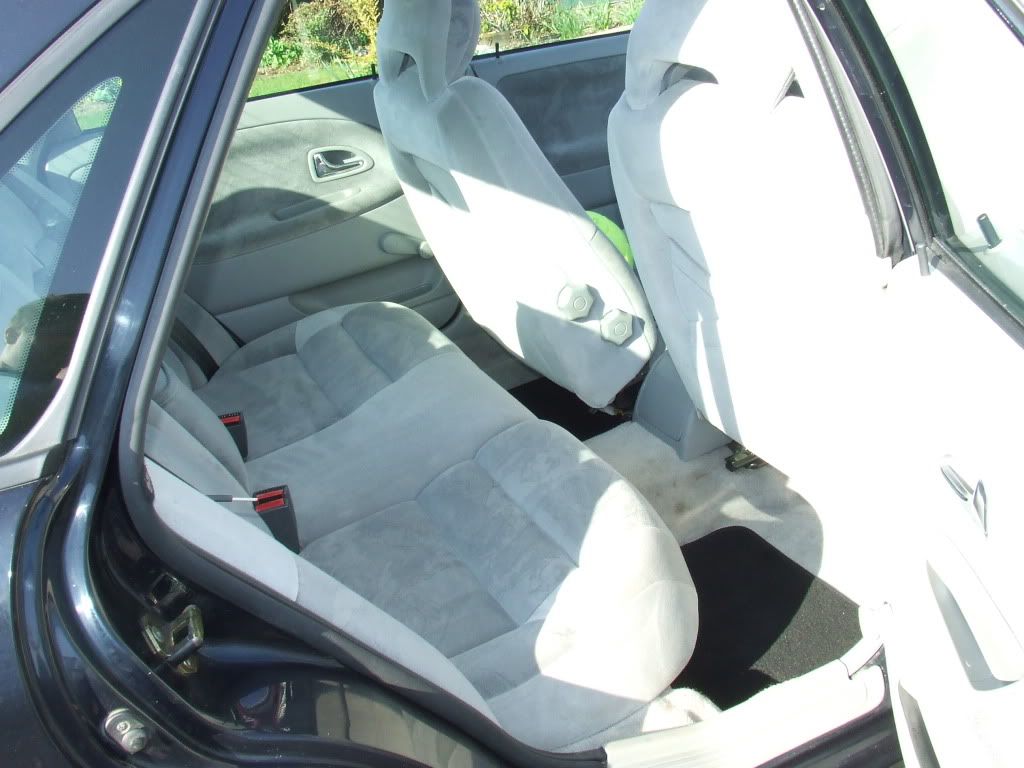
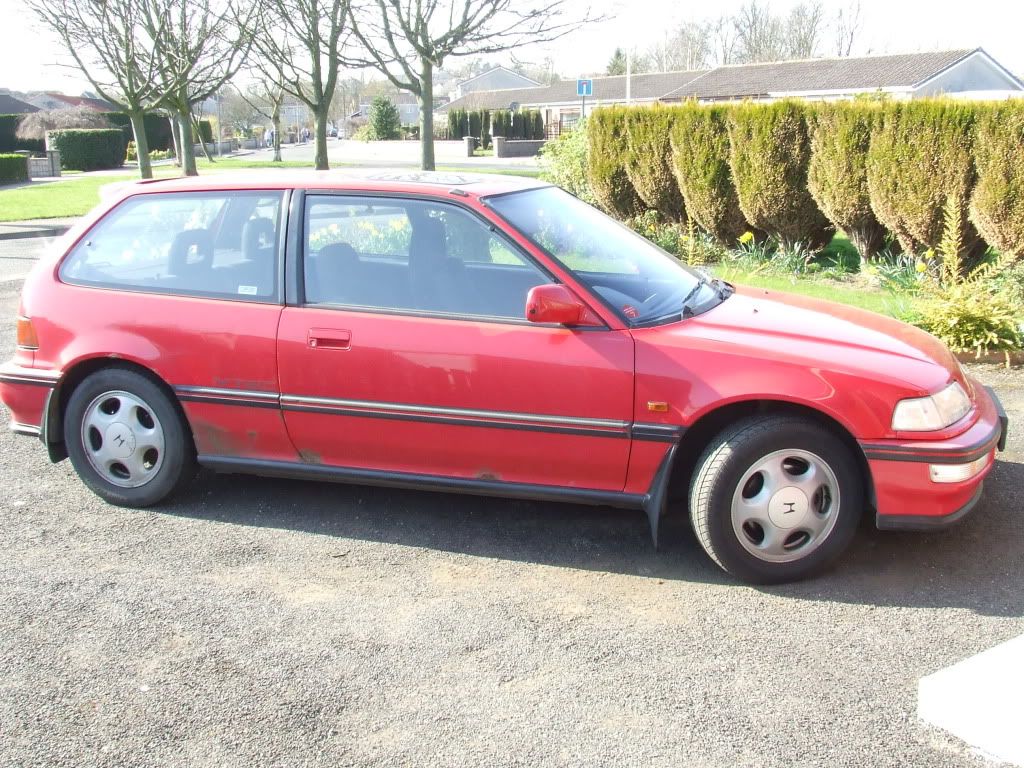
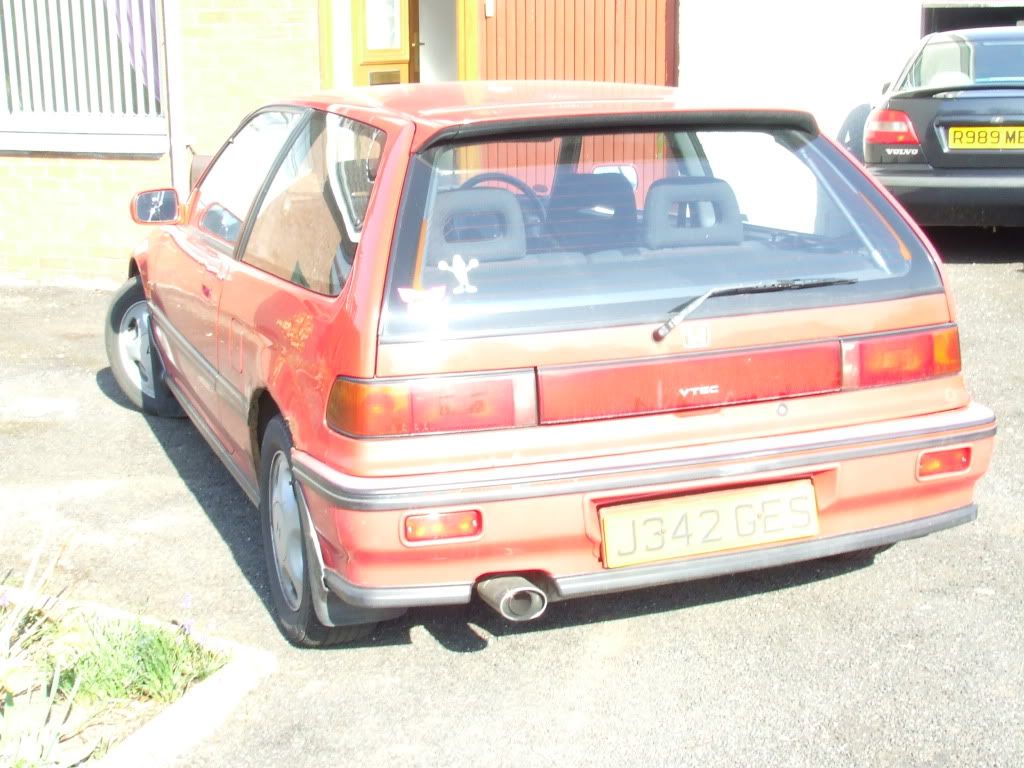
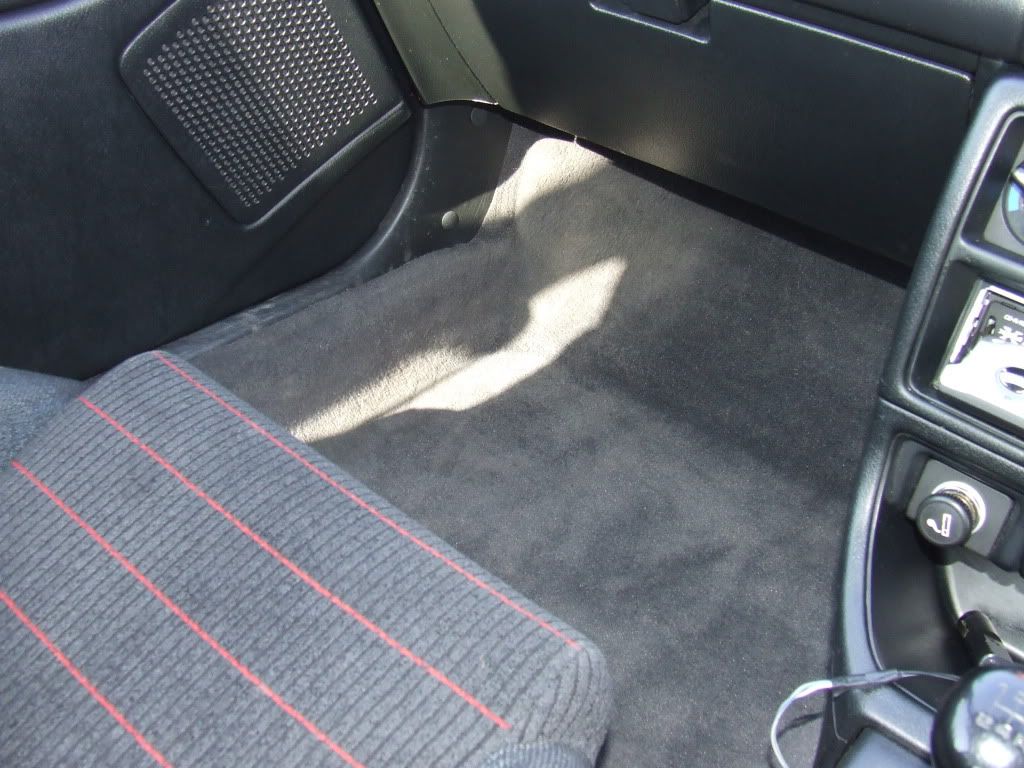
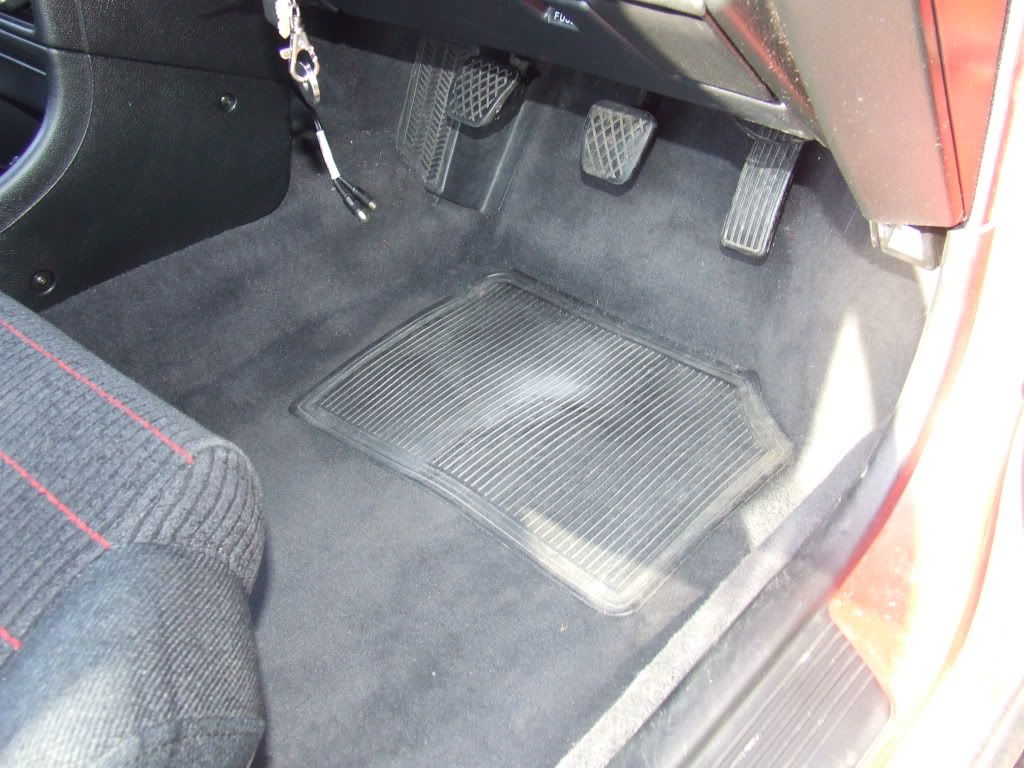
here is the civic as she stood when i got her
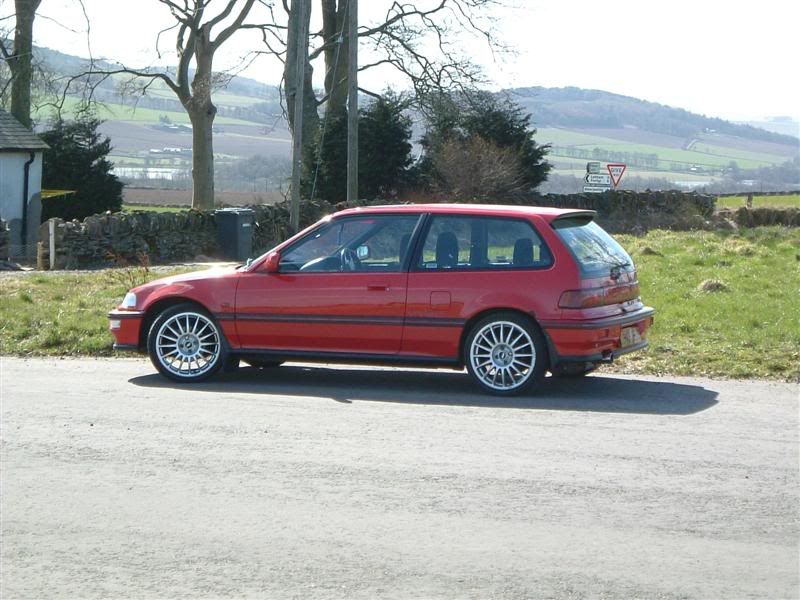
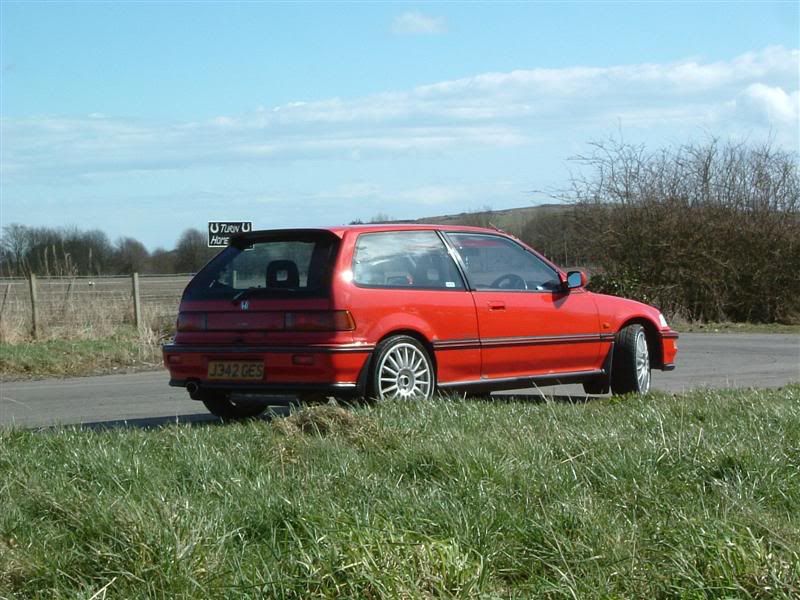
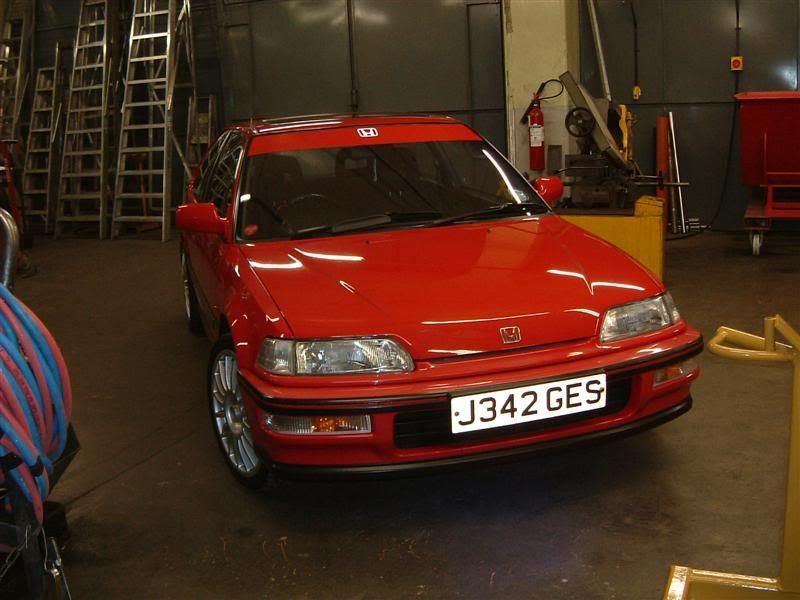
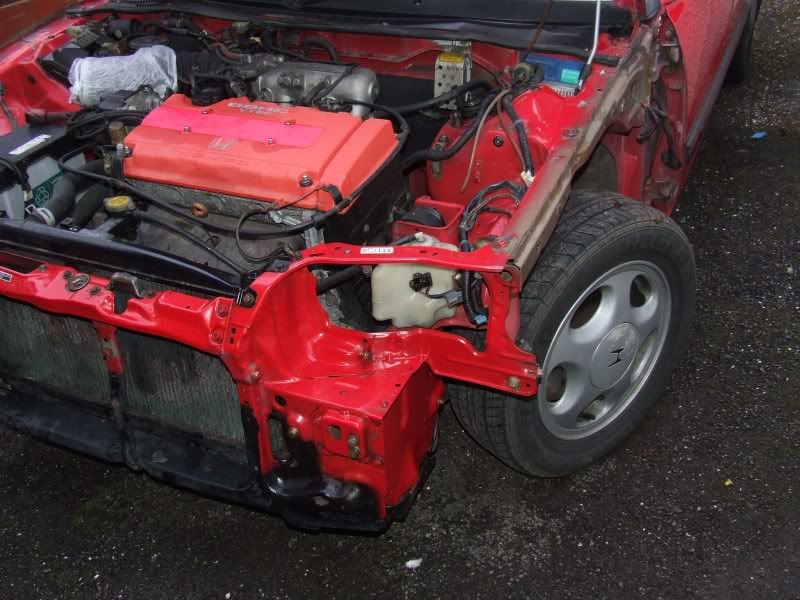
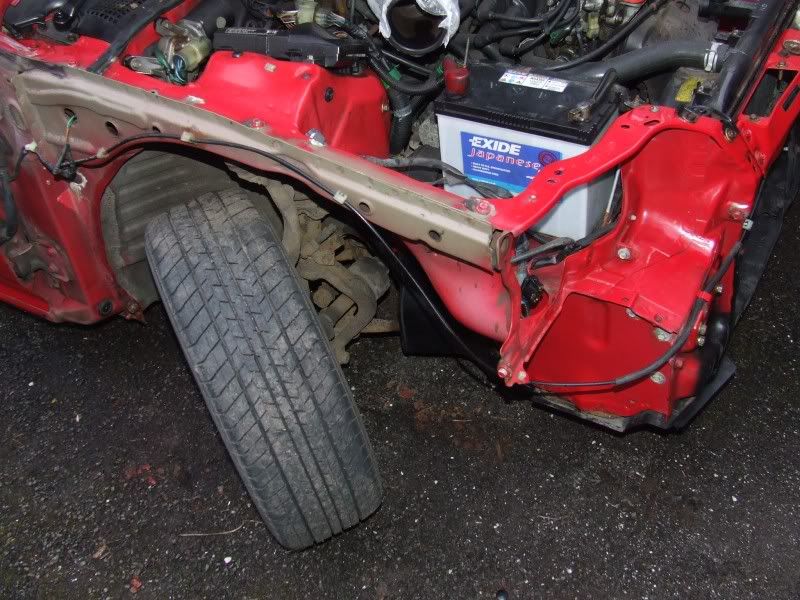
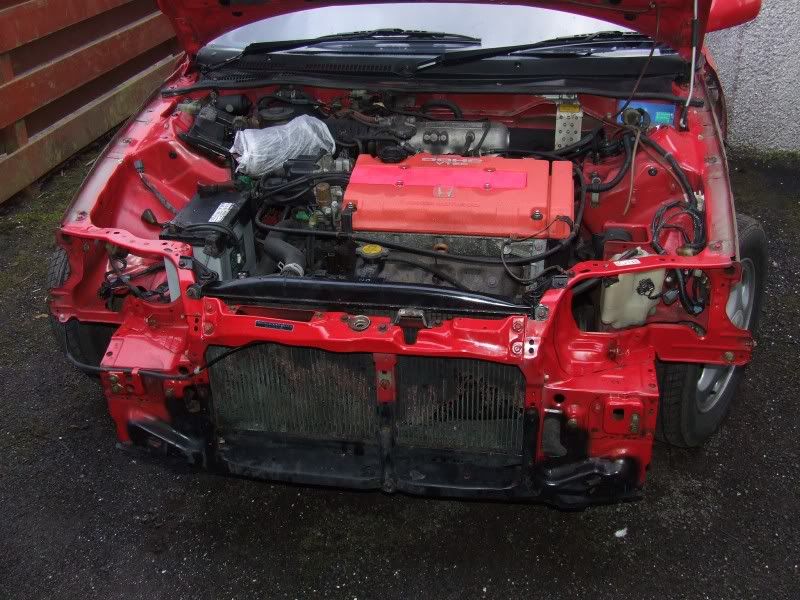
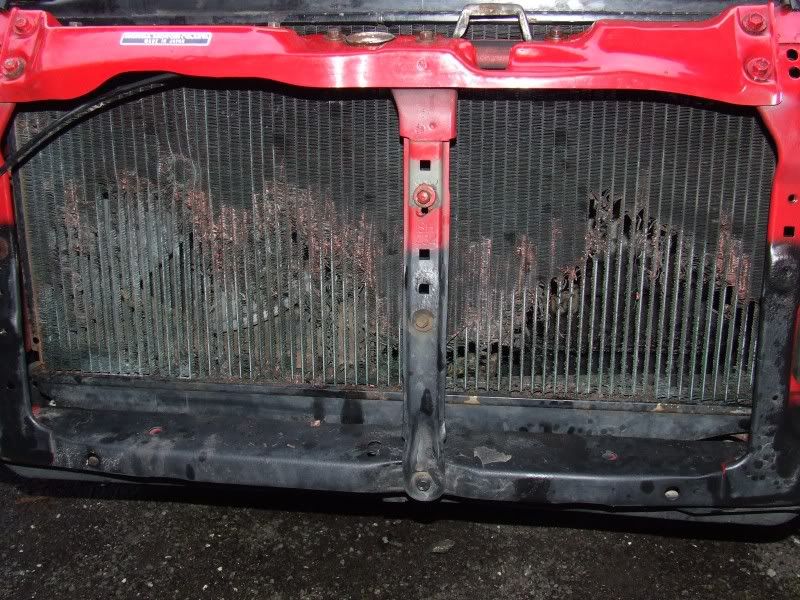
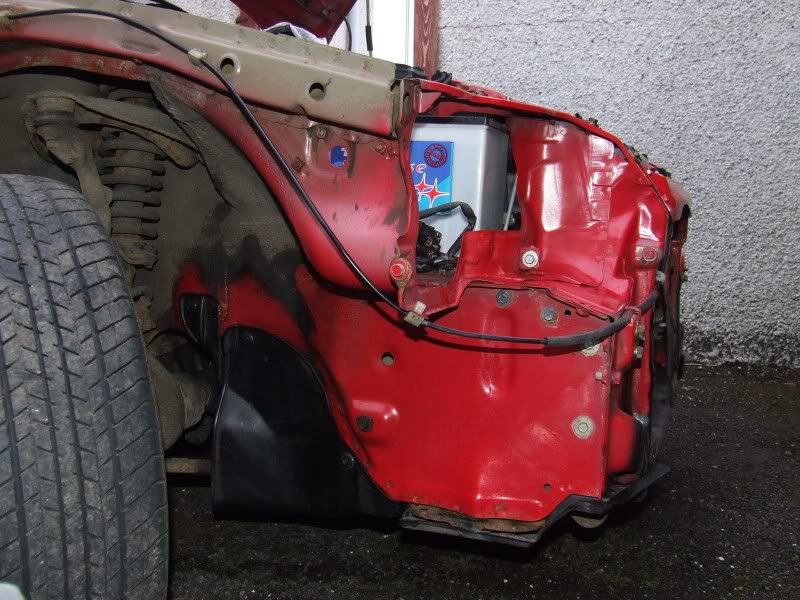
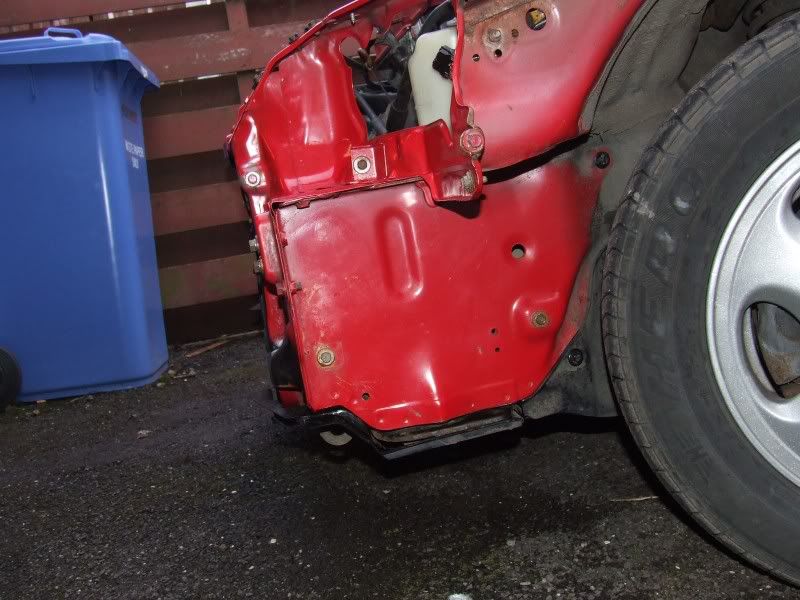
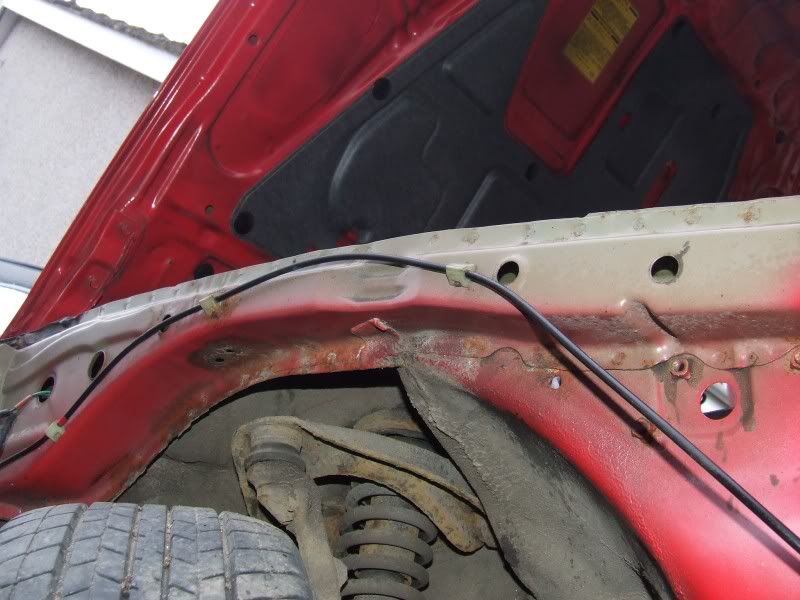
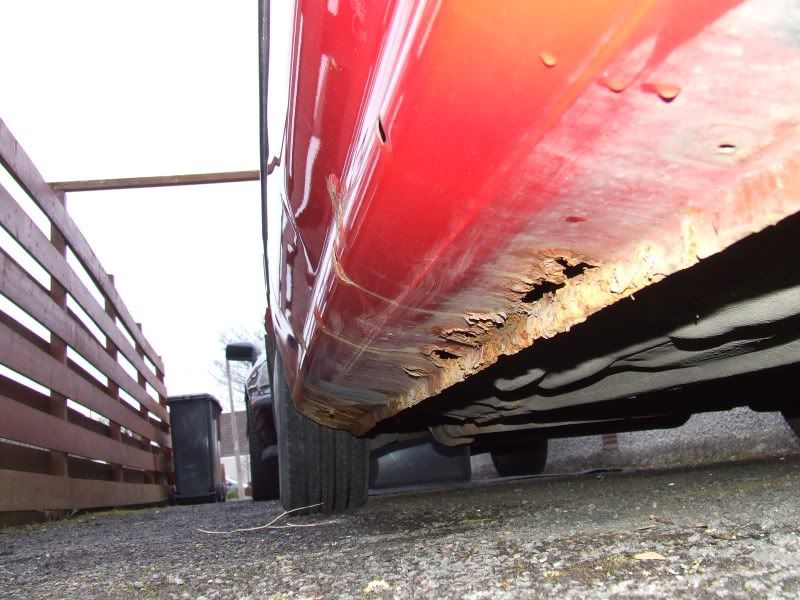
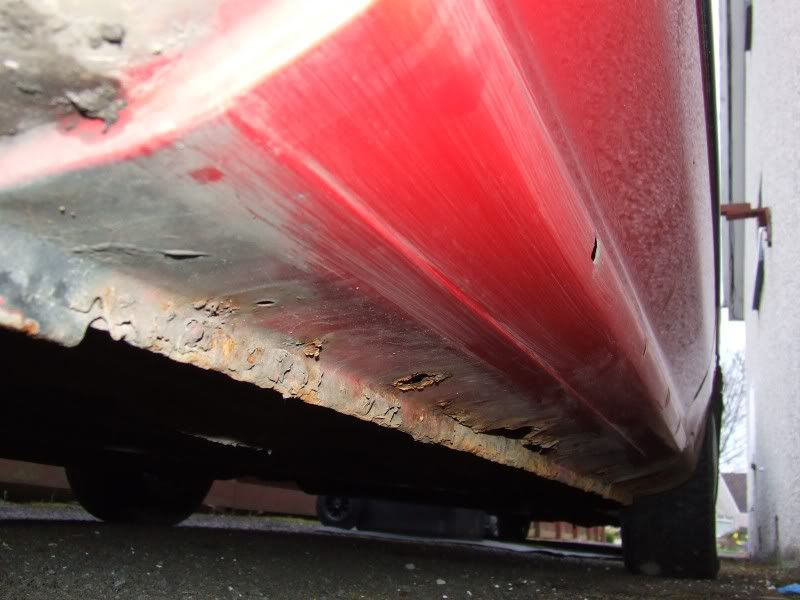
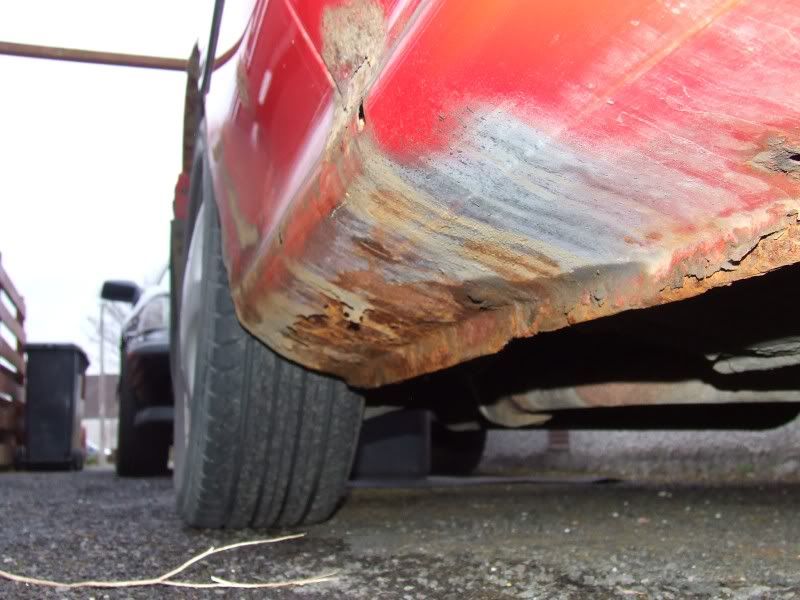
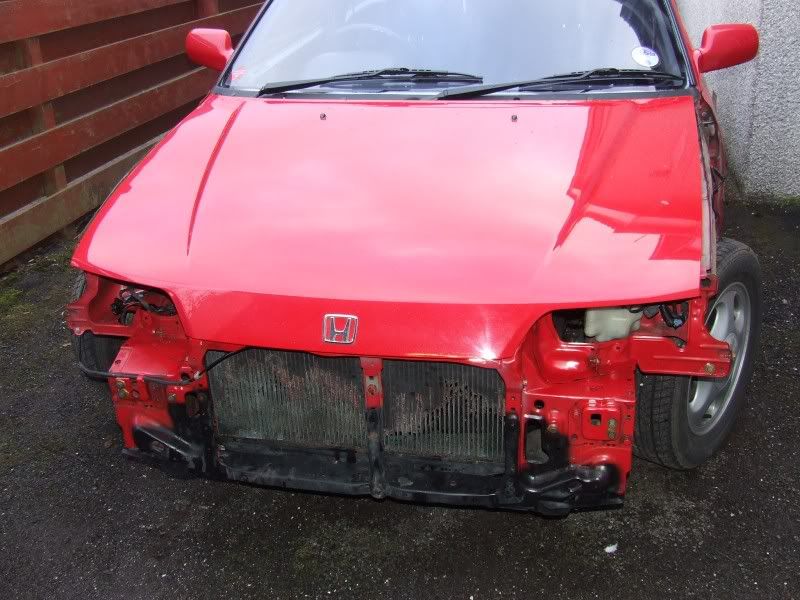
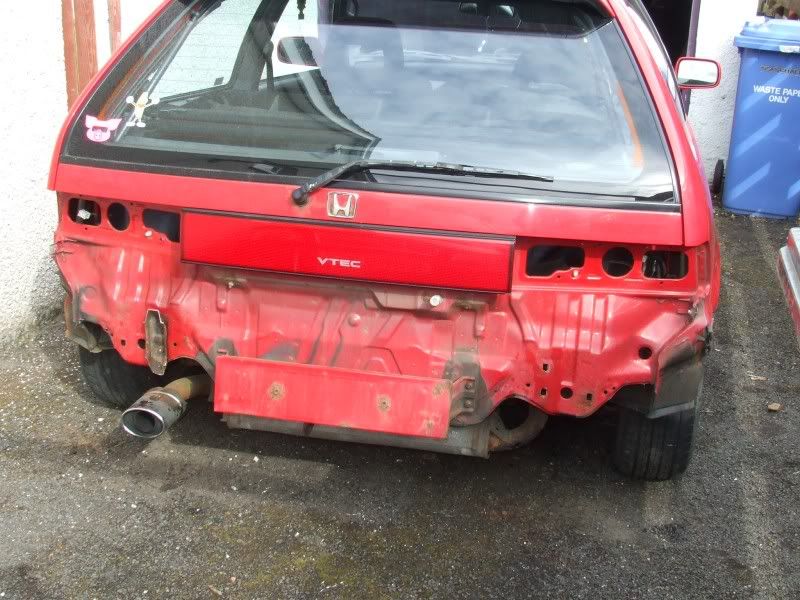
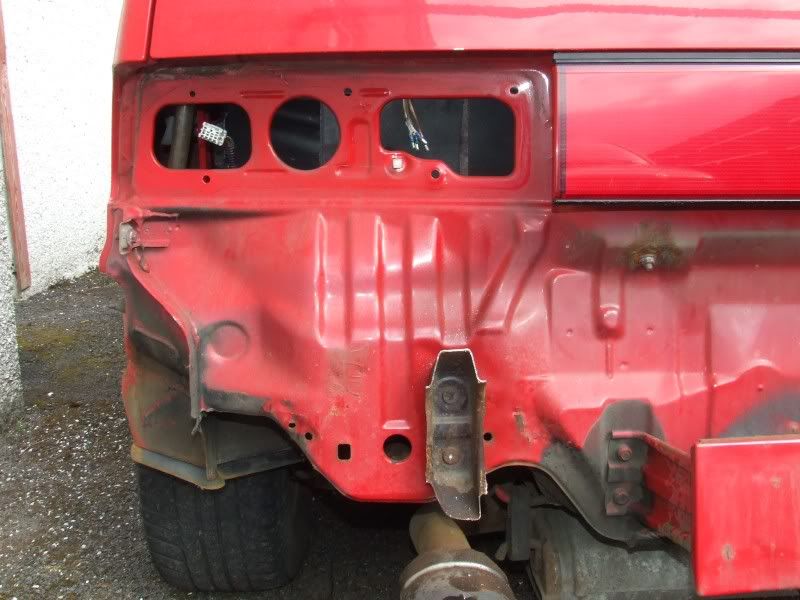
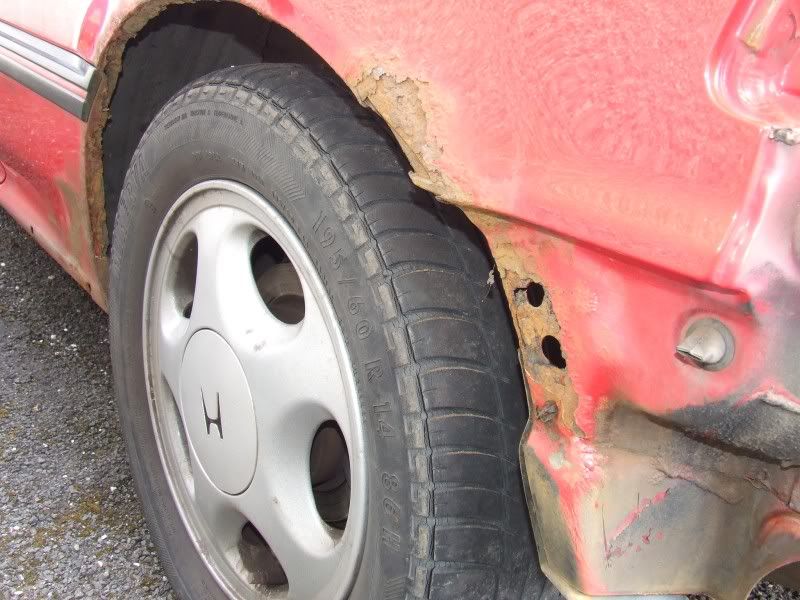
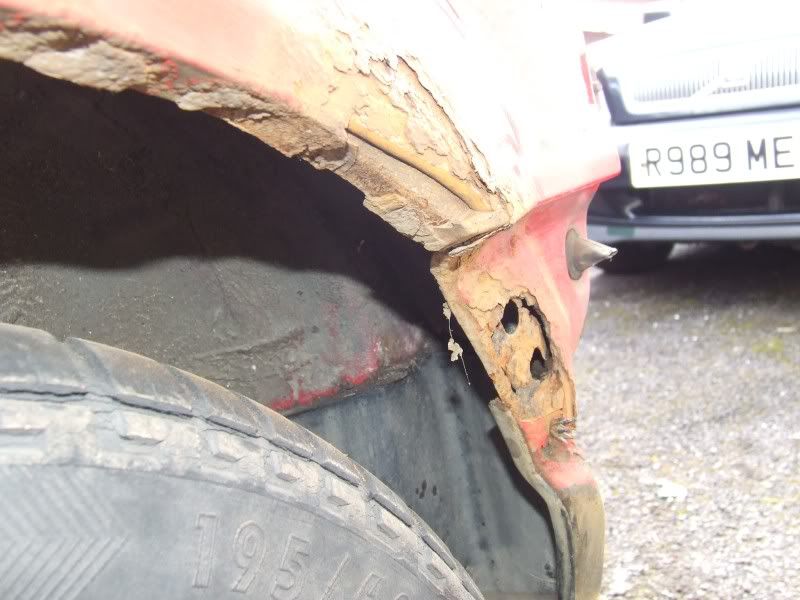
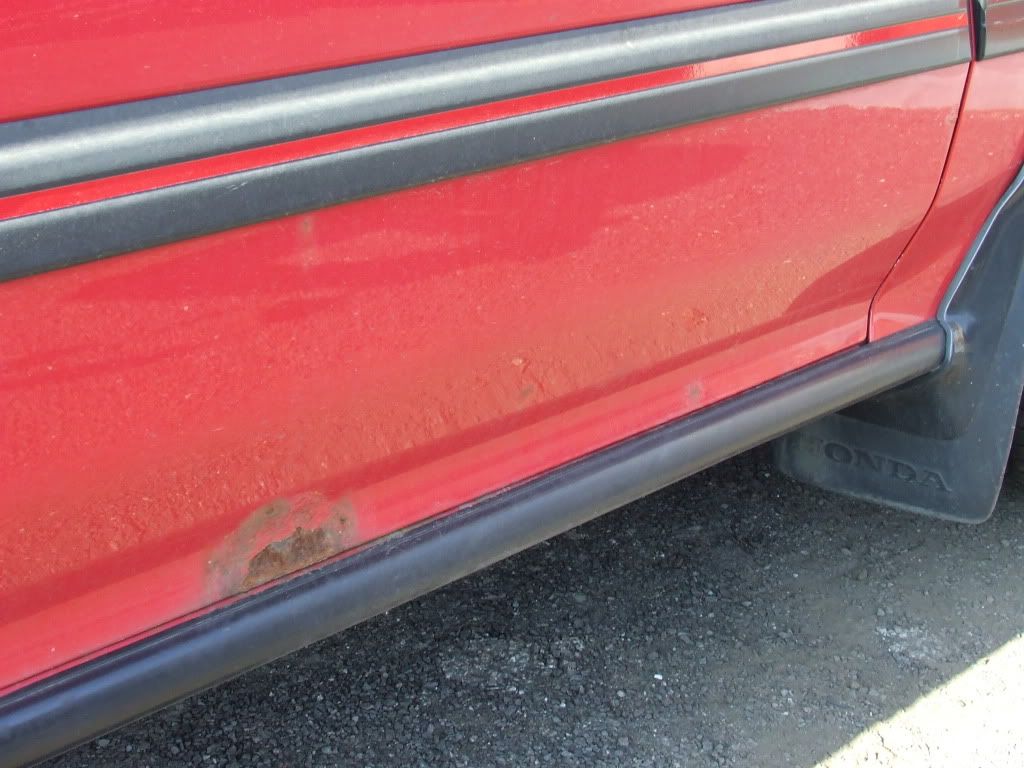
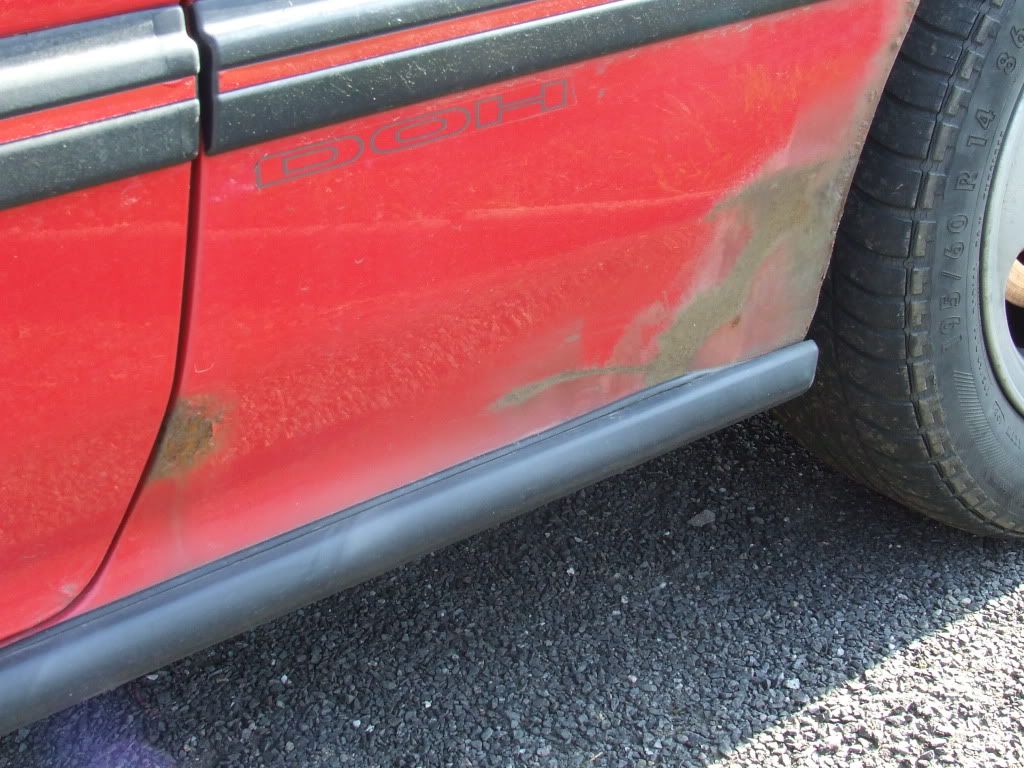
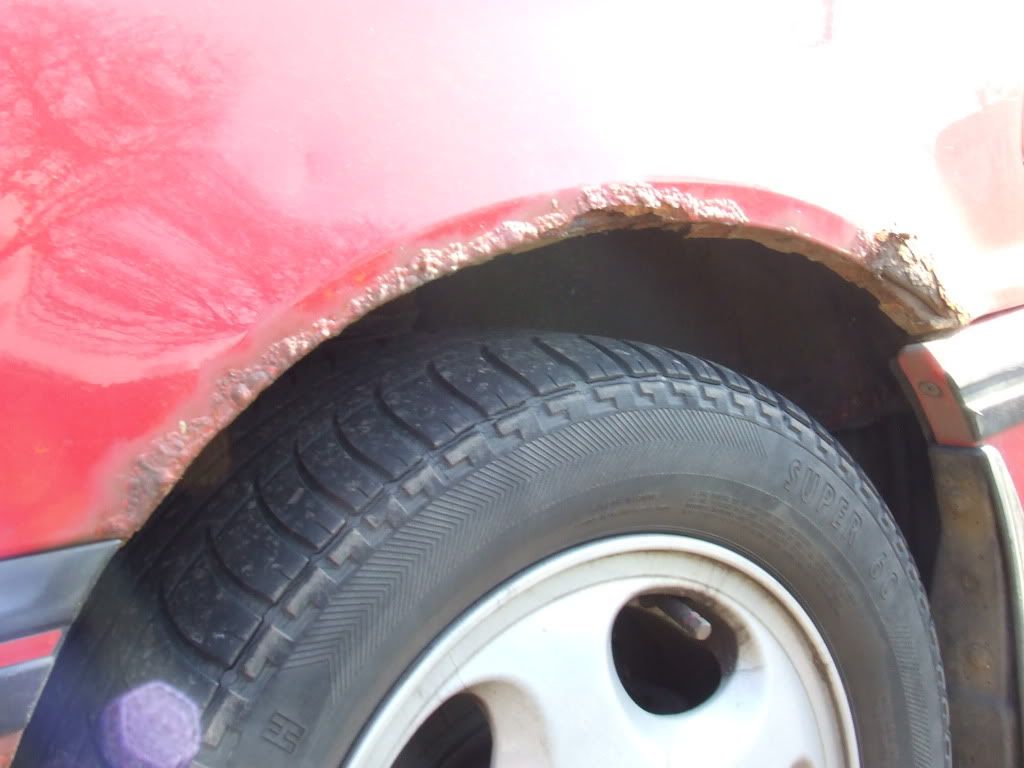
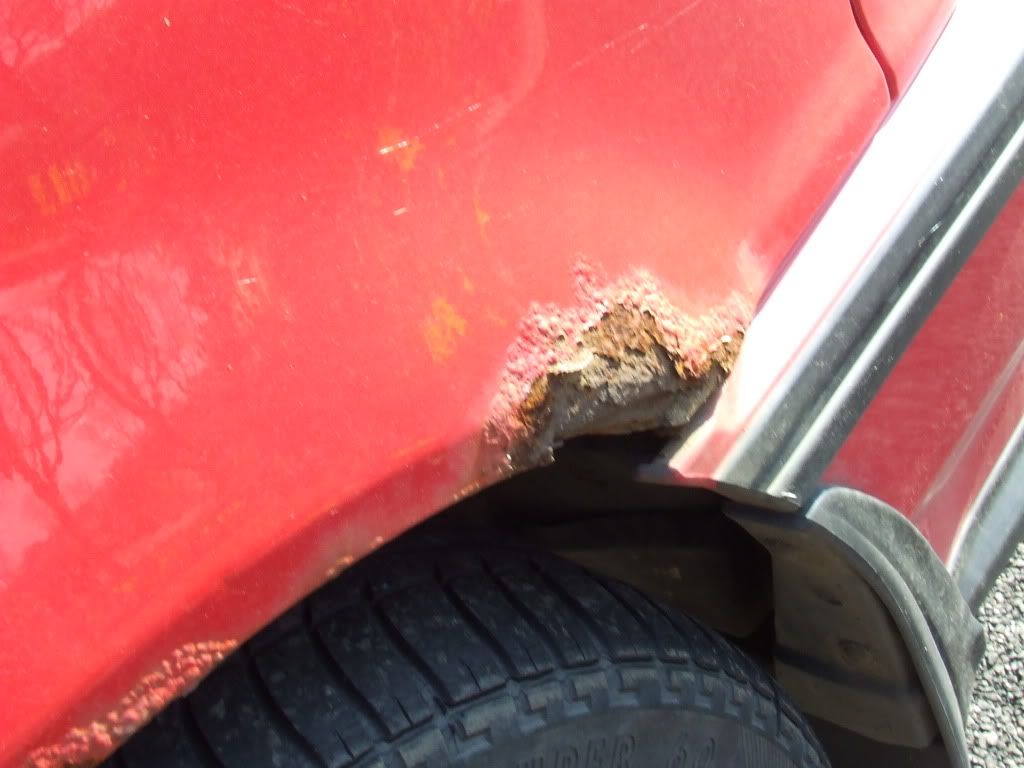
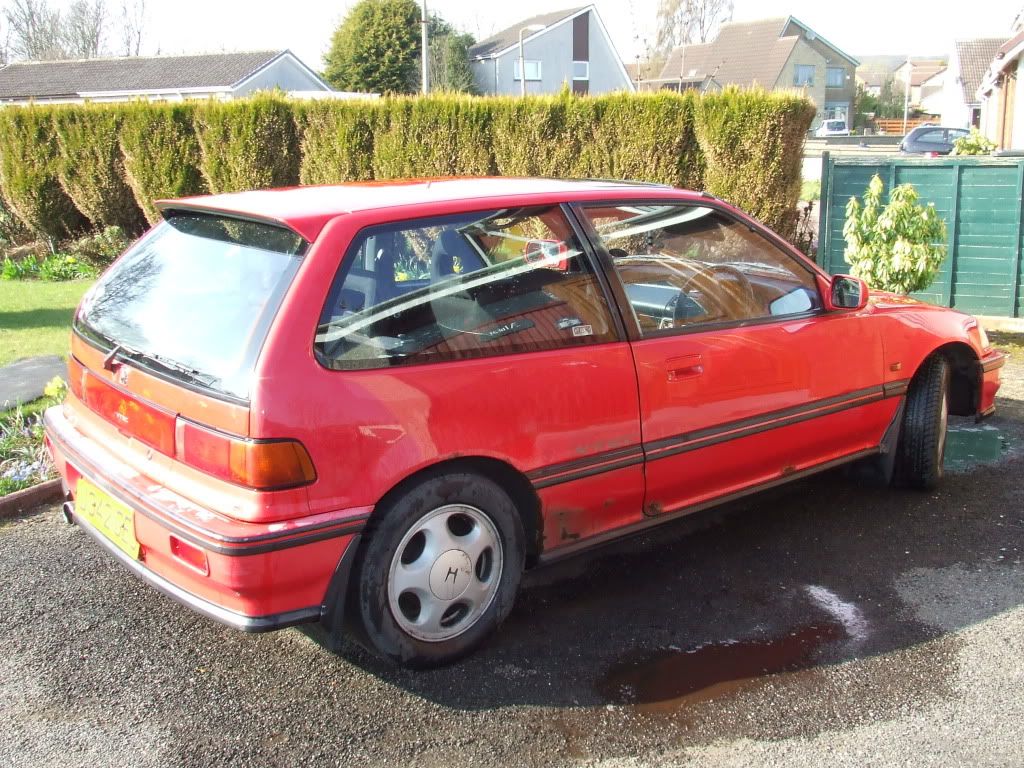
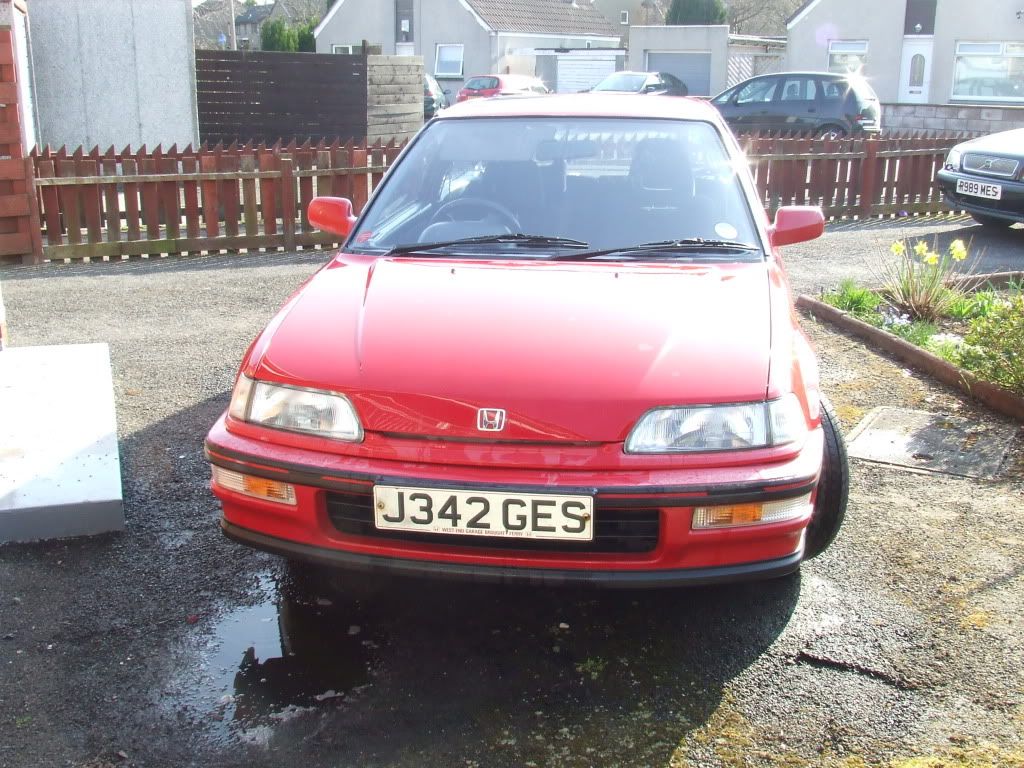
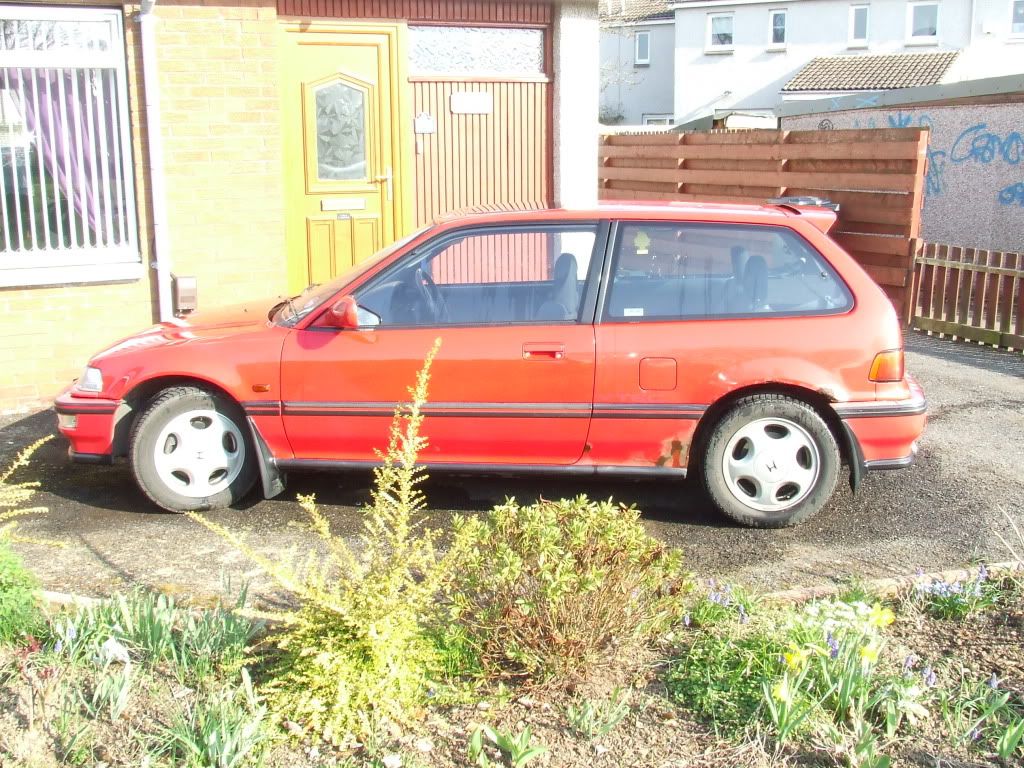
Image
Image
Image
Image

and here she is now :cry:
Image
Image
Image
Image
Image
Image
Image
Image
Image
Image
Image
Image
Image
Image
Image
Image
Image
Image
Image
Image
Image
Image
Image

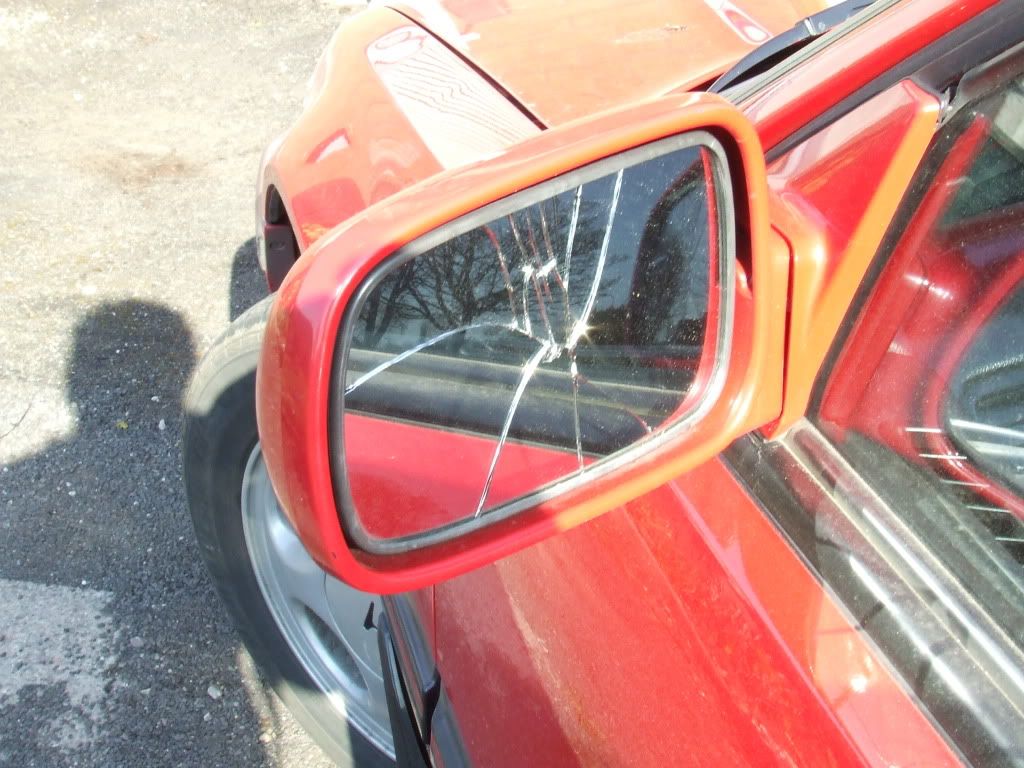
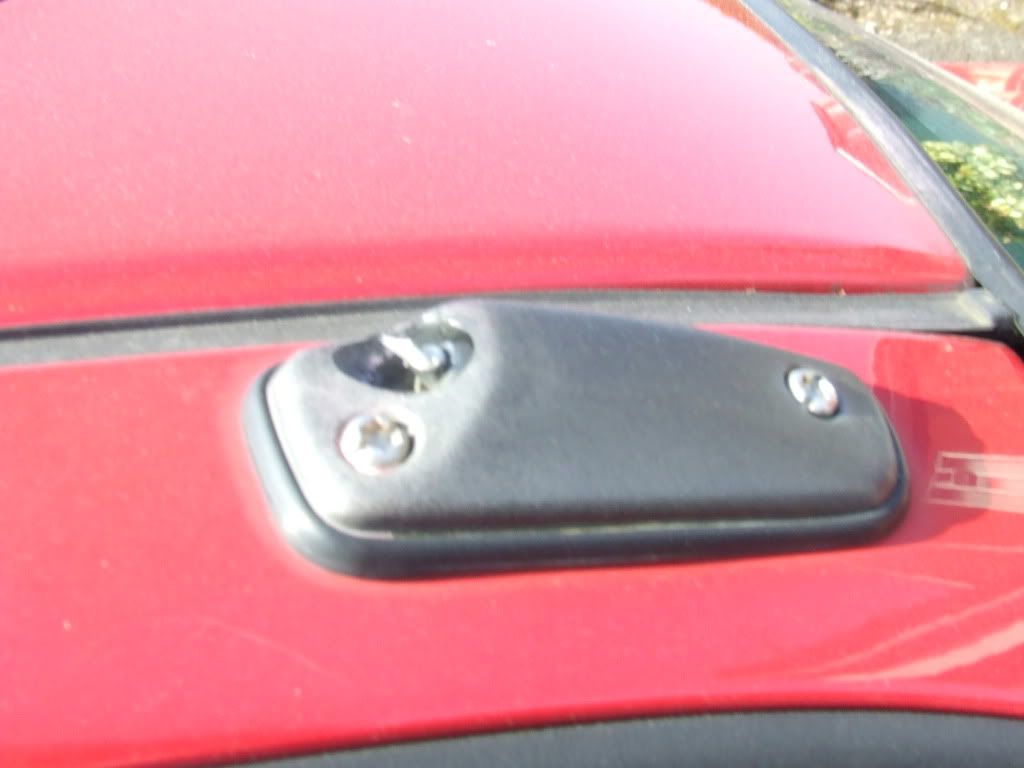
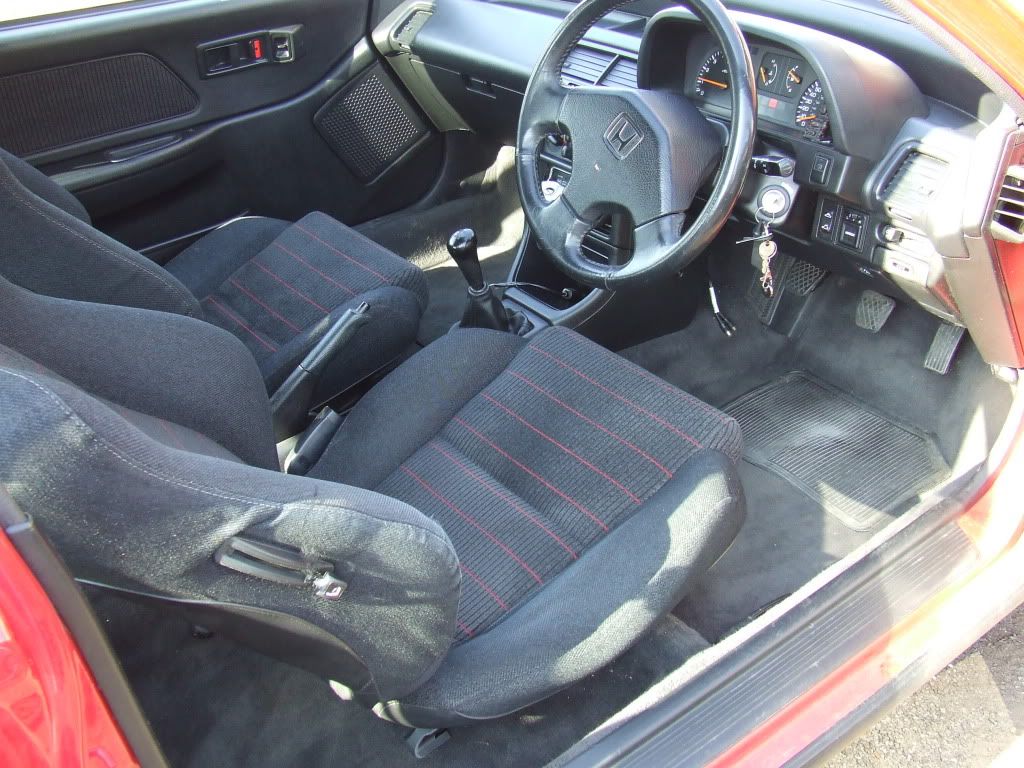
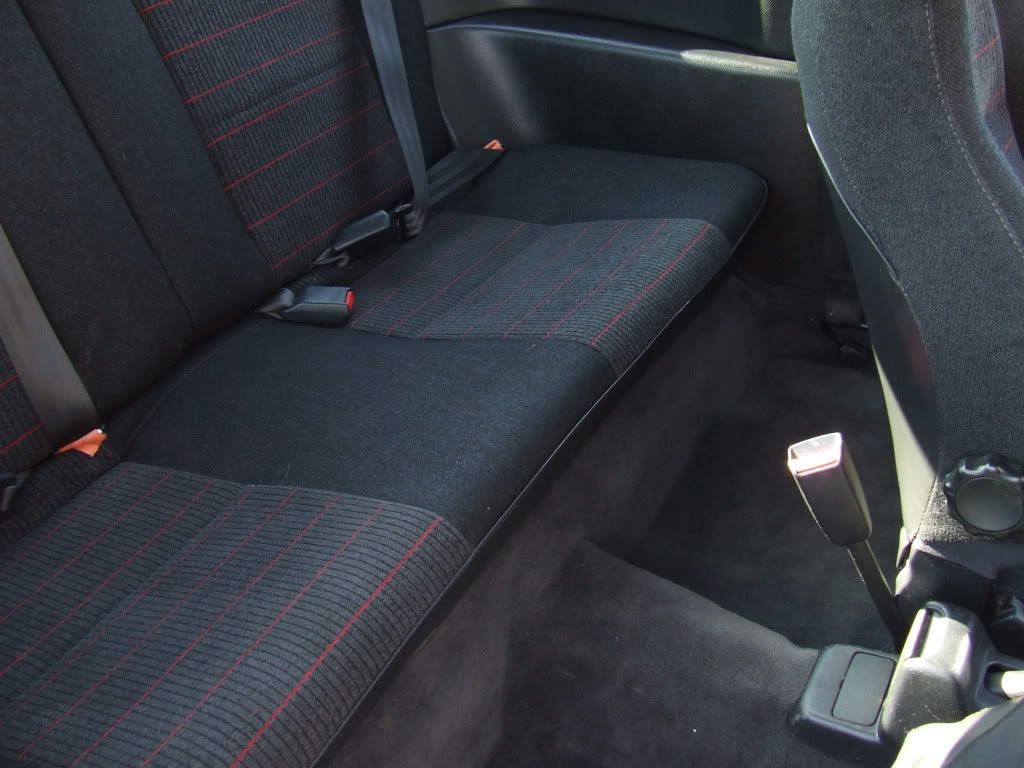
sorry for pic size, will sort future pics so they are smaller

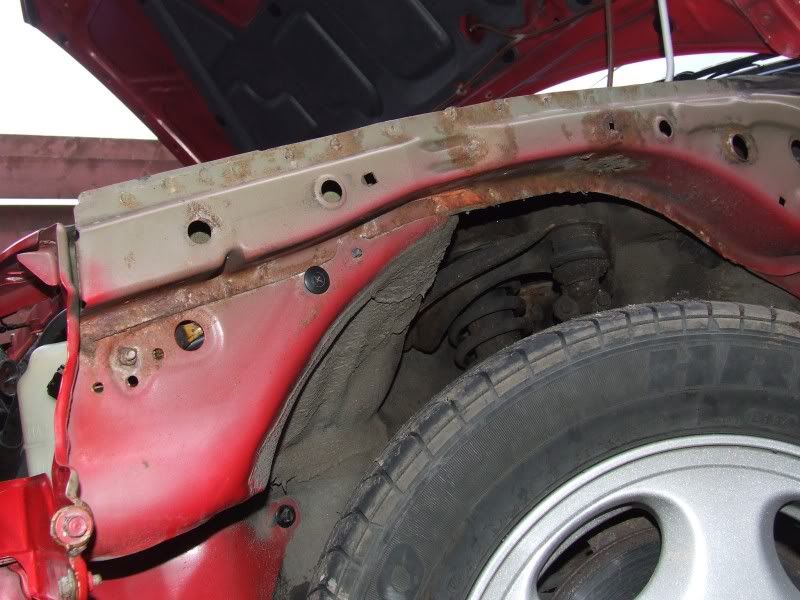
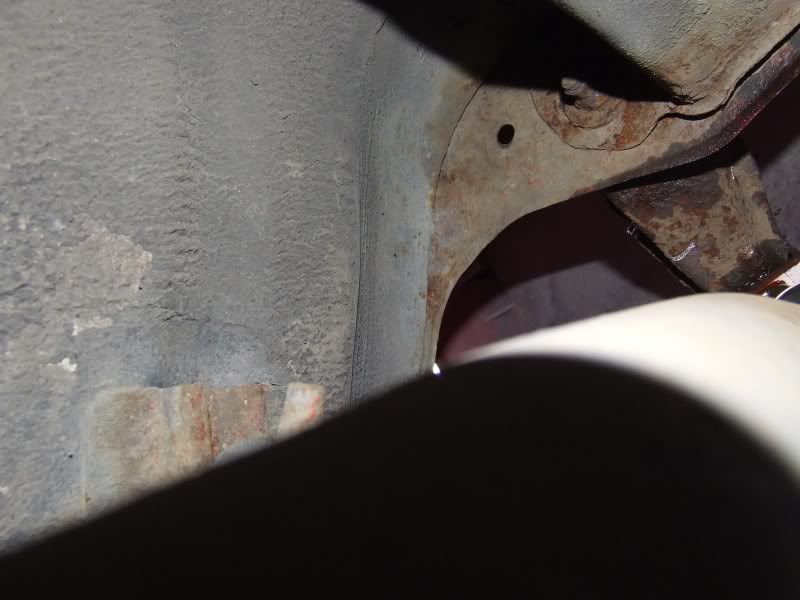
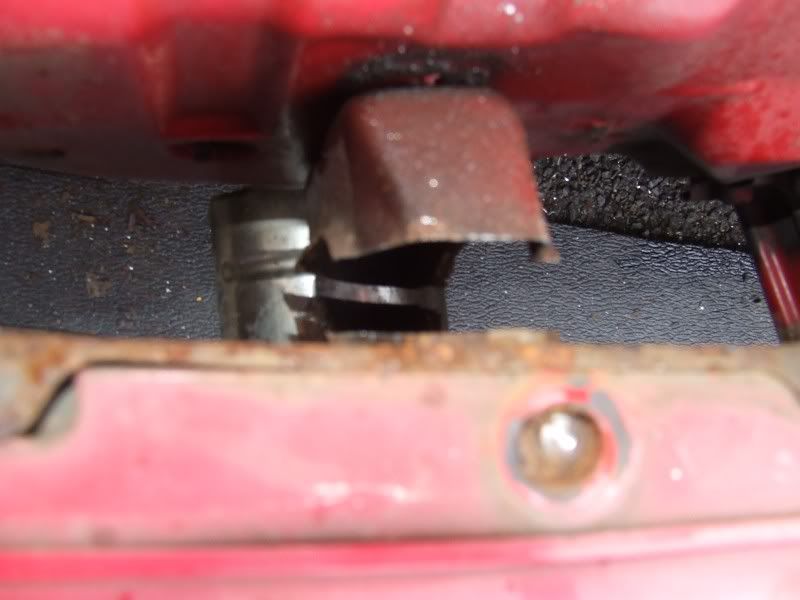
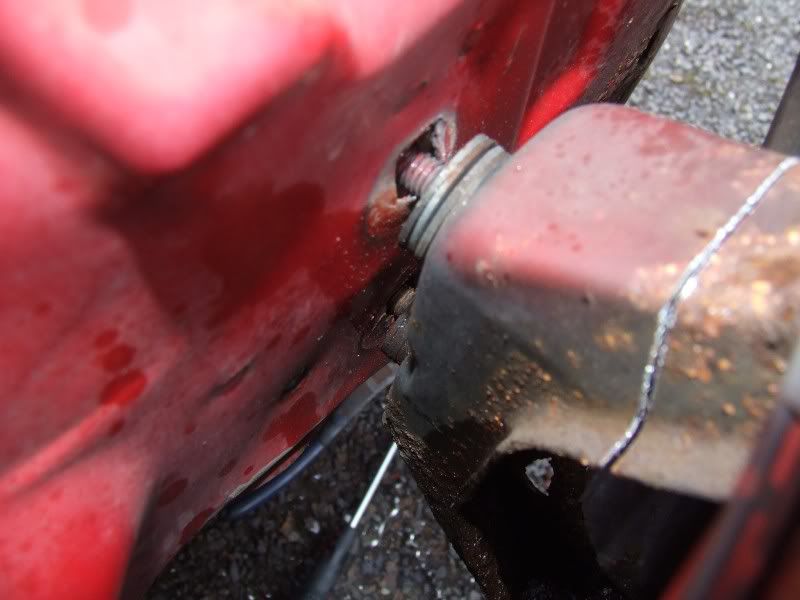
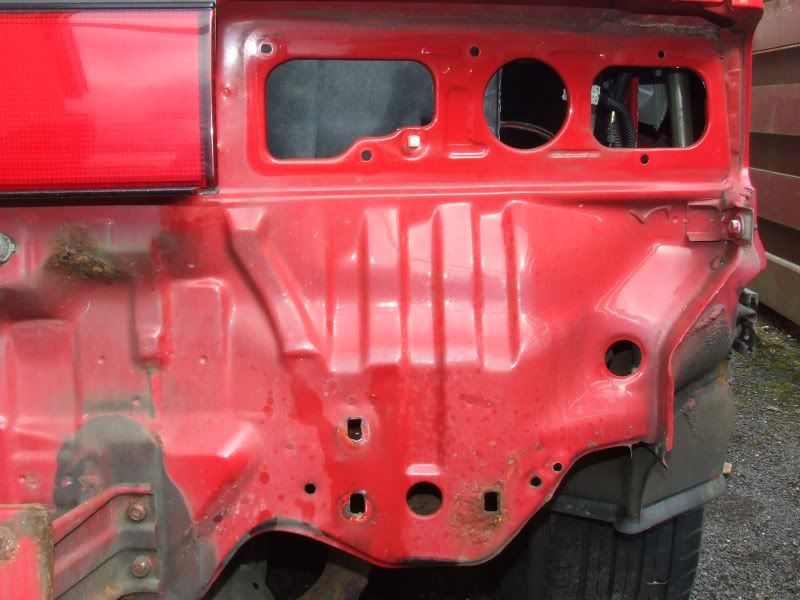
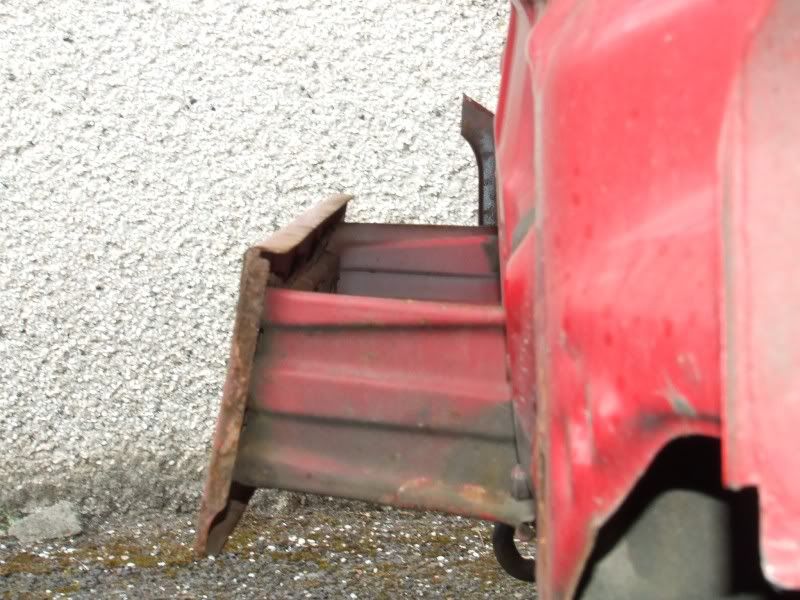
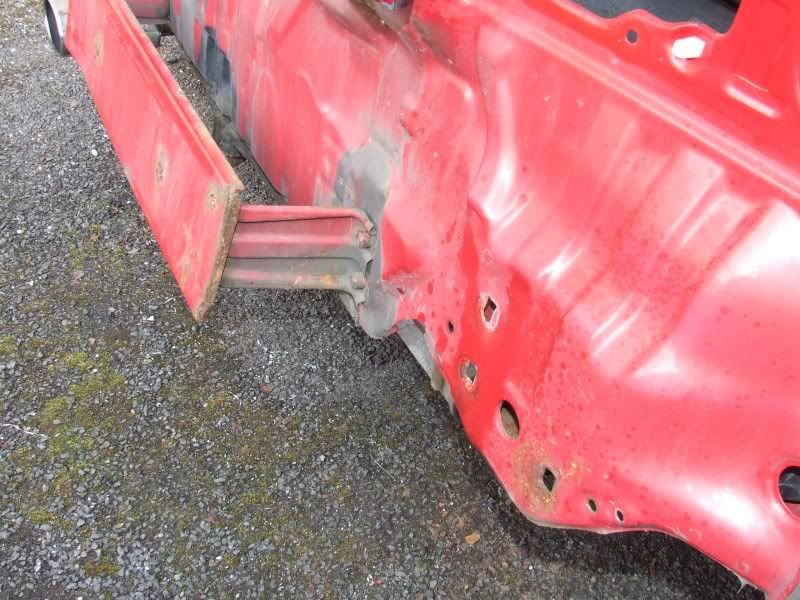
all bodywork rust repairs will be done using fresh metal either fabbed metalwork or repair panels where possible as to completely kill the tinworm :)

opinions/suggestions welcome
grinch
Lvl4 Nos Enhanced Poster
Posts: 595
Joined: Thu Mar 18, 2010 8:04 pm
Location: ireland

Post by grinch »

AS I SCROLED down the rust got worse and worse :( but at least your bringing her back to life :D good look mate
grinch
onnyuk
Learner - Newbie
Learner - Newbie
Posts: 49
Joined: Wed Oct 14, 2009 3:52 pm
Location: dundee

Post by onnyuk »

tell me about it matey, im not best pleased with myself :oops: anywho onwards and upwards eh, oh and i forgot to mention im wanting crx dash and cards too :) with possible the coolest mod possible on a 4g.......s2000 clock conversion
HONDAB88
Lvl7! Post Whore y0!
Posts: 2170
Joined: Mon Sep 28, 2009 8:02 pm

Post by HONDAB88 »

onnyuk wrote:tell me about it matey, im not best pleased with myself :oops: anywho onwards and upwards eh, oh and i forgot to mention im wanting crx dash and cards too :) with possible the coolest mod possible on a 4g.......s2000 clock conversion

mate of mine done that with his vt , has itb's he spent thousands on it , the things an animal! best of luck with the rust! well worth saving not many VT's left :?
Image
grinch
Lvl4 Nos Enhanced Poster
Posts: 595
Joined: Thu Mar 18, 2010 8:04 pm
Location: ireland

Post by grinch »

i see a s2000 clock conversion on done deal awhile ago for sale i tink it was from icetronix but im not sure
grinch
User avatar
sheraz
Lvl5! Turbo Charged Posting
Posts: 1096
Joined: Tue Dec 05, 2006 8:36 pm
Location: birmigham

Post by sheraz »

what happen to the body work that looks really ruff dude
onnyuk
Learner - Newbie
Learner - Newbie
Posts: 49
Joined: Wed Oct 14, 2009 3:52 pm
Location: dundee

Post by onnyuk »

it started bubbling before i got it and i never did anything about it, simples
User avatar
Tahir
Moderator
Moderator
Posts: 12725
Joined: Mon May 30, 2005 6:04 pm
Location: Never too far.

Post by Tahir »

Gosh I hate rust with a passion! :evil:

Please fix it before we lose her.
2010 Audi A3 1.6TDi Sport
onnyuk
Learner - Newbie
Learner - Newbie
Posts: 49
Joined: Wed Oct 14, 2009 3:52 pm
Location: dundee

Post by onnyuk »

we wont lose her, so do not fret :lol:
User avatar
Tahir
Moderator
Moderator
Posts: 12725
Joined: Mon May 30, 2005 6:04 pm
Location: Never too far.

Post by Tahir »

onnyuk wrote:we wont lose her, so do not fret :lol:
Loving the attitude mate!
2010 Audi A3 1.6TDi Sport
onnyuk
Learner - Newbie
Learner - Newbie
Posts: 49
Joined: Wed Oct 14, 2009 3:52 pm
Location: dundee

Post by onnyuk »

woke up this morning to find it was raining :( , so was a bit deflated thinking my plans were scuppered, but some breakfast and a little bit of chilling out and the weather turned around a bit so i got cracking, not much else to say other than im not surprised at the condition of the sills was fully expecting them to be as bad as they are, but im pleased with the condition of the bodywork under the arches bumper stuff etc

but less of the chit chat, you let your fingers do the walking and i'll let the pictures do the talking

:)

Image
Image
Image
Image
shagged ! but not leaking and still keeps things cool as a cucumber
Image
Image
Image
Image
Image
ouch!
Image
ouch!
Image
ouch!
Image
ouch!
Image
8) 8) 8)
Image
Image

complete sills and arch repair panels along with fabricated steel patches will be fitted to fully kill the tinworm that has taken a hold and all other surface rust will be cleaned, kurusted then suitably sealed/painted to minimize future problems

and whilst removing components all fixing bolts were copper greased and reffited in their appropriate holes as to not lose any and aid removal again in ?????? amount of time

and cleaned up panels and stuff as i was going to get a good look :)

tomorrow is back bumper and filler panel along with the start of interior removal and garage crap removed so i can get on with door/bonnet/bootlid removal and car will be moved inside and weather will be never be a problem again,

enjoy

pretty pleased with my progress today
perfectionist
4GUK Donator
Posts: 1185
Joined: Tue Apr 22, 2008 2:00 am
Location: West yorkshire

Post by perfectionist »

oooh i love a bit of rust killing :twisted:

Shame you live miles away, i would love to join in :wink:

Nice car buddy, and it's not that bad 8)
A person who wants everything to be perfect and demands the highest standards possible.

Friends call me Nas ;)
User avatar
Tahir
Moderator
Moderator
Posts: 12725
Joined: Mon May 30, 2005 6:04 pm
Location: Never too far.

Post by Tahir »

Aye, it's not bad at all. Bit o TLC will go a long way with her 8)
2010 Audi A3 1.6TDi Sport
onnyuk
Learner - Newbie
Learner - Newbie
Posts: 49
Joined: Wed Oct 14, 2009 3:52 pm
Location: dundee

Post by onnyuk »

so today i had a few hours to get a little bit more done on pinky and had a bit of a nightmare getting the back bumper off so spent a bit longer than hoped doing that and never got any further forward with getting the garage prepped for occupation.

things started off good with removal of inner centre rear slam panel cover to aid rear light and filler panel removal, this was a breeze then it was bumper time, but this bolt here

Image
passenger side lower bumper mounting bolt

was rusted from a 12mm hex down to a sub 9mm mangled stub and wasnt having any of it, so after a lot of cursing, random gritted teeth fist clenching, i thought right,get bumper off bumper bar, found all screws mounting bumper to bar on top were seized solid and before any more fist clenching i got the drill out and drilled out the the top three

Image

now for the bottom two, didnt even bother with screwdriver, got to it with the drill but didnt have enough room for anything other than a little pishy pilot drill, and looking from underneath it was clear that the bumper bar was too far gone to have any further place in this build, so out with this

Image

hacked like a frikkin champ for about 3.68 minutes and we have this

Image
Image
Image
Image

then proceeded to raise my blood pressure to some alarming levels trying to get the stupid trim fixing clip/screw type things from around the rear muflaps and the bumper arch screws out ended up breaking quite a few and we are here

Image
Image
Image
Image
Image
Image

i dont know if you can see it from the pics, but it would appear that this car has had a little bump at some point as the bumper mounting points have been pushed back slightly, a little more so on the driver side so much that the bumper had to be spaced out with some washers to give the correct bumper alignment, i will be doing my best to bring it back into line so will be needing some reference measurements to aid my bashing

rear light holes were taped up to stop rainwater getting in and that was it for today, working tomorrow so not gonna get anything done til wednesday afternoon
onnyuk
Learner - Newbie
Learner - Newbie
Posts: 49
Joined: Wed Oct 14, 2009 3:52 pm
Location: dundee

Post by onnyuk »

i must be completely in denial about the rust cos i completely forgot to include the pics of the rust that extends from my badly rustedout rear passenger side arch.

POW!

Image
Image
Image

but since it is looking as though this is worst of the rot, im not that worried, i'll get some reference pics from a mint shell and rebuild it where neccessary
Post Reply