This is quite simple, shouldnt take more than an hour!
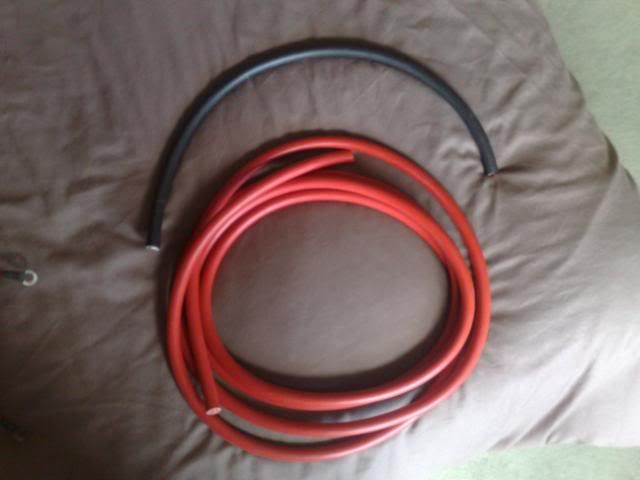
First, you will need some decent sized battery cable, 40mm2 is a good choice, youll need the thickness in the wire to keep up the Turning RPM's, specially on cold mornings!
You will need 4m of wire if you are putting it in the boot, and an extra 0.5 or so for a nice earth cable.
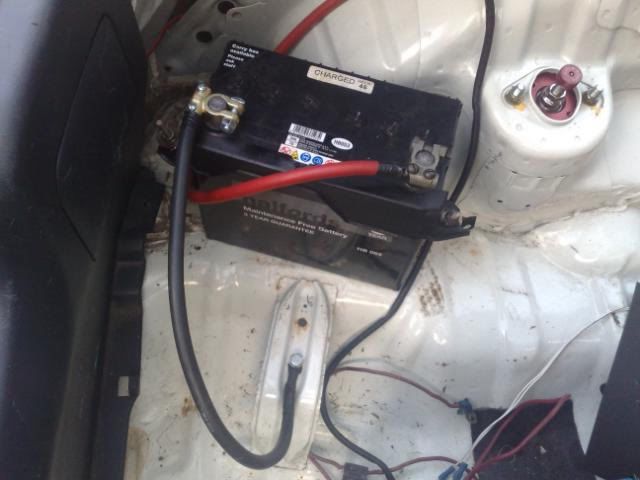
I Located my battery on the passenger side of the spare wheel well Although some people mounted it on the drivers side! There is more of a Flat surface on the drivers that the passenger side, as the passenger side compensates for the bit in the wheel well for the jack/tools etc.
I used the original tie down bar, for this, i drilled 2 holes in the floor, exactly 10" apart (Measurement took from the Original battery tray)
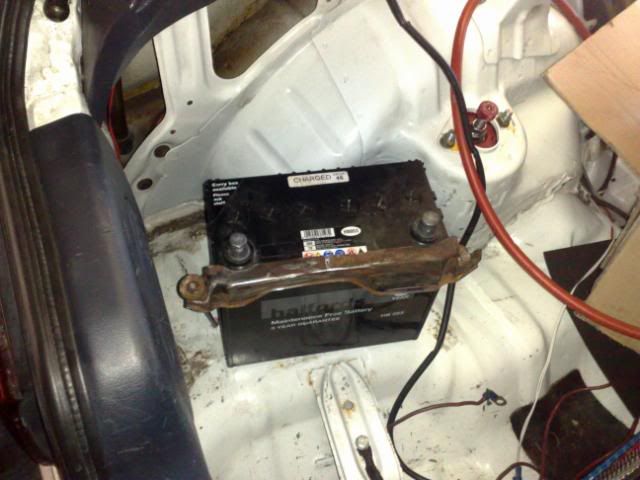
The battery is quite secure with this tie down bar! unexpected tbh, but it is quite sturdy!
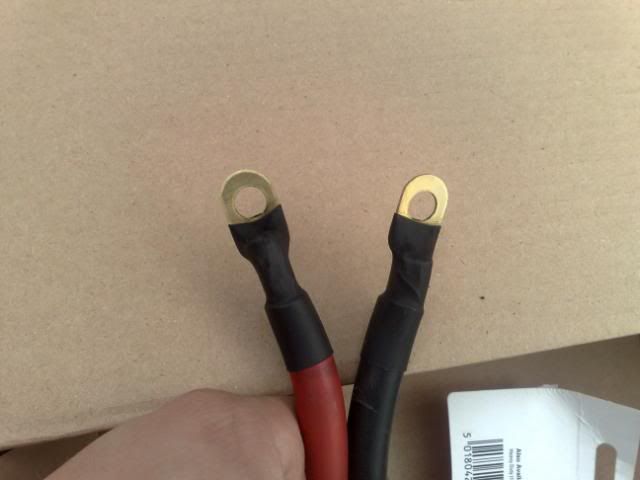
Now, you need to attach some battery terminals on the ends of the cables, i used the terminals i currently had (althought bought some new SHINEY ONES!!
I found attaching the terminals to the cable was an issue! due to the size of the cable, i couldnt find any terminals big enough to fit the wire in, in the end, i used some terminals made for 4guage wire, crimped them over half of the cable, then using a blowtorch and some solder, i soldered the cable to the terminal! it worked quite well!
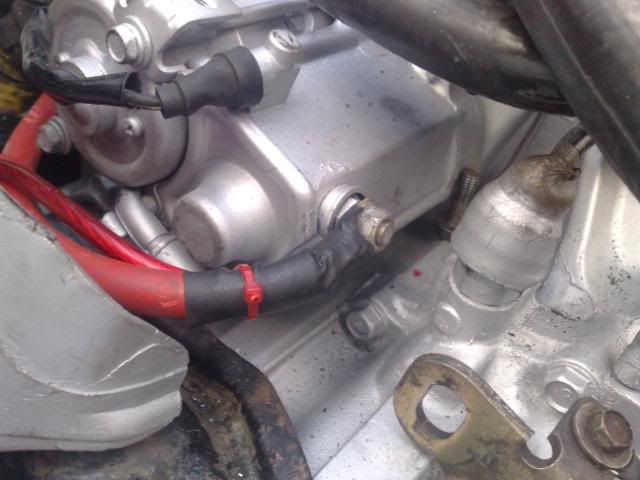
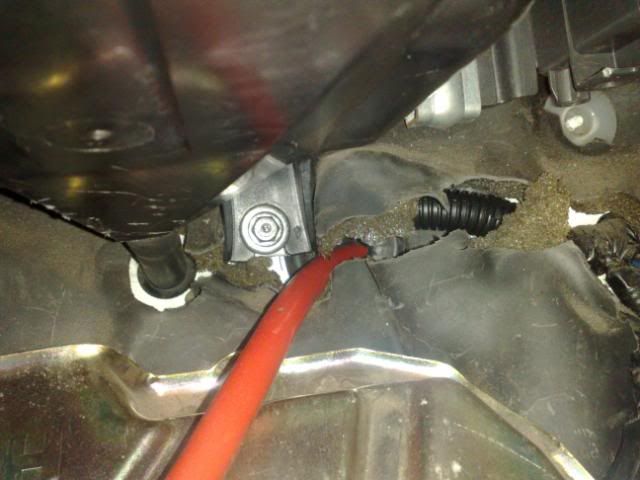
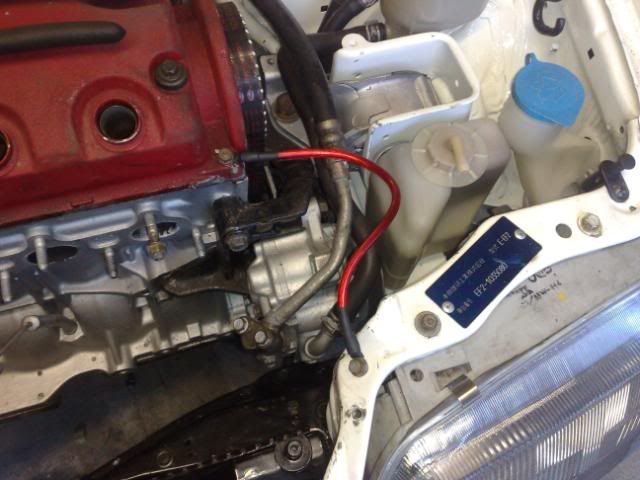
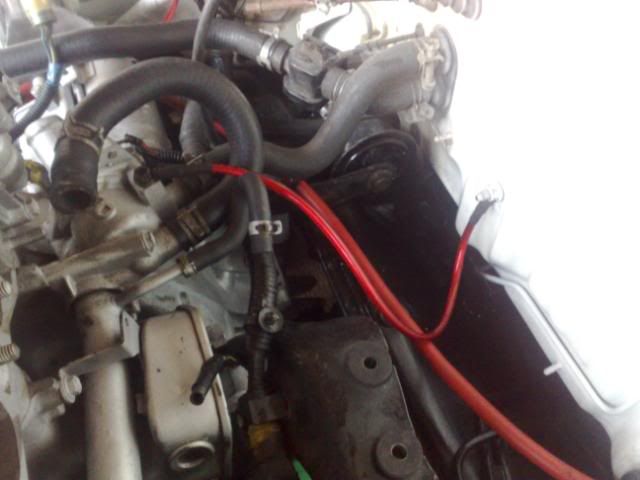
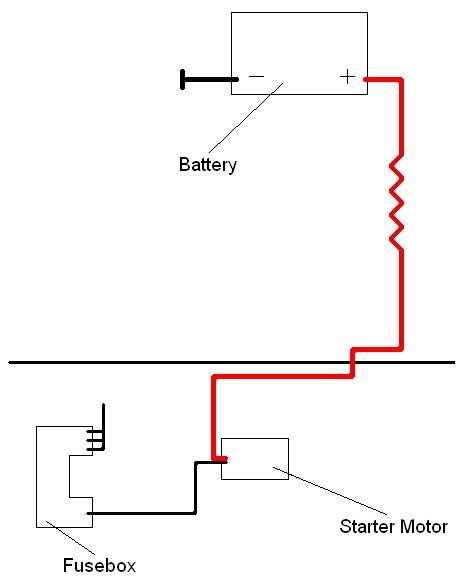
You now need to attach the ring end of the main, positive wire to the terminal on the starter motor! you will also need to extend the wire from the fusebox to the same terminal!
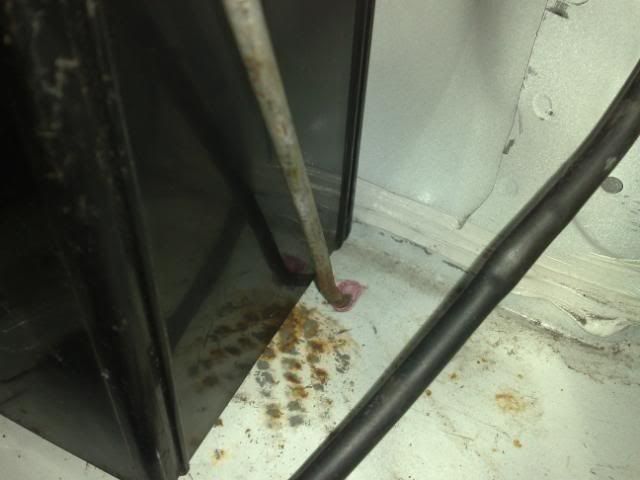
You will then need to feed it into the cabin! i cut a small slit into the rubber on the passenger side of the car, which is just above the ECU Plate on the inside of the car
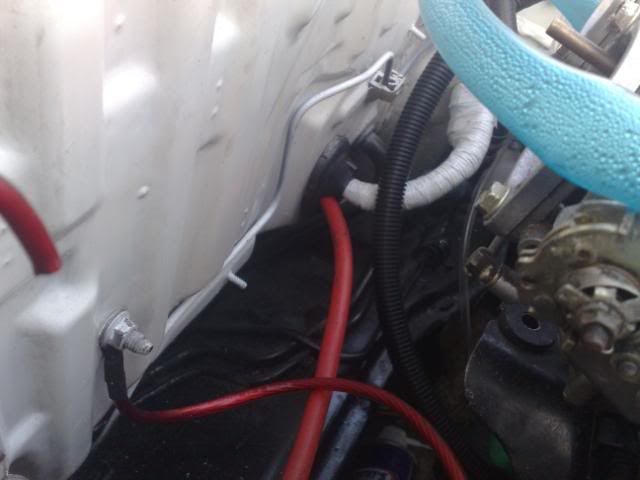
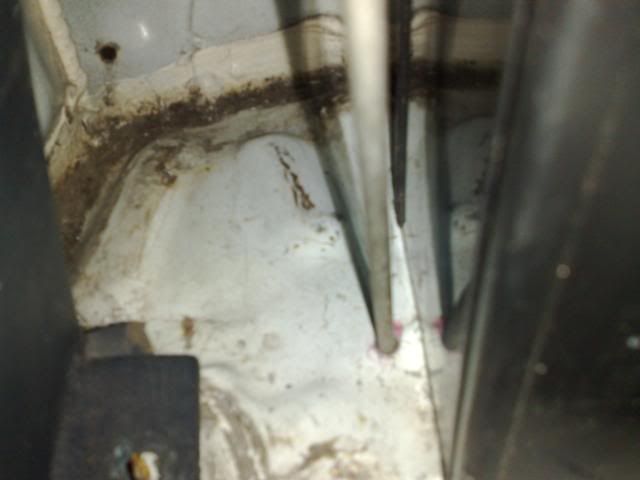
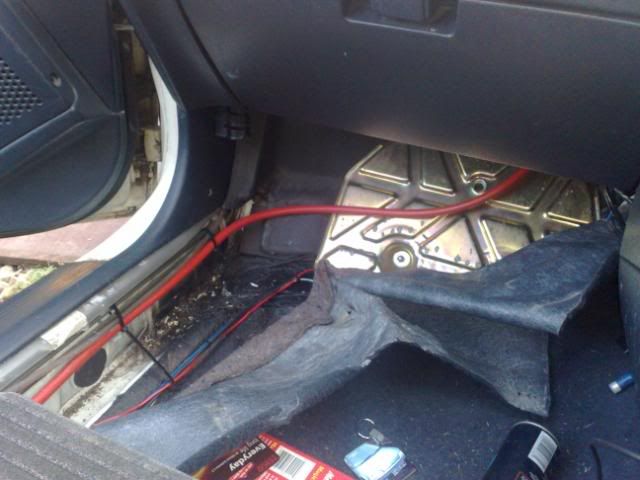
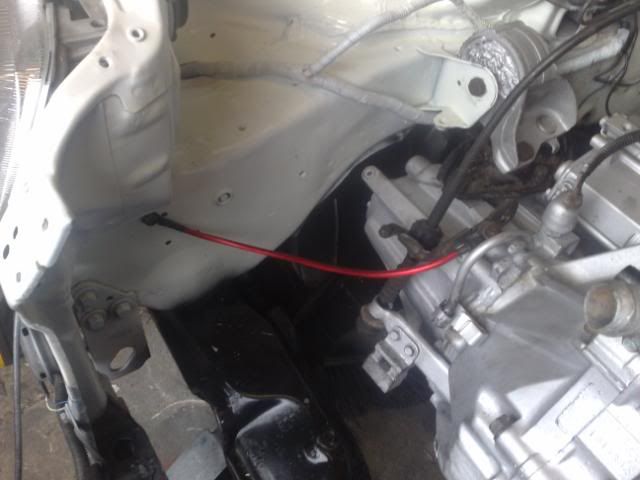
Along the passenger side of the car, next to the seat were the fuel lines go, there are clips there that perfectly house 40mm2 cable!, i also chose to cable tie it down, so it was secure!
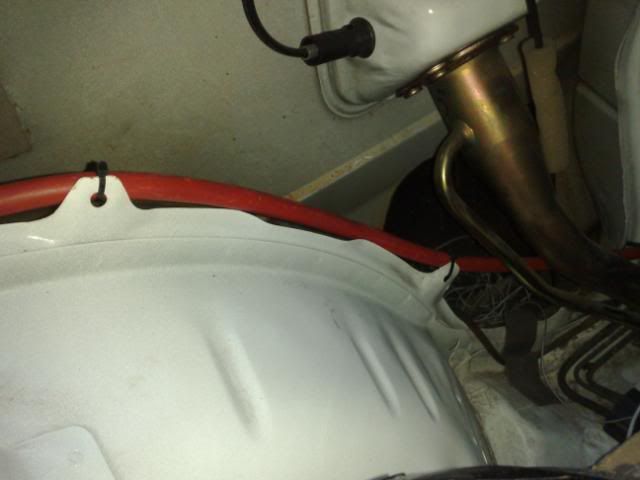
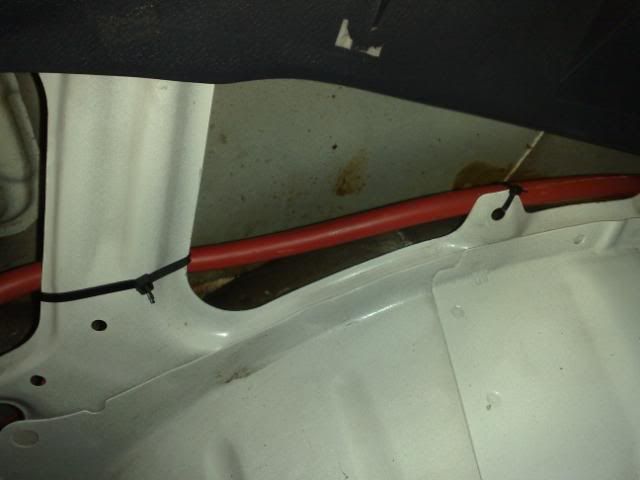
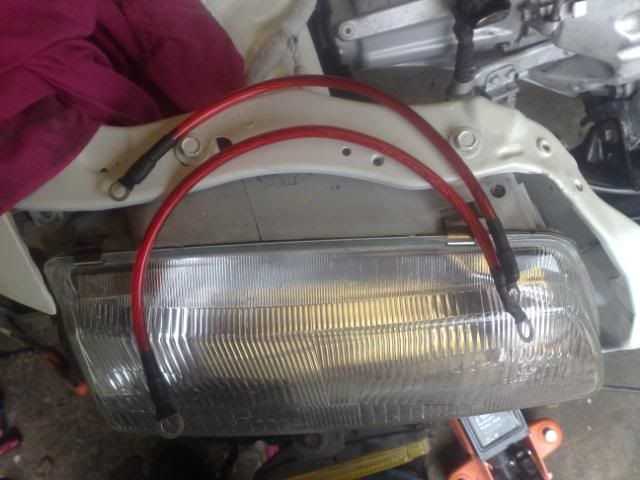
I Then fed the cable round the filler next, and on the inner side of the arch, i cable tired the cable to holes along the arch, so it didnt rub on the arch, and was secure! I then brung the cable around, and out behind the light!
Remember! Add a few extra earth cables in the engine bay to compensate the distance from the battery to the engine!
I Added 3 extra cables, made out of 8gauge wire.
Total cost! Wire cost me £30, i used 4.5 meters of Red (bit to long, as stated above, 4m would be "enough") and 0.5m of black for a nice solid earth!
Terminals cost me a couple of quid, so did other terminals i used.
Save some money using the original tie down bar! but a Vented battery box, would be suited!
Wiring Diagram
Cheers!