Project EF2 - Rebirth!
sounds good not sure about a dual exit exhaust the buddy club alone is the job! my m8s mum has a jap mx5 with a blitz exhaust that has a switch inside the car like a volume control for the baffles! it came from japan with it, think its on the mid section if you could source something like that your sorted! ill have a look and get a make and spec on the exhaust next time im around there at his and let you know


i mite just cut up the Spec 2 at the Axel joints and replace it with some flange joints, and the slip joints or a pain in the A$$!
then perhaps adapt another backbox for quiet time to made with the buddy club
then perhaps adapt another backbox for quiet time to made with the buddy club
1988 RT4WD Shuttle - Supercharged, VTEC Swapped Track Toy.
1988 RT4WD Shuttle - Lifted Daily Beater.
1988 RT4WD Shuttle - Lifted Daily Beater.
i think this integra has a buddyclub exhaust sounds really good http://www.youtube.com/watch?v=GfToIocV ... B&index=16
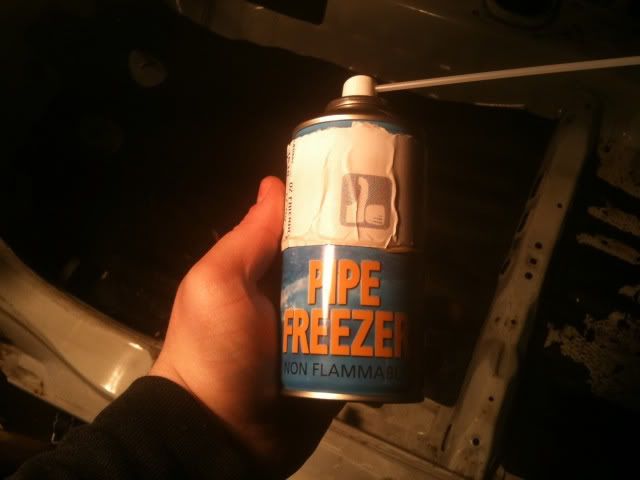
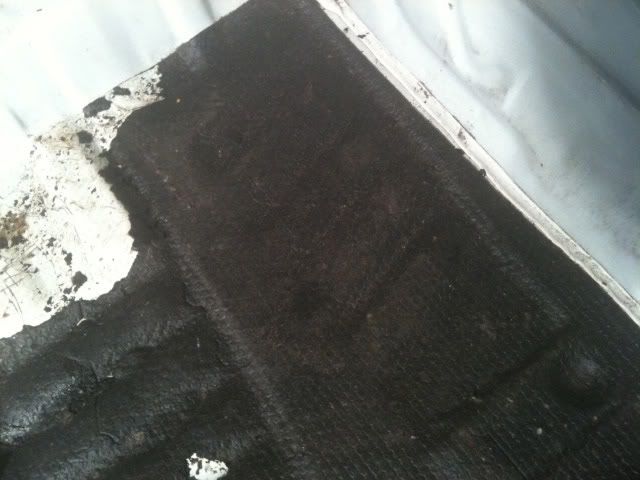
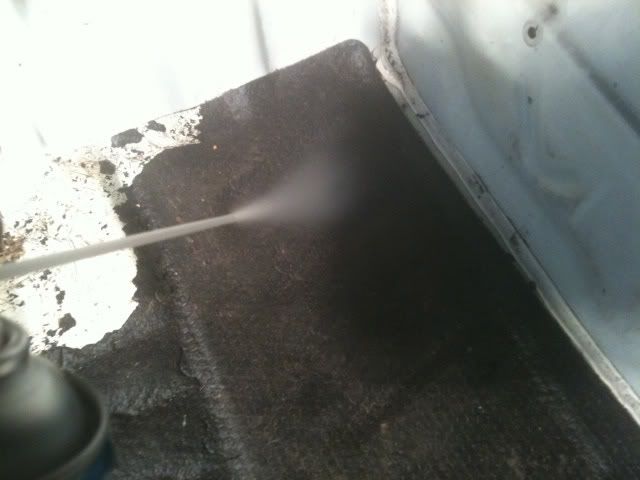
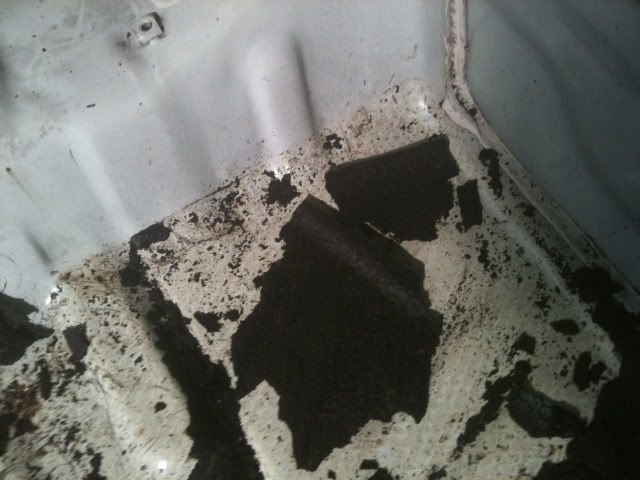


So, all the deadening is out, and shes now ready to be cut up and prepped for welding!
Here she sits.
After i finished, i then took pictures of all Rust, Rotten and holes etc.
So, get ready...
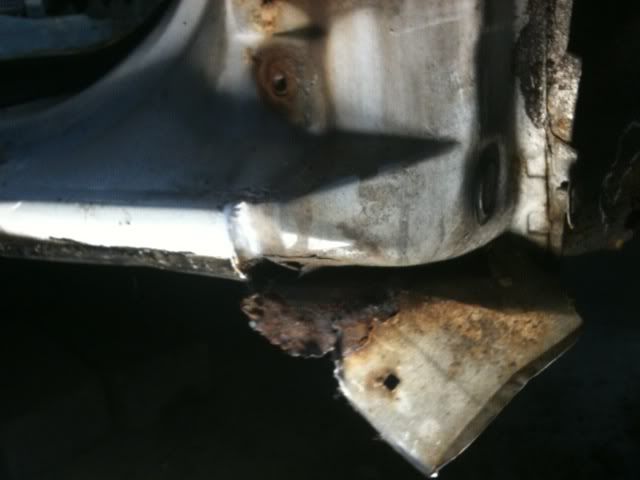
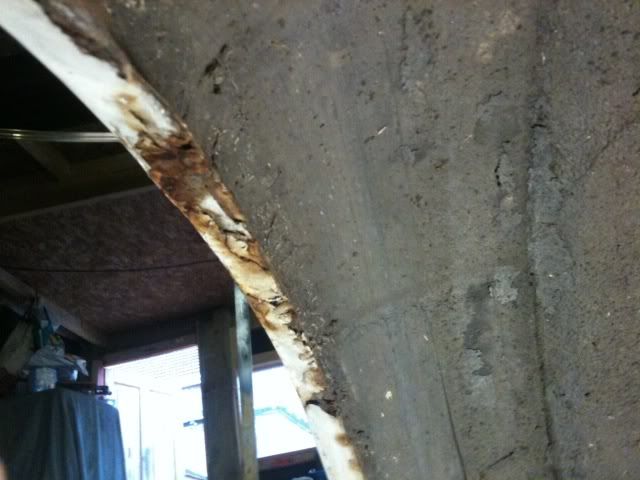
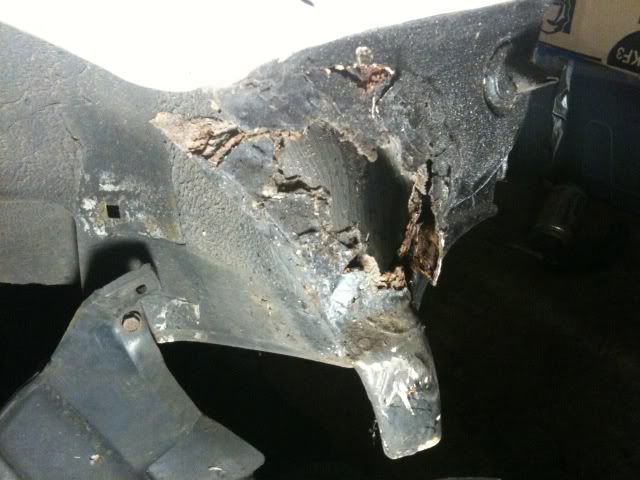
Front of drivers sill, remains of old wing that was cut off, as the wing is welded to the sill, its also rotten at this section.
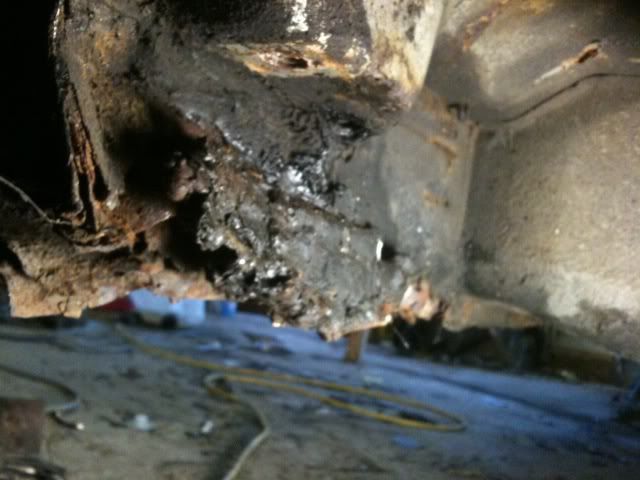
Rear section of drivers sill, Poor plated repair job, rotten, this pulled off without any force.
Drivers rear Arch, Original arch
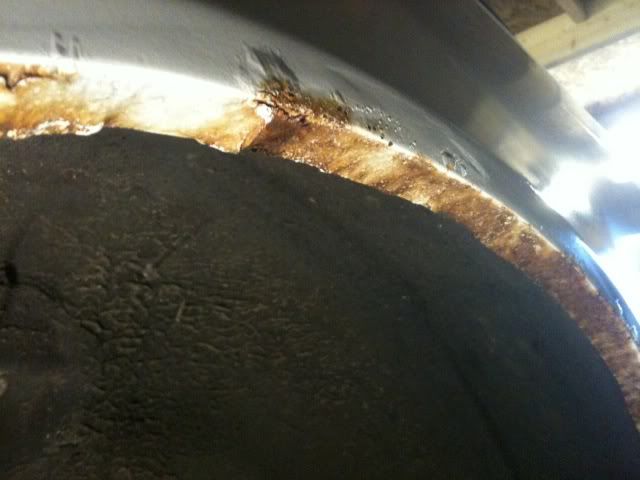
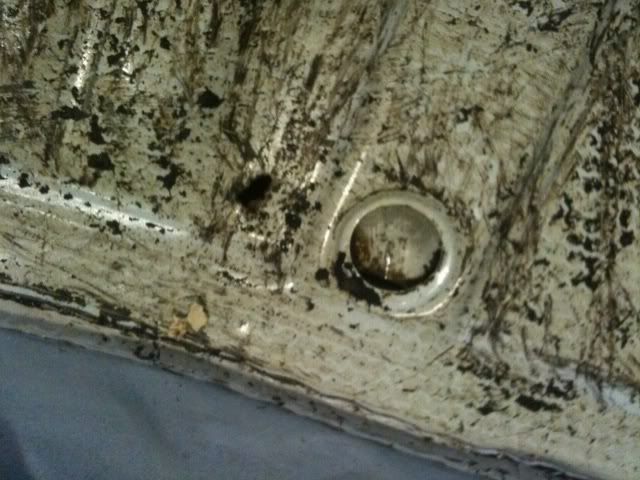
Section of rear arch where bumper mount sits
Passenger rear arch, Poor repair job, Double skined, Previous arch placed over old arch.
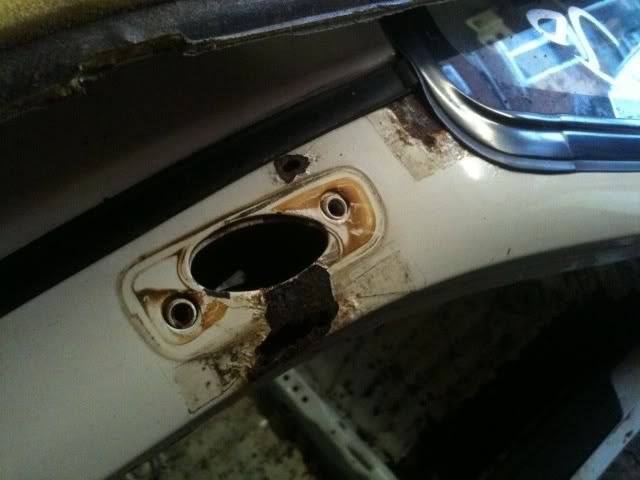
Section of rear arch where bumper bracket mount sits.
Rear section of passenger sill, Signs of previous repair job (Plate with poor welds)
Very small hole in the rear section of passenger footwell
A piller were arial once sat, possible rusting underneath window and down A pillar.
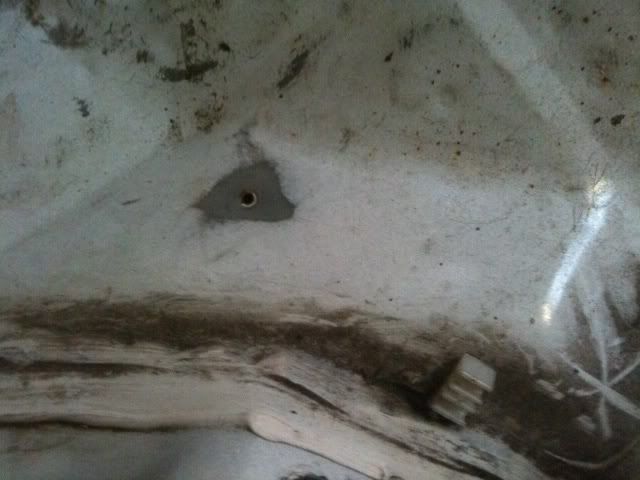
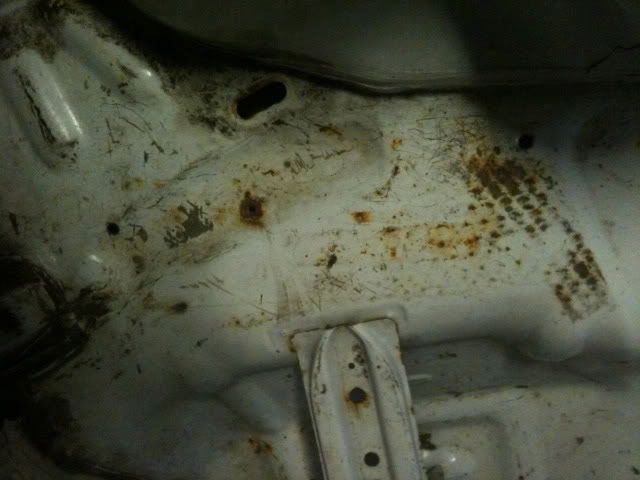
Random hole on the rear bench floorpan
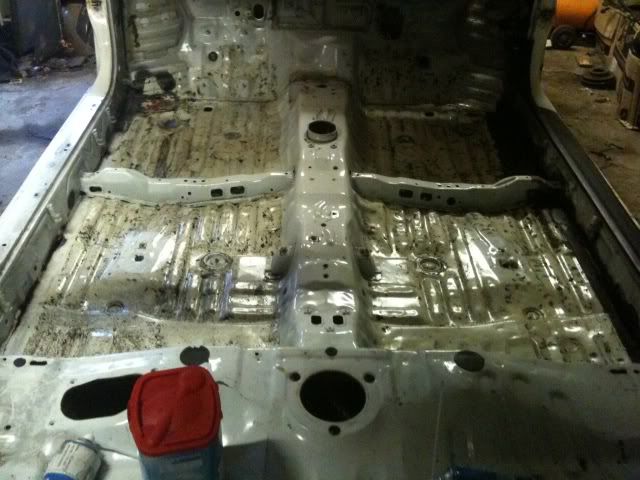
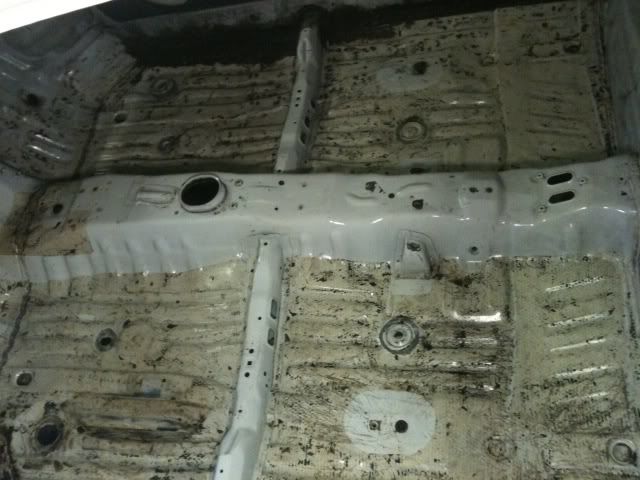
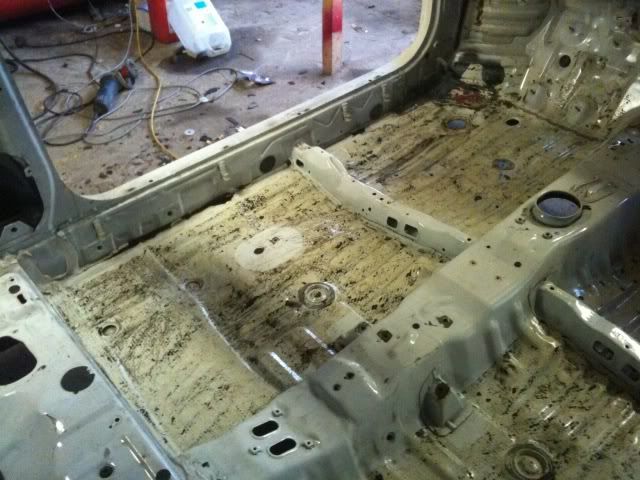
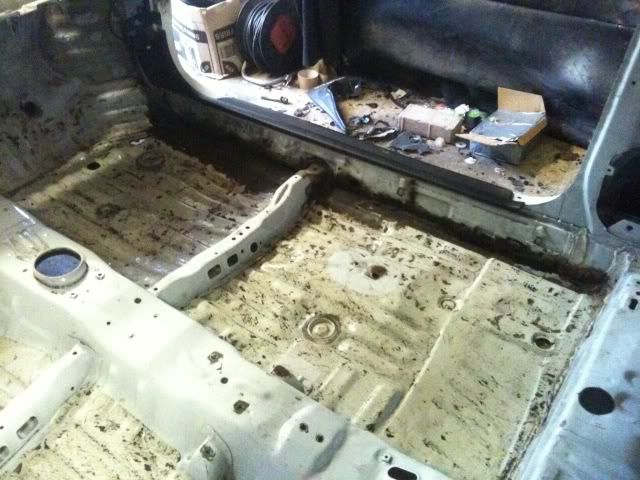
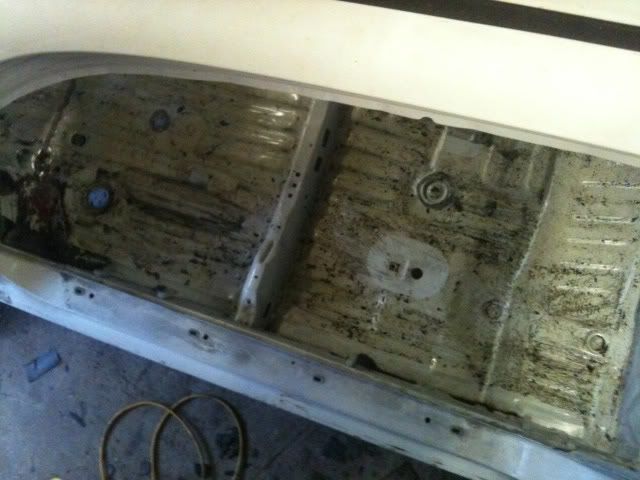
Overview of floorpans
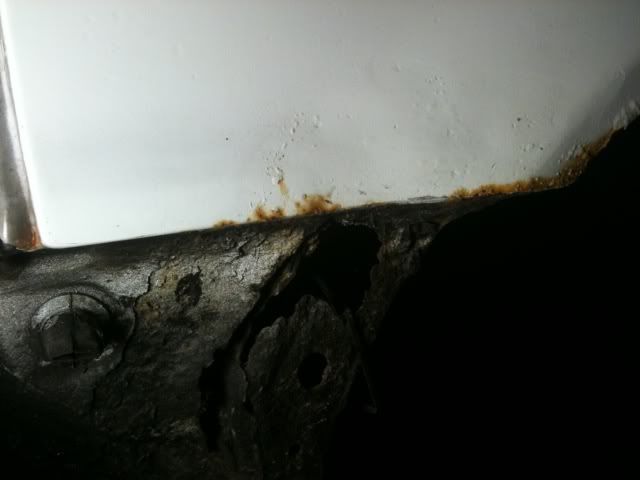
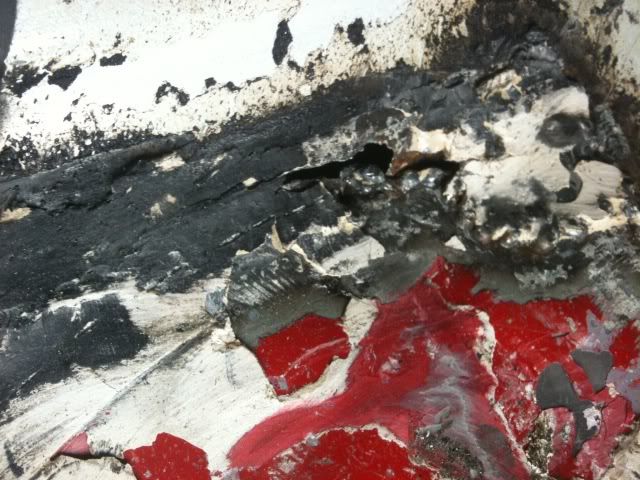
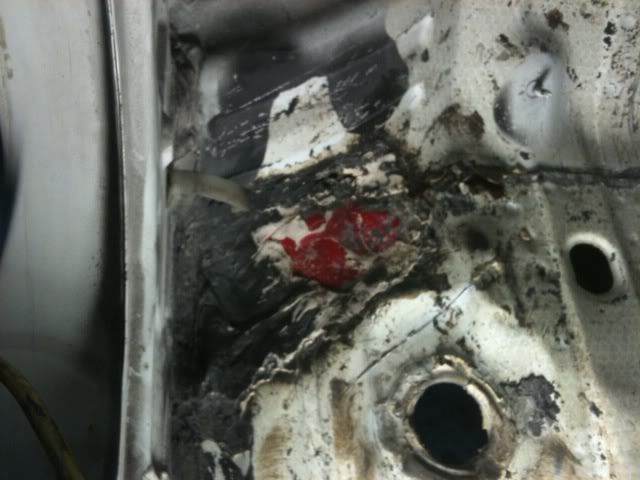
Front section of passenger floorpan, next to inner wheel well. Remains of a very poor repair job, also hole in the inner well
Underside shot of the above repair...
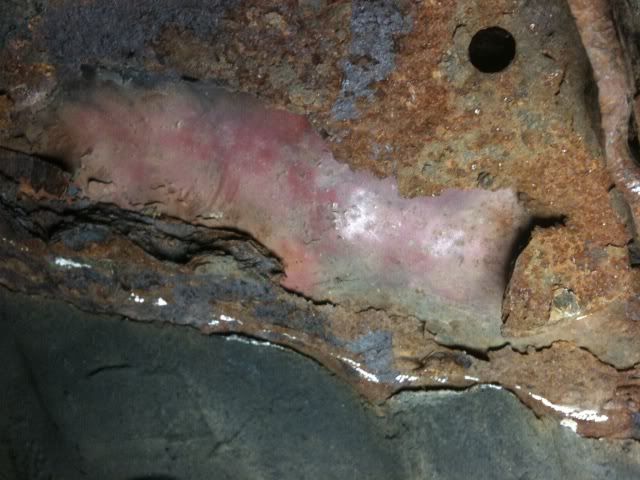
Overview of above repair.
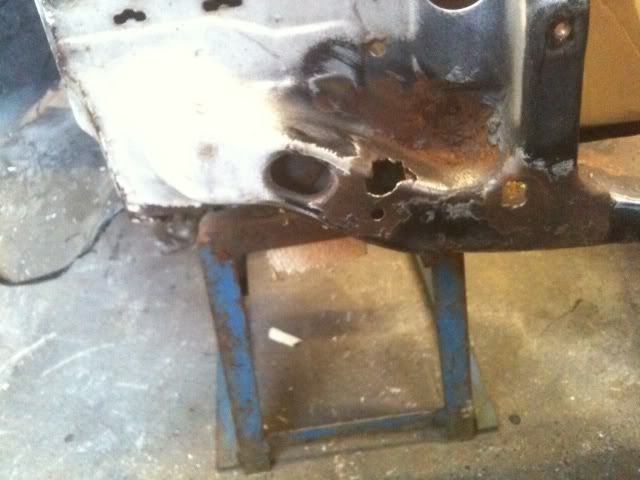
Hole in front slam panel, under were the horn sits
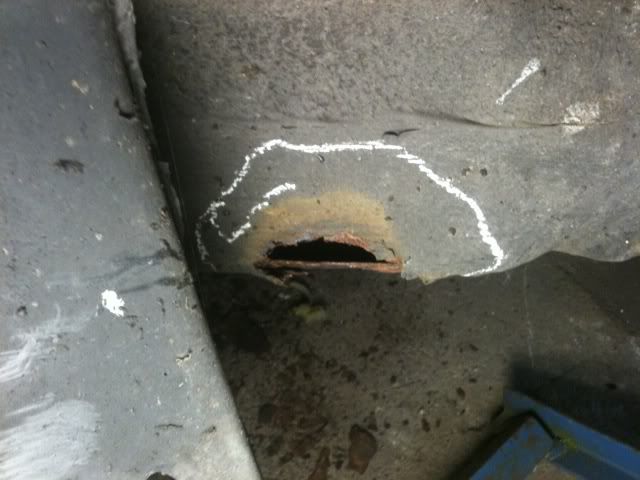
Hole in chassis rail in drivers wheel well.
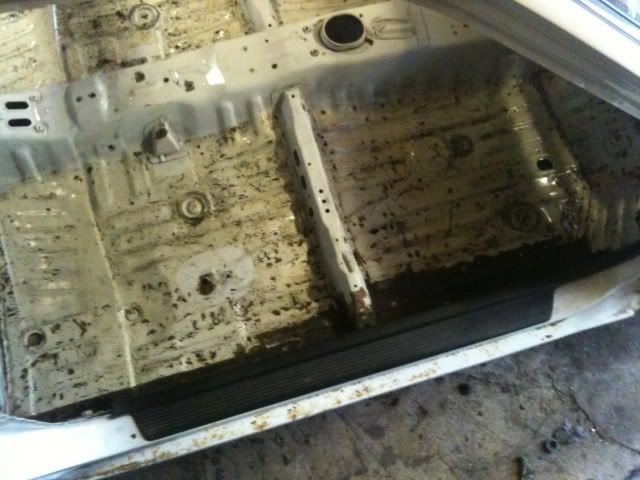
Random 3 holes in the rear next to the Spare wheel well
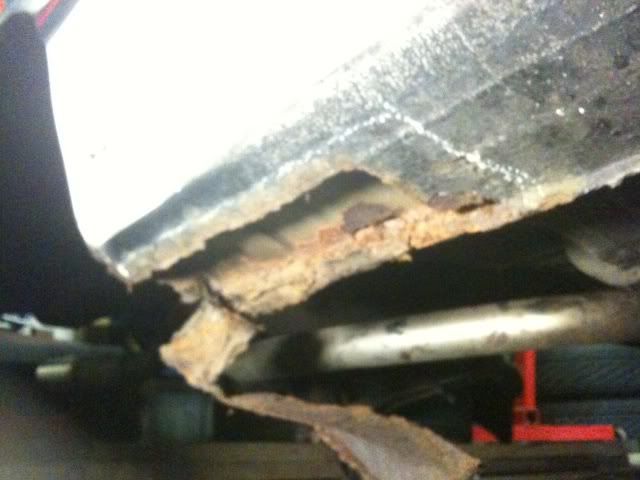
Passenger floorpan were it meets Inner sill is rotten, about 1" along the floorpan
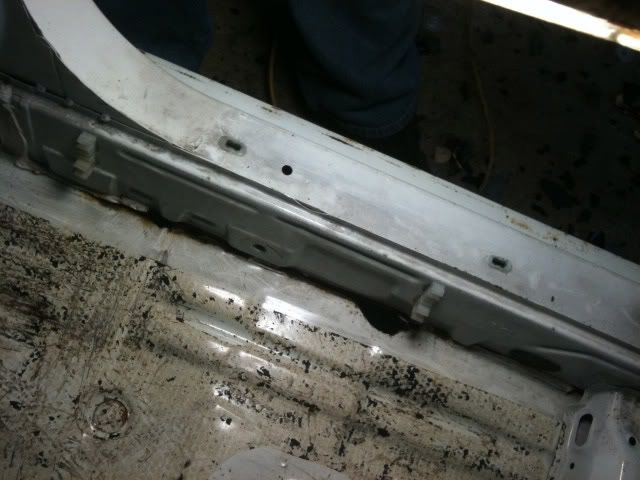
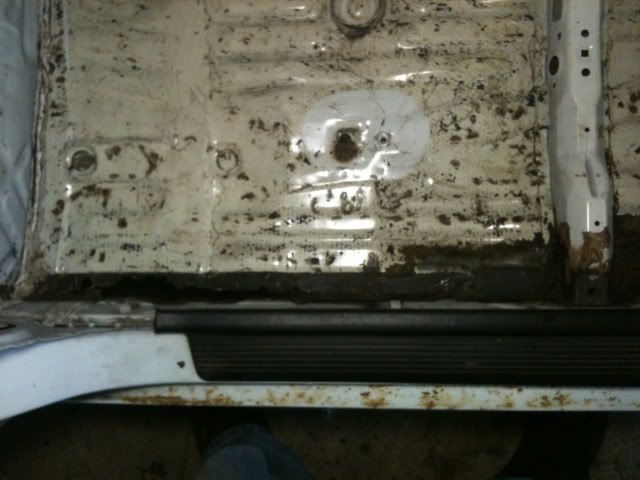
Drivers Floorpan were it meets inner sill, remains of a very poor repair job, new sill skin welded over old sill skin, poor repair job of floorpan.
 .
.
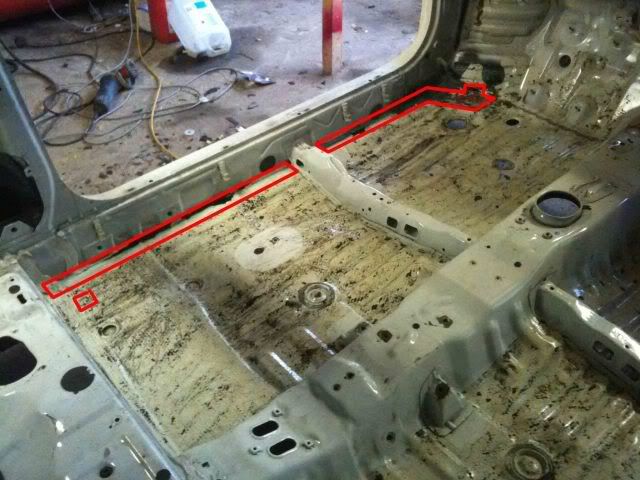
Planned repair sections of floorpans.
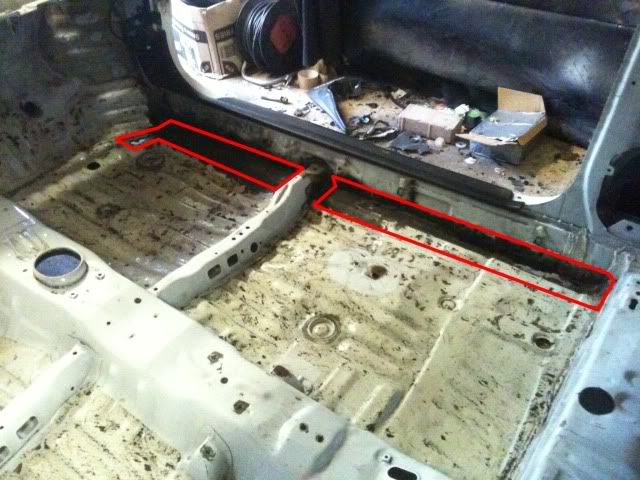
Passenger side has like a half inch strip of where its rotten, were it meets the inner sill, im going to take 1" strip off and weld in fresh.
Drivers side is a bit worse, there is a 1.5" gap at the back section in the floor, so, im planning to cut out a 2" strip into fresh metal and weld in fresh etc!
Here she sits.
After i finished, i then took pictures of all Rust, Rotten and holes etc.
So, get ready...
Front of drivers sill, remains of old wing that was cut off, as the wing is welded to the sill, its also rotten at this section.
Rear section of drivers sill, Poor plated repair job, rotten, this pulled off without any force.
Drivers rear Arch, Original arch
Section of rear arch where bumper mount sits
Passenger rear arch, Poor repair job, Double skined, Previous arch placed over old arch.
Section of rear arch where bumper bracket mount sits.
Rear section of passenger sill, Signs of previous repair job (Plate with poor welds)
Very small hole in the rear section of passenger footwell
A piller were arial once sat, possible rusting underneath window and down A pillar.
Random hole on the rear bench floorpan
Overview of floorpans
Front section of passenger floorpan, next to inner wheel well. Remains of a very poor repair job, also hole in the inner well
Underside shot of the above repair...
Overview of above repair.
Hole in front slam panel, under were the horn sits
Hole in chassis rail in drivers wheel well.
Random 3 holes in the rear next to the Spare wheel well
Passenger floorpan were it meets Inner sill is rotten, about 1" along the floorpan
Drivers Floorpan were it meets inner sill, remains of a very poor repair job, new sill skin welded over old sill skin, poor repair job of floorpan.
.Planned repair sections of floorpans.
Passenger side has like a half inch strip of where its rotten, were it meets the inner sill, im going to take 1" strip off and weld in fresh.
Drivers side is a bit worse, there is a 1.5" gap at the back section in the floor, so, im planning to cut out a 2" strip into fresh metal and weld in fresh etc!
1988 RT4WD Shuttle - Supercharged, VTEC Swapped Track Toy.
1988 RT4WD Shuttle - Lifted Daily Beater.
1988 RT4WD Shuttle - Lifted Daily Beater.

-
widowmaker

- Moderator

- Posts: 8097
- Joined: Wed Jul 04, 2007 10:46 pm
-
EE9 CVC

- Lvl7! Post Whore y0!

- Posts: 3481
- Joined: Tue Dec 11, 2007 5:57 pm
- Location: Portrush - NI or on Indian Empress
I will look forward to watching you save her.