My 86 GT....
Re: My 86 GT....
Good on ya getting that engine mate, was the missing piece to the jigsaw 
Sick Civic VT OfTeN LiCkEd NeVeR bEaTeN
Re: My 86 GT....
yesssss, this is going to be a little animal with a b16
white GT with a b16, WIN.
if you still work in cardiff when this is up an running i want a ride! haha
white GT with a b16, WIN.
if you still work in cardiff when this is up an running i want a ride! haha
White ED7 - sold
Black EE9 - Rust can
Red EC9 - Rust can
Black ED7 - Written off
Superior blue ED2 - Sold
Black CRX EF6 Glassroof - in the making
Black EE9 - Rust can
Red EC9 - Rust can
Black ED7 - Written off
Superior blue ED2 - Sold
Black CRX EF6 Glassroof - in the making
Re: My 86 GT....
this car will be epic when finished
The build viewtopic.php?f=19&t=29771" onclick="window.open(this.href);return false;
Re: My 86 GT....
I've got some pictures to upload on the camera but i've been doing boring jobs recently! Just leaning little bits and bobs.
Car is booked in to MEC Motorsport the first week of May to sort out it's tin worrm issues!
Car is booked in to MEC Motorsport the first week of May to sort out it's tin worrm issues!
-
CivicsUnite
- Learner - Newbie

- Posts: 19
- Joined: Mon Aug 06, 2012 11:16 am
Re: My 86 GT....
hey mattek, could help me with the brand of the rear lowering springs? are they stiffer than the standard ones, and what type of dampers did u get for the front and rear? also any idea on energy bushings for this particular model? all your help much appreciated..
i like how clean your car looks, so different to mine
are u getting a black interior for it?
i like how clean your car looks, so different to mine
are u getting a black interior for it?
Re: My 86 GT....
You will have to stick with me while i get this thread up to date but here is the oldest installment.
Rust Woes….
With the car being nearly 28 years old it was inevitable we would find some tin worm, we just didnt realise how much....
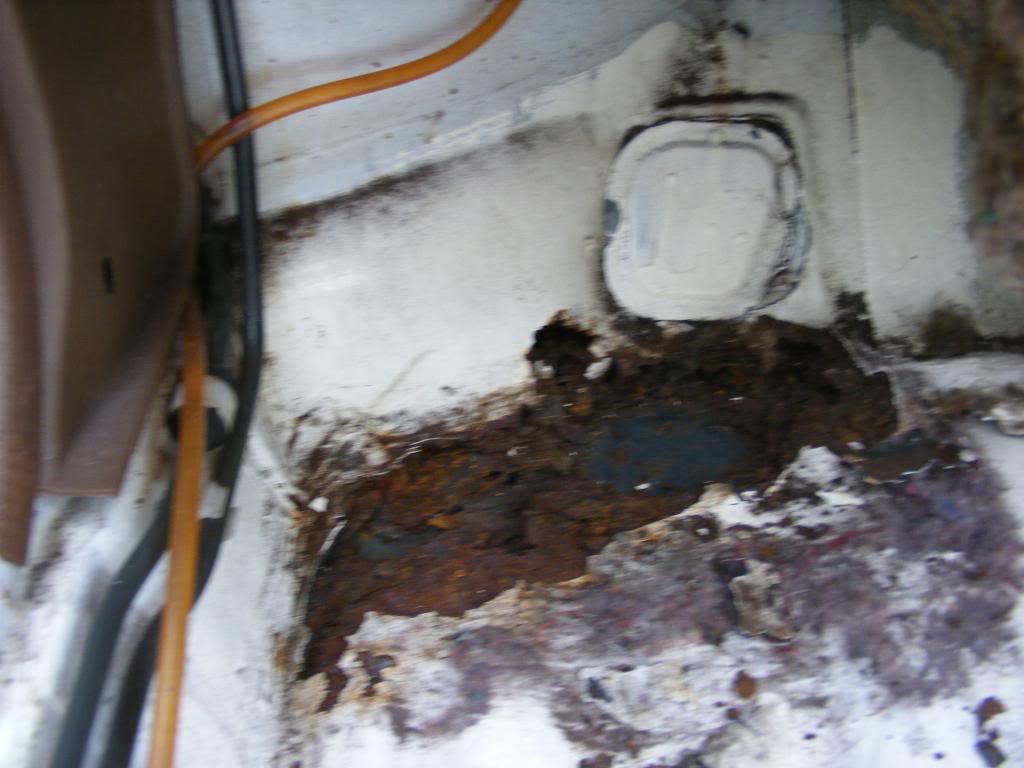
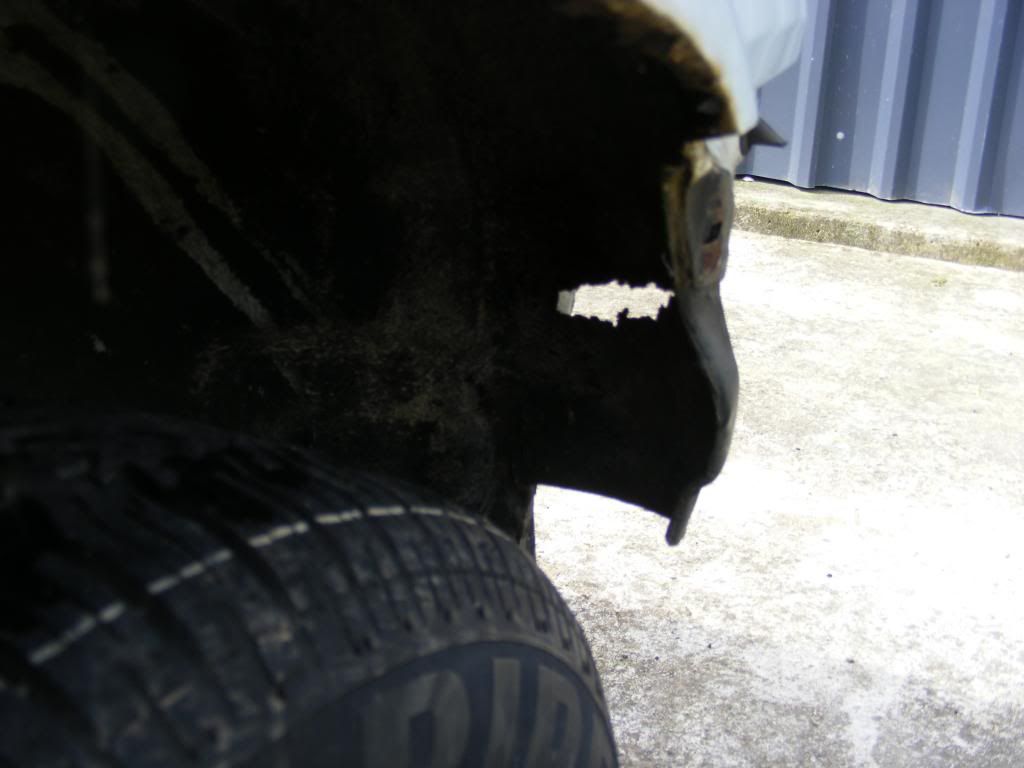
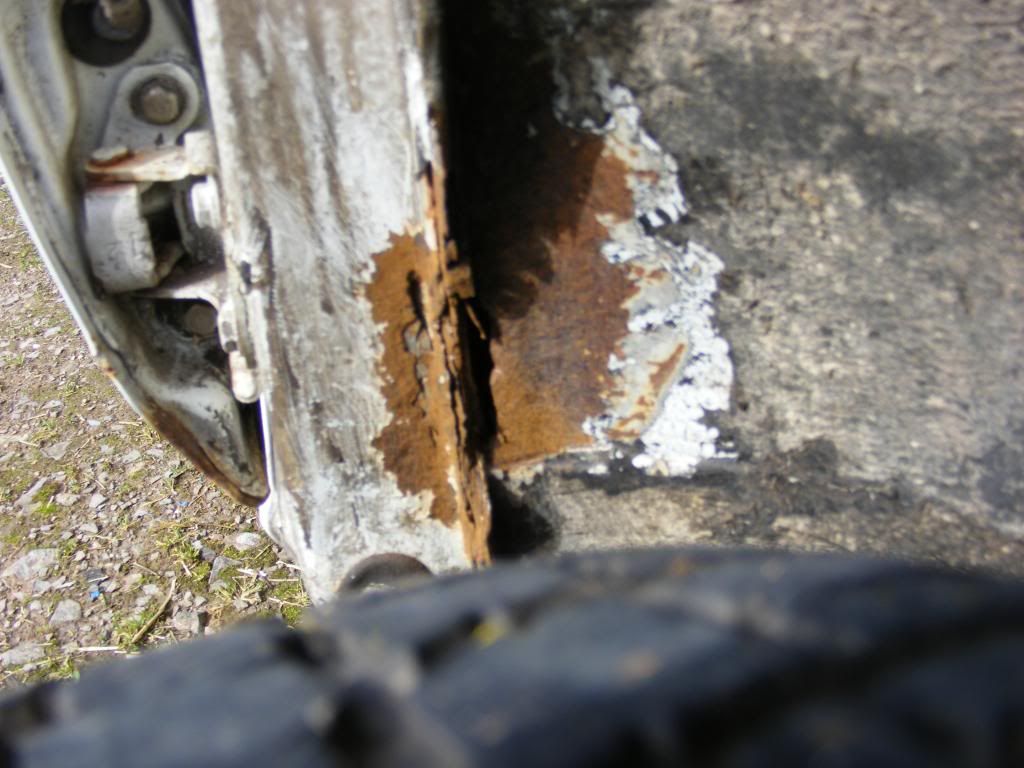
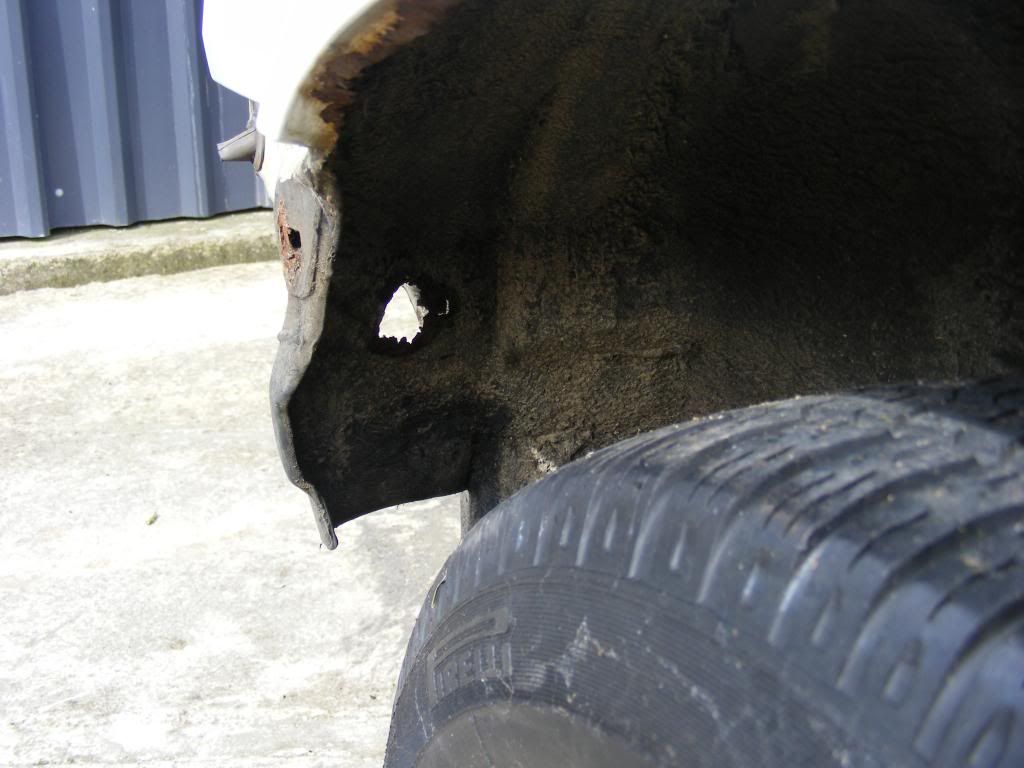
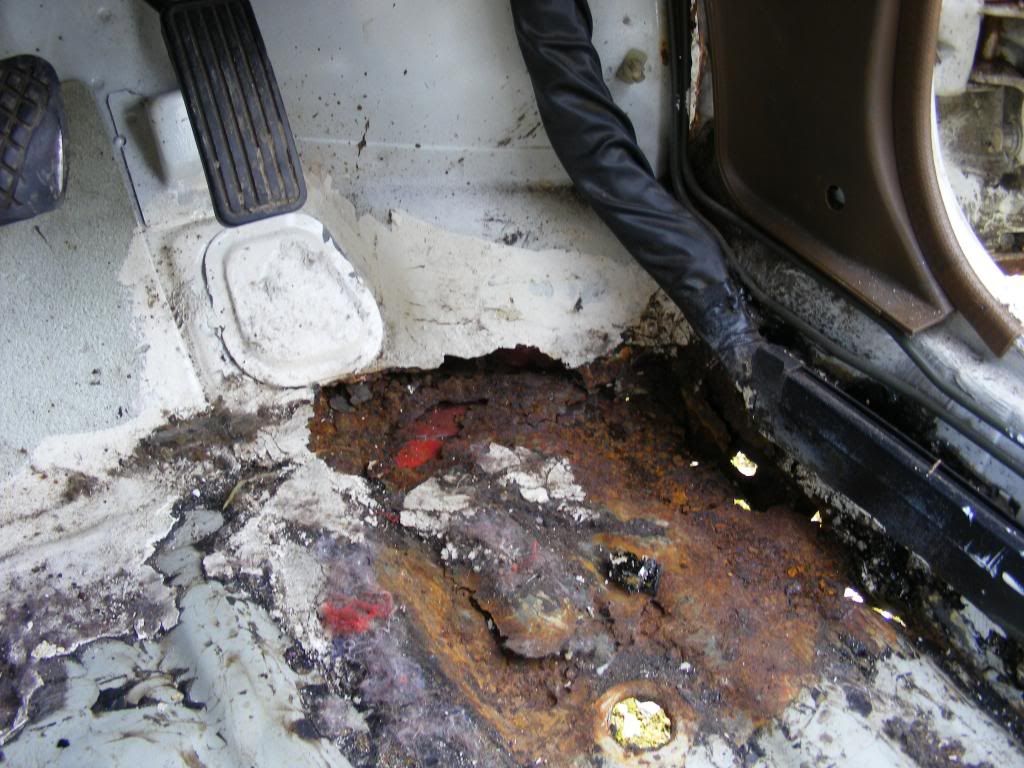
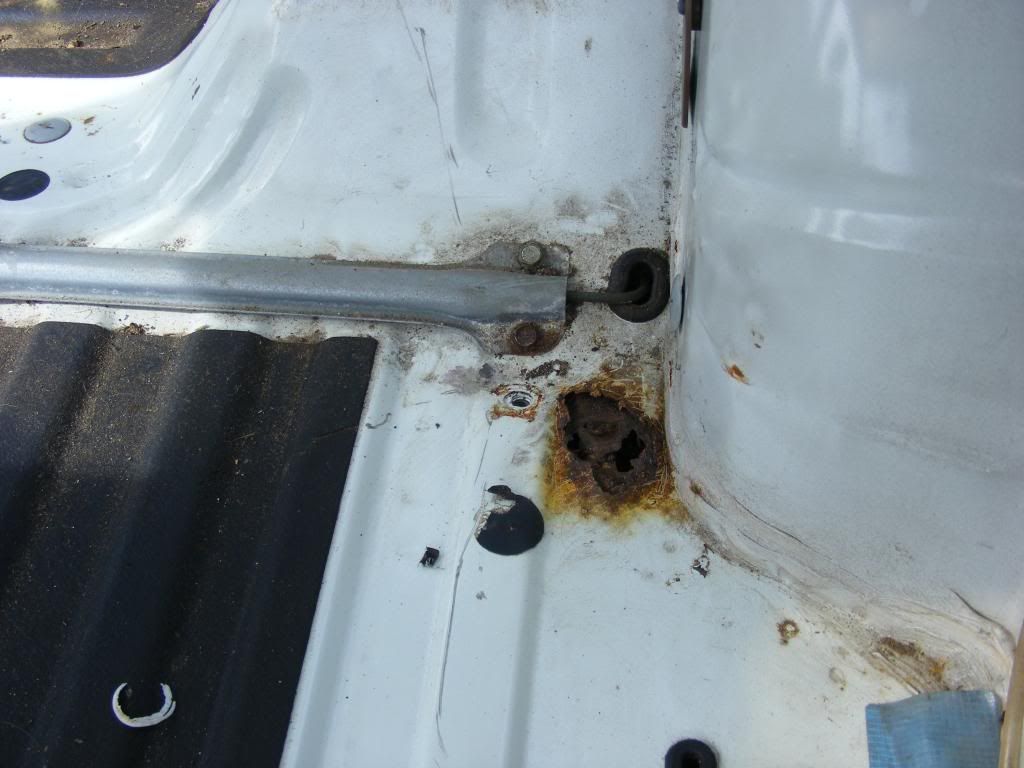
Here you can see where the footwells had corroded….
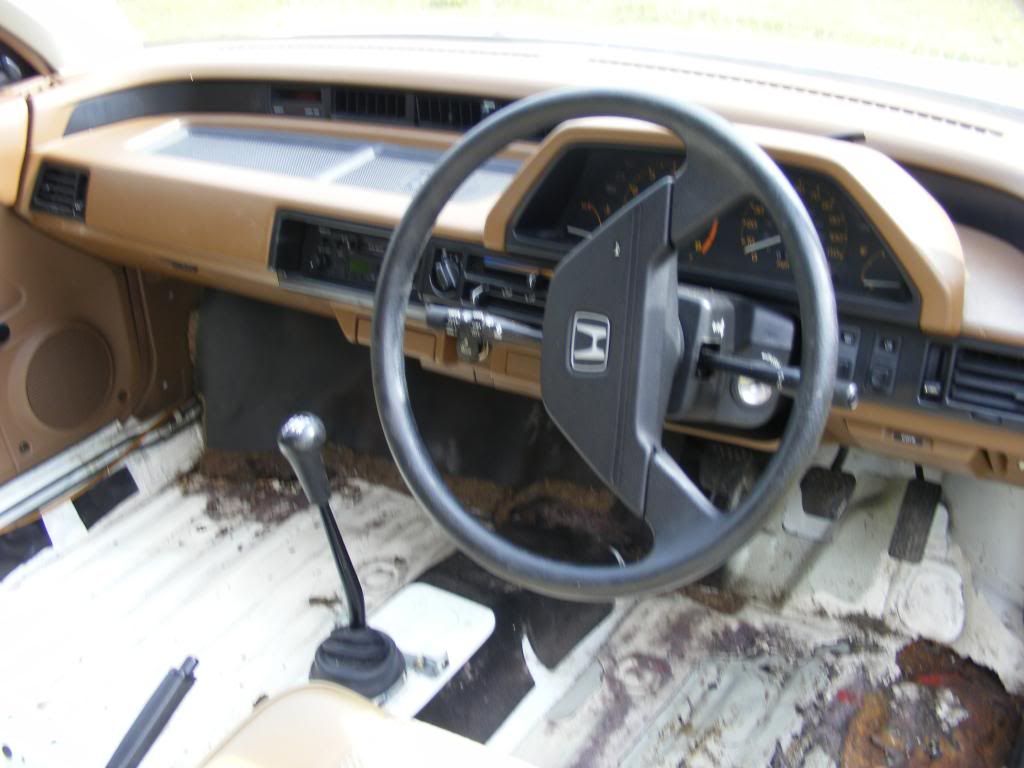
I didn't take pictures but the rear arches and both sills were also gone.
So after much deliberating as to whether or not the project was worth it i bit the bullet and got the old girl stripped down to go for welding,
welding list was as follows...
Replace both rear arches
Replace both sills
Rebuild front footwells and inner front arches (at the sill) from sheet metal
Repair inner rear arches both sides
Repair front inner arches around front wing mounts on both sides.
And here she was ready to go for her reconstructive surgery...
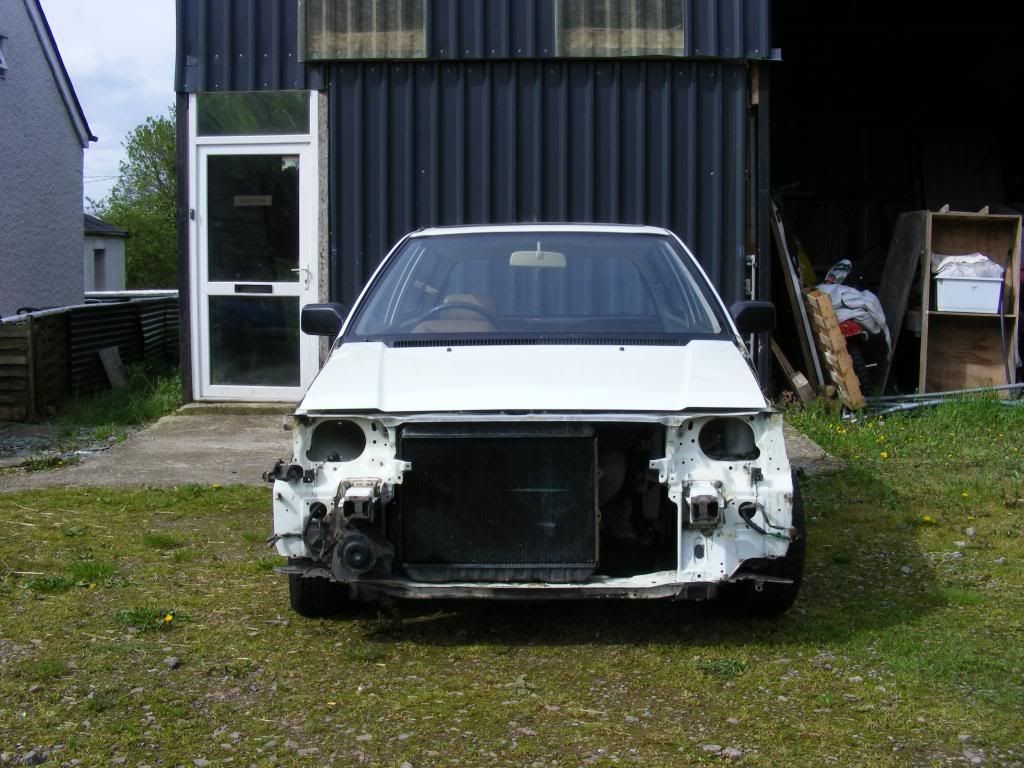
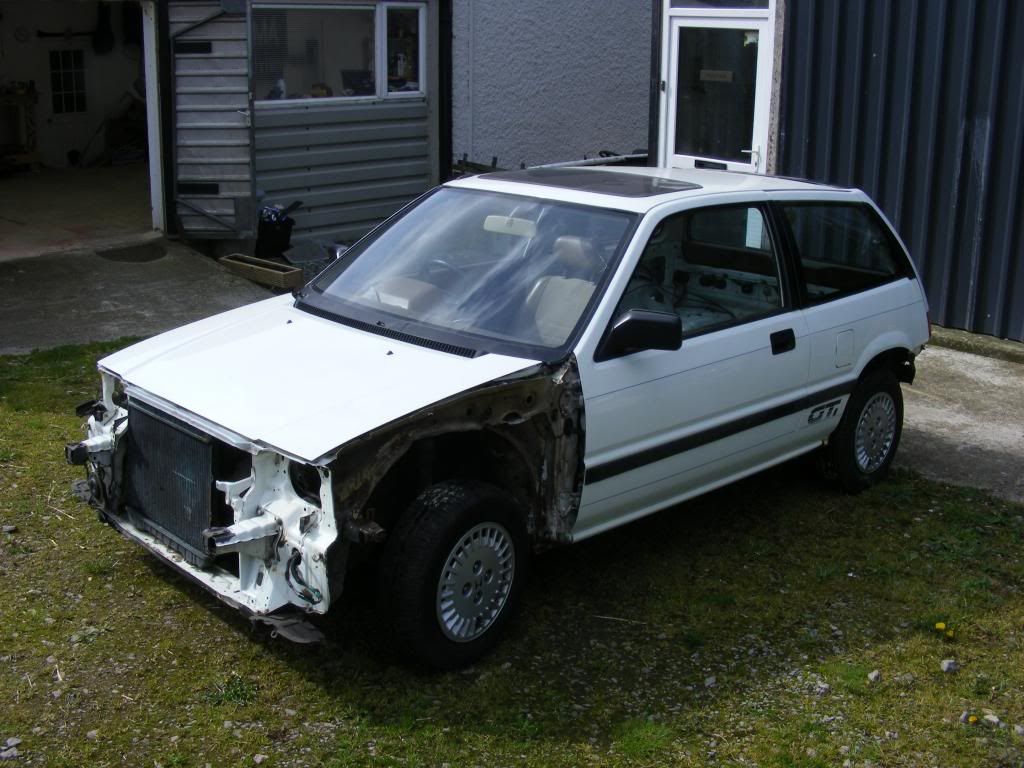
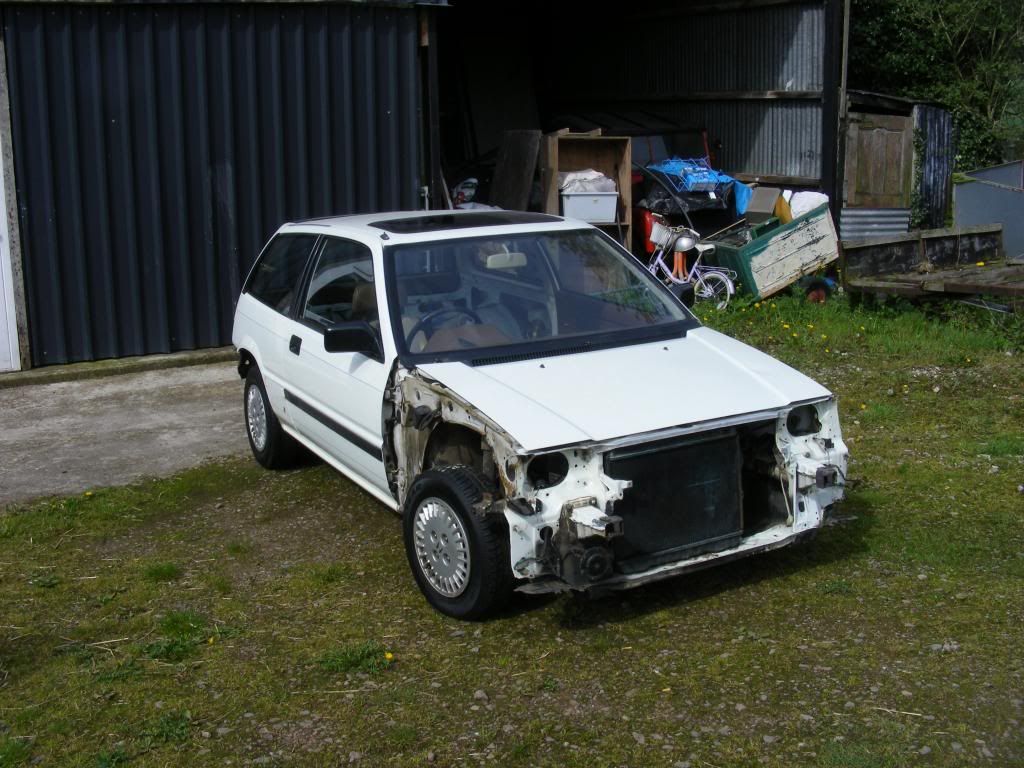
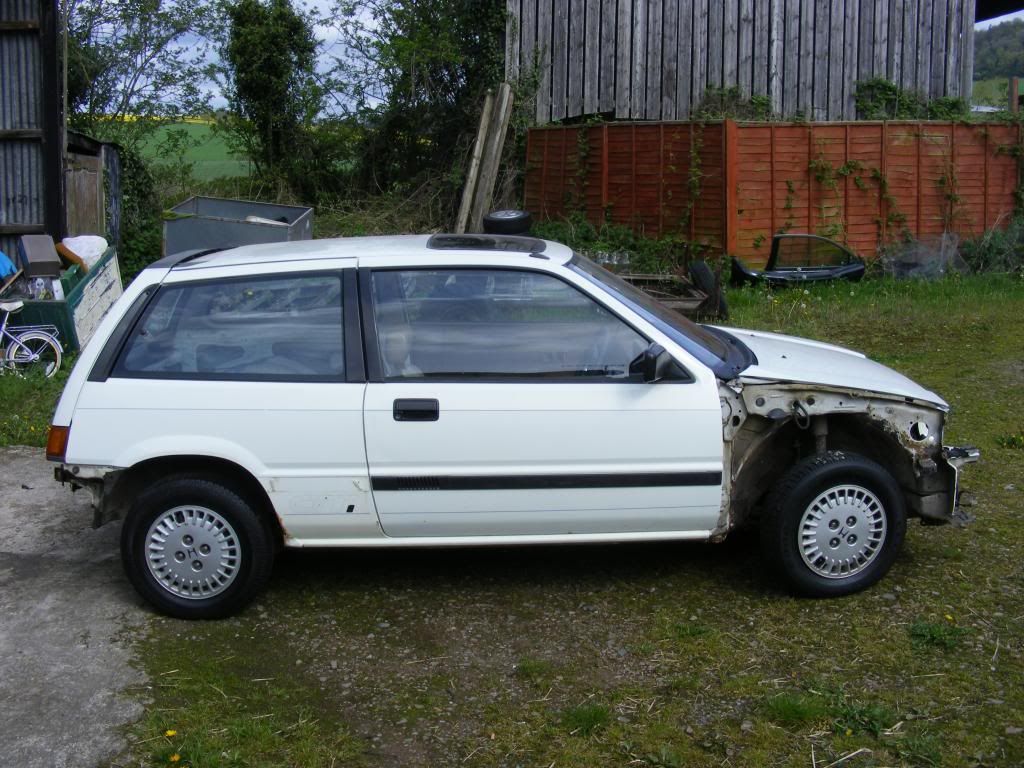
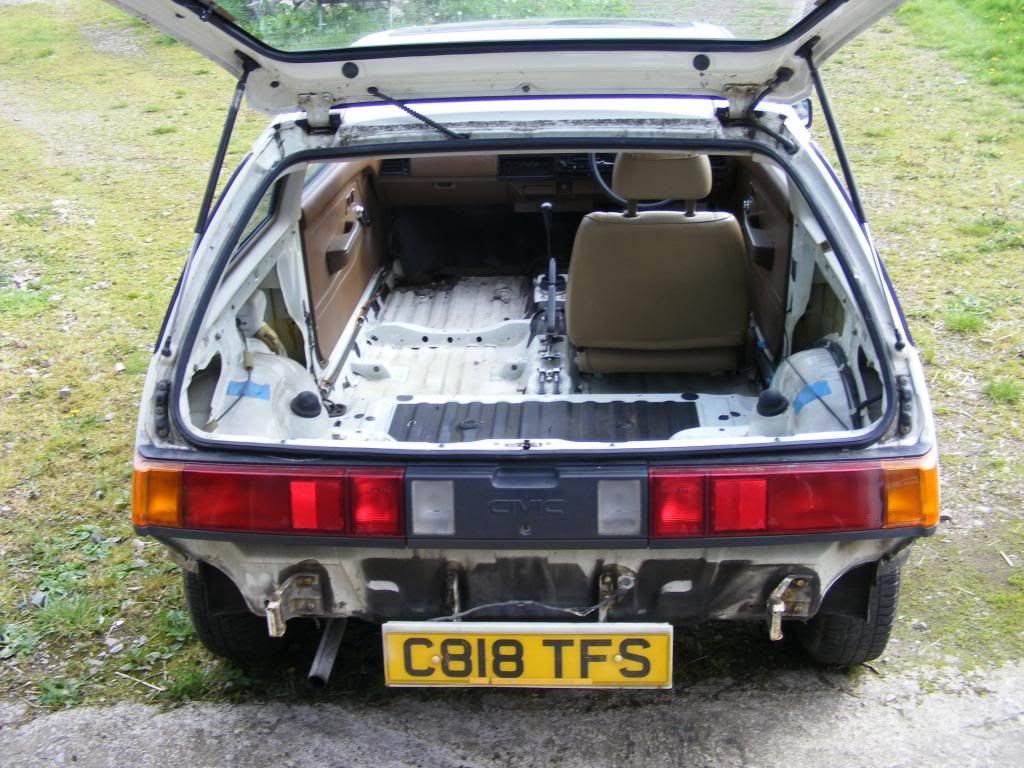
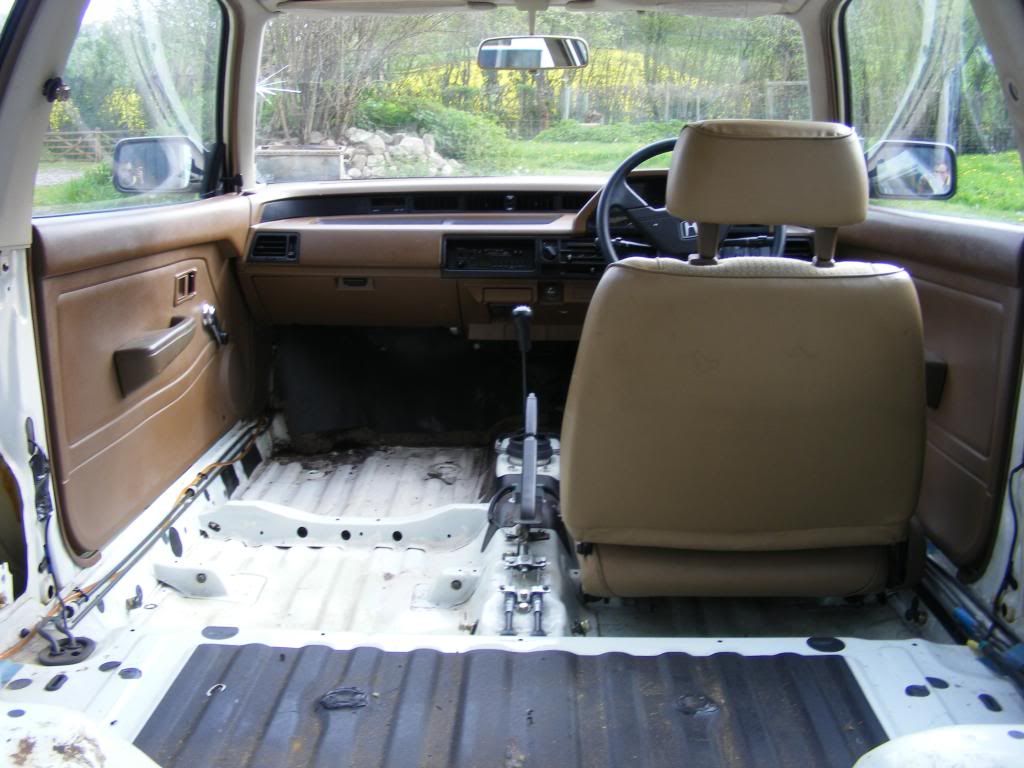
So thats how she stood at the end of May/ Start of June.
Rust Woes….
With the car being nearly 28 years old it was inevitable we would find some tin worm, we just didnt realise how much....


Here you can see where the footwells had corroded….

I didn't take pictures but the rear arches and both sills were also gone.
So after much deliberating as to whether or not the project was worth it i bit the bullet and got the old girl stripped down to go for welding,
welding list was as follows...
Replace both rear arches
Replace both sills
Rebuild front footwells and inner front arches (at the sill) from sheet metal
Repair inner rear arches both sides
Repair front inner arches around front wing mounts on both sides.
And here she was ready to go for her reconstructive surgery...


So thats how she stood at the end of May/ Start of June.
Re: My 86 GT....
Here she is in the welders unit, looking very sorry for herself….
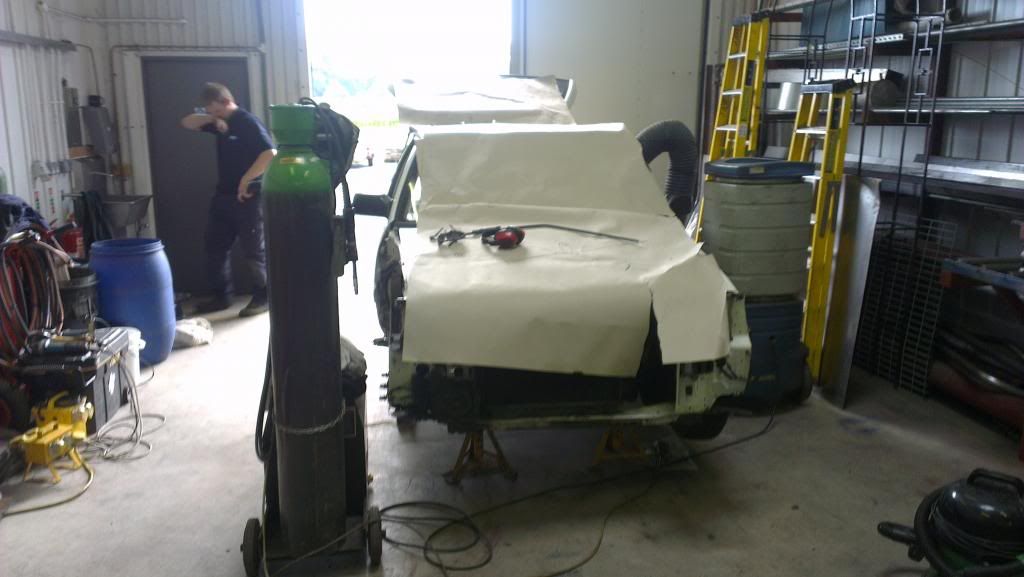
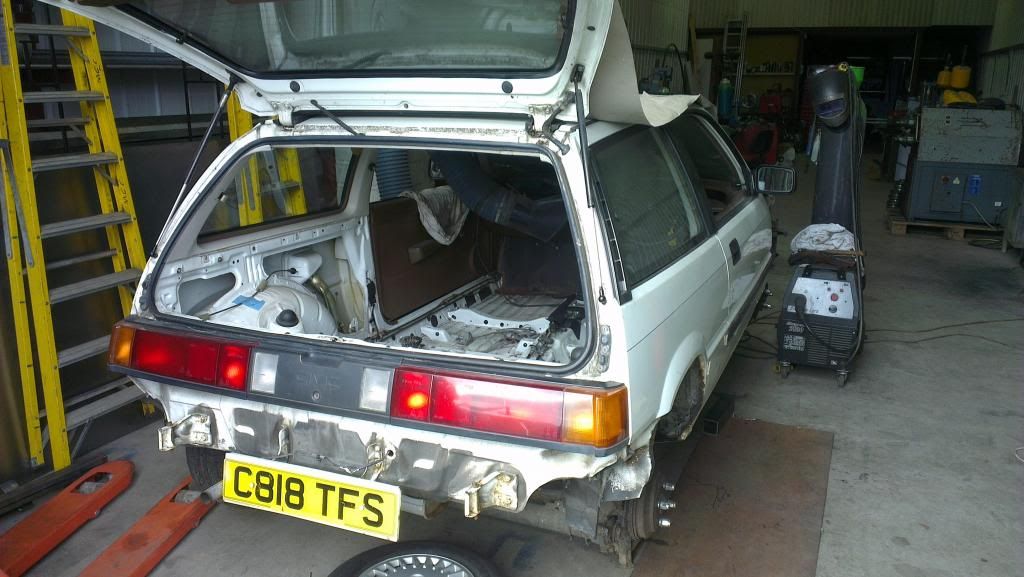
No more Fred Flintstone S*!t……
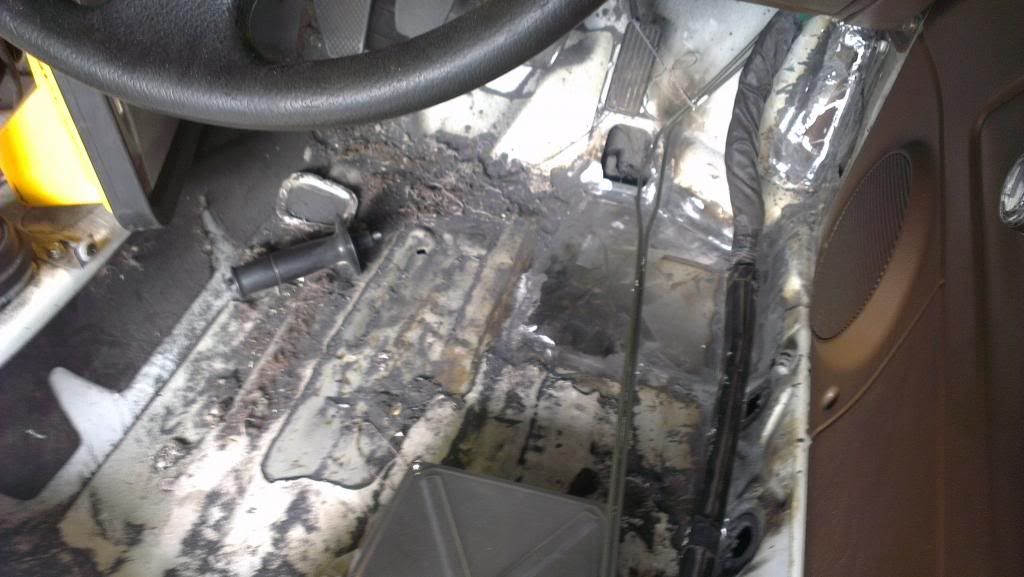


No more Fred Flintstone S*!t……

Re: My 86 GT....
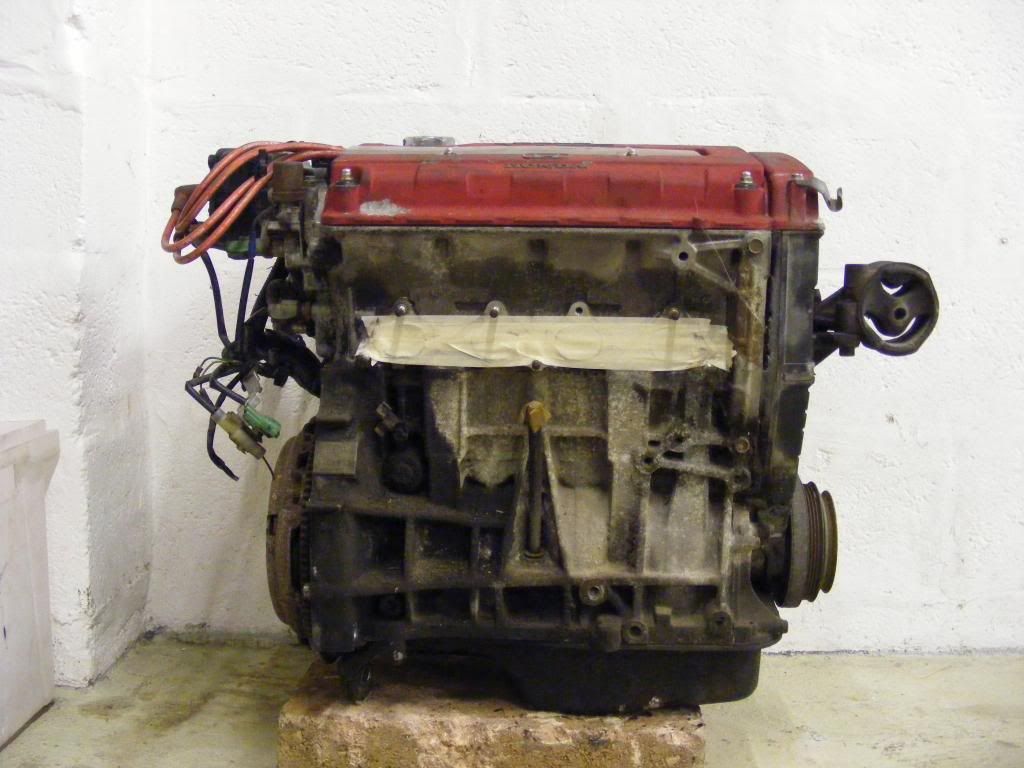
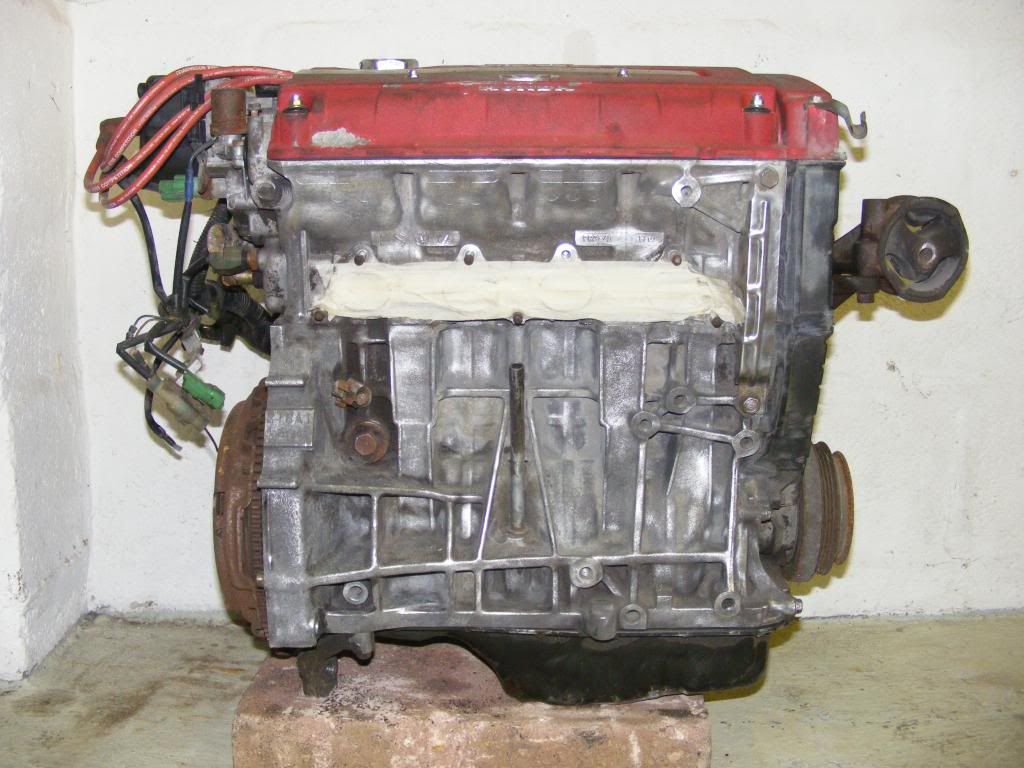
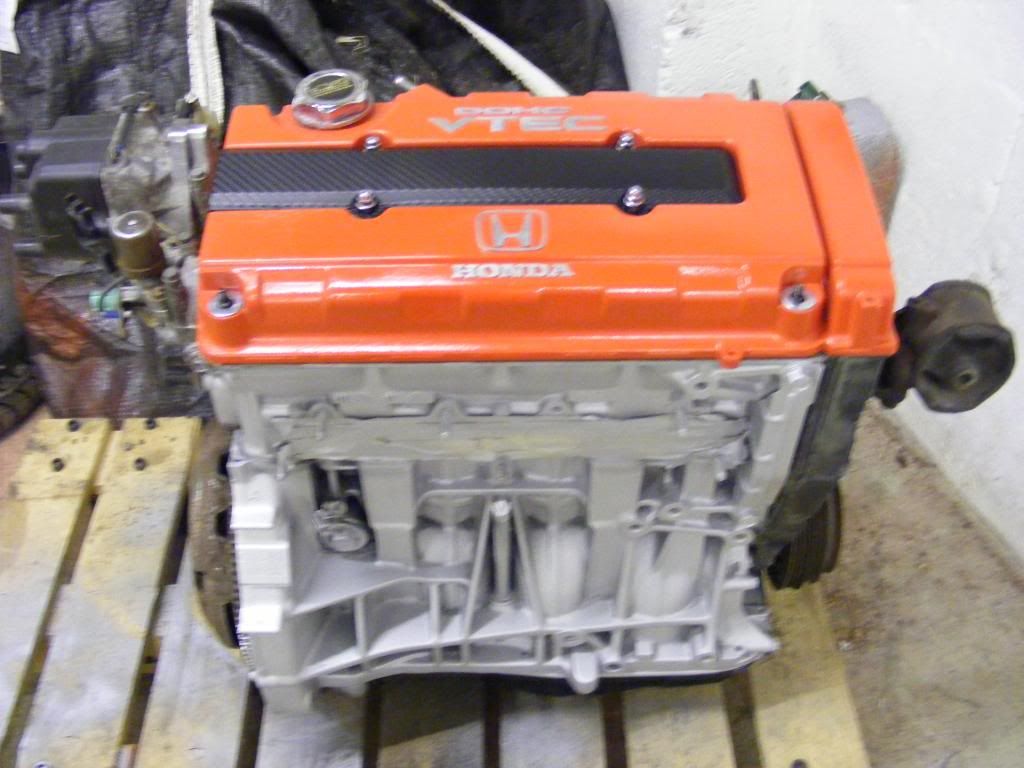
Whilst the old girl was away I thought it best I give the B16 a bit of TLC, 20 years on the road had taken its toll!
This is a very condensed down version of the clean up, it took many long and cold nights in the garage to get to the end product!
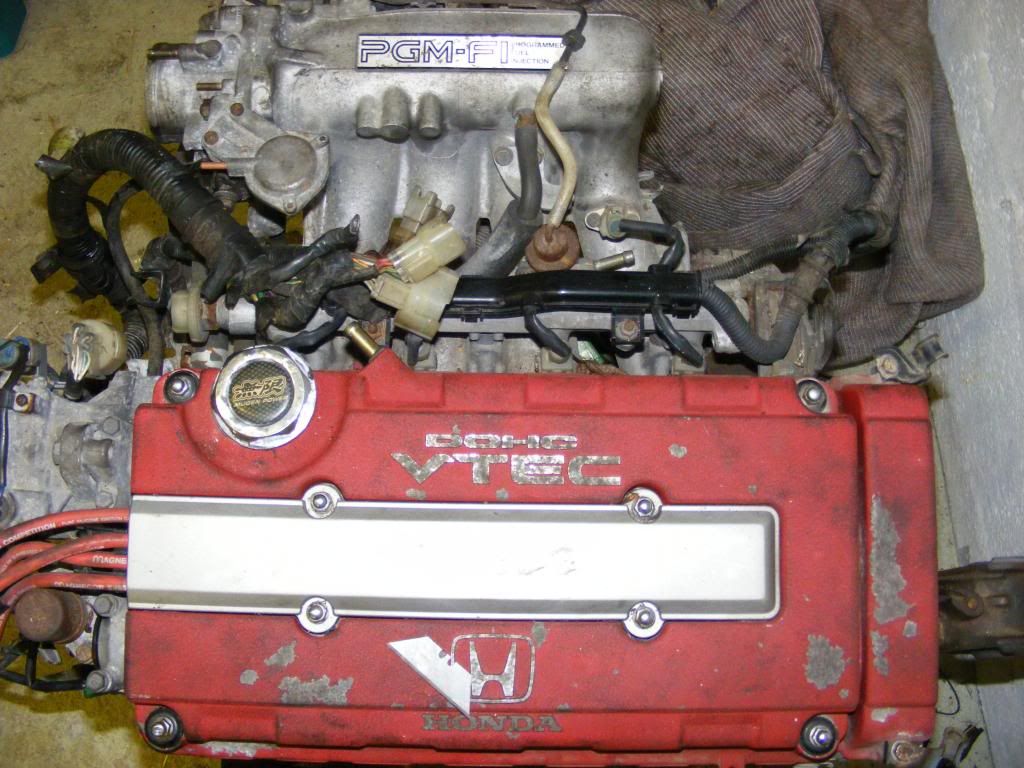
So I stripped the motor down to what you see below:
Then attacked it with the drill and wire brush…
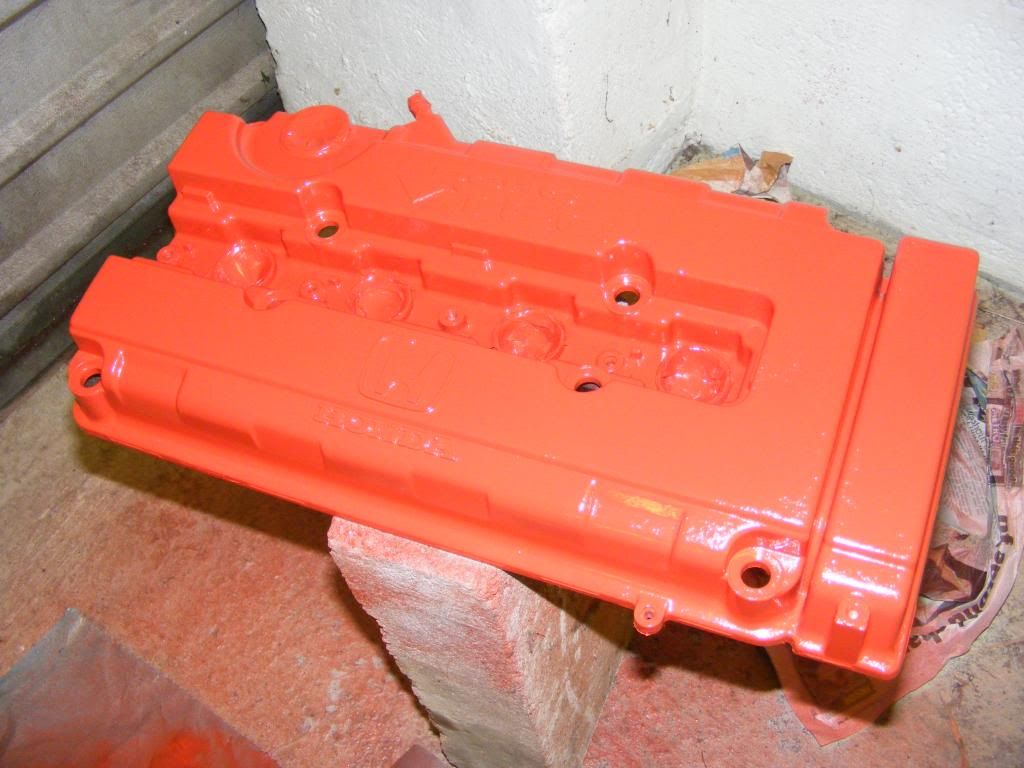
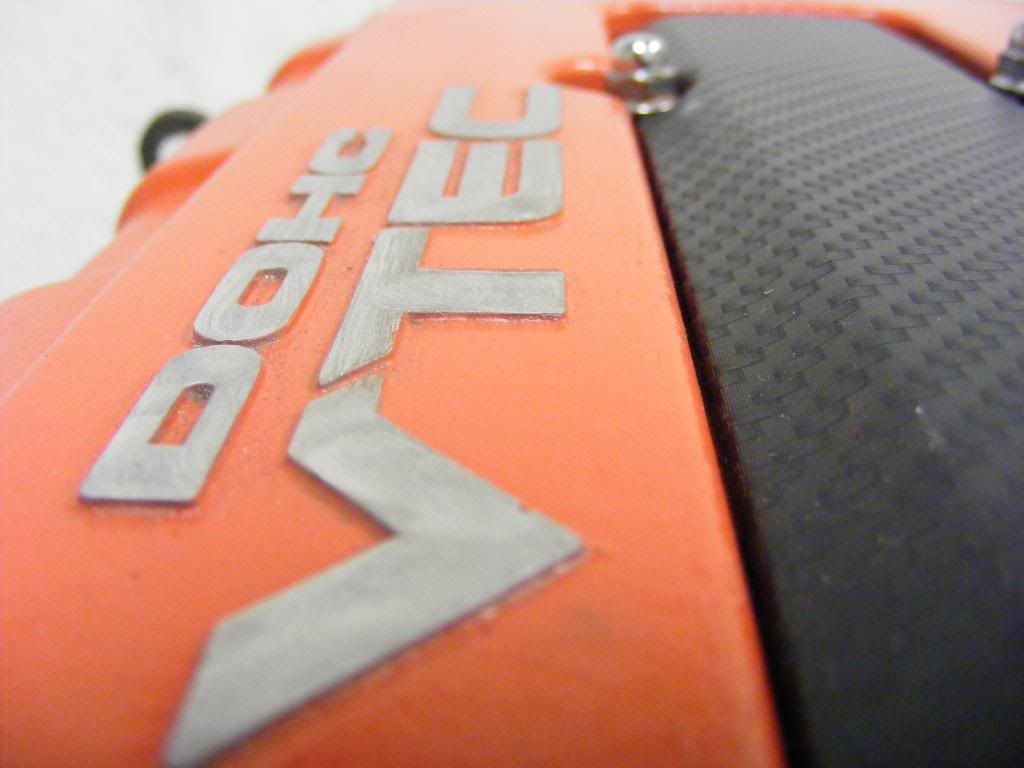
Then I sprayed the block up with VHT aluminium paint, put some fresh wrinkle on the rocker cover and she was good as new…
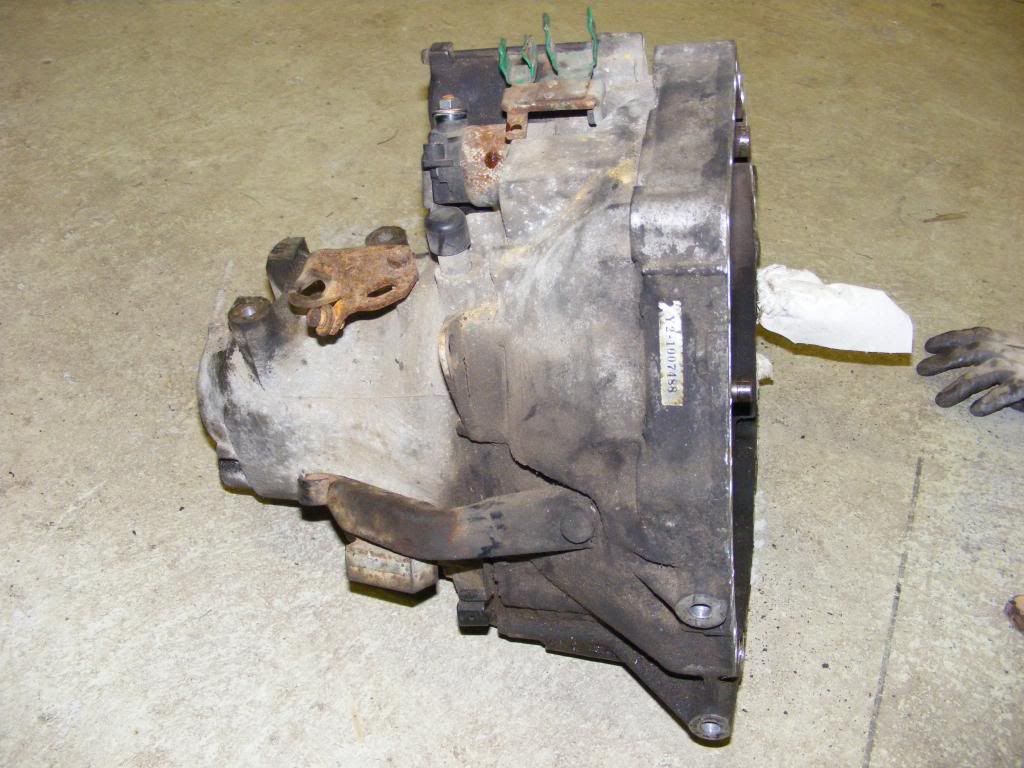
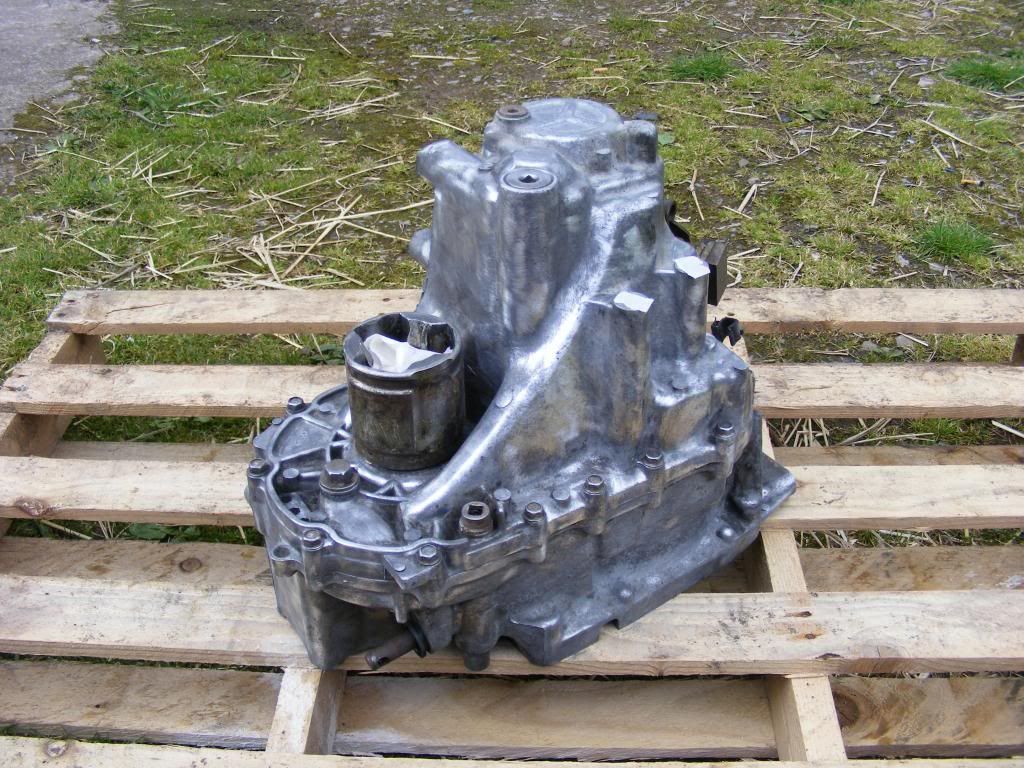
I also gave the gearbox the same treatment but I cant find a picture of it all painted up? I’ll get one and add it.
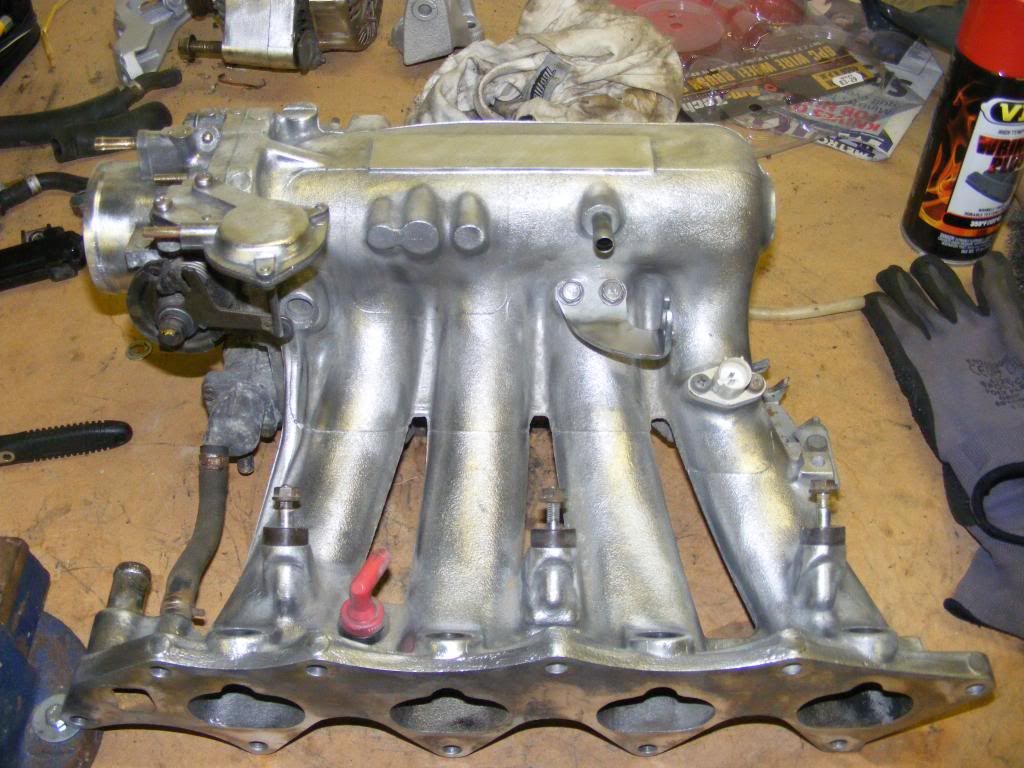
The inlet manifold was also treated to a clean up…
Then the car came back from the welders at the end of august so a standard ‘old vs new’ shot for you!
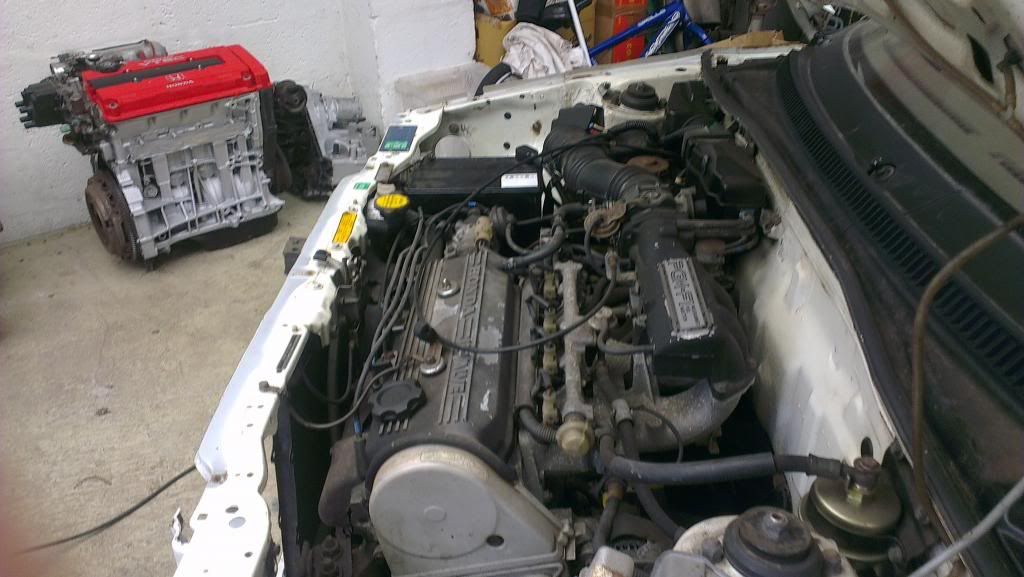
This is a very condensed down version of the clean up, it took many long and cold nights in the garage to get to the end product!
So I stripped the motor down to what you see below:

Then attacked it with the drill and wire brush…

Then I sprayed the block up with VHT aluminium paint, put some fresh wrinkle on the rocker cover and she was good as new…


I also gave the gearbox the same treatment but I cant find a picture of it all painted up? I’ll get one and add it.


The inlet manifold was also treated to a clean up…


Then the car came back from the welders at the end of august so a standard ‘old vs new’ shot for you!

Re: My 86 GT....
Next step was to get the old EW3 1.5 motor out….
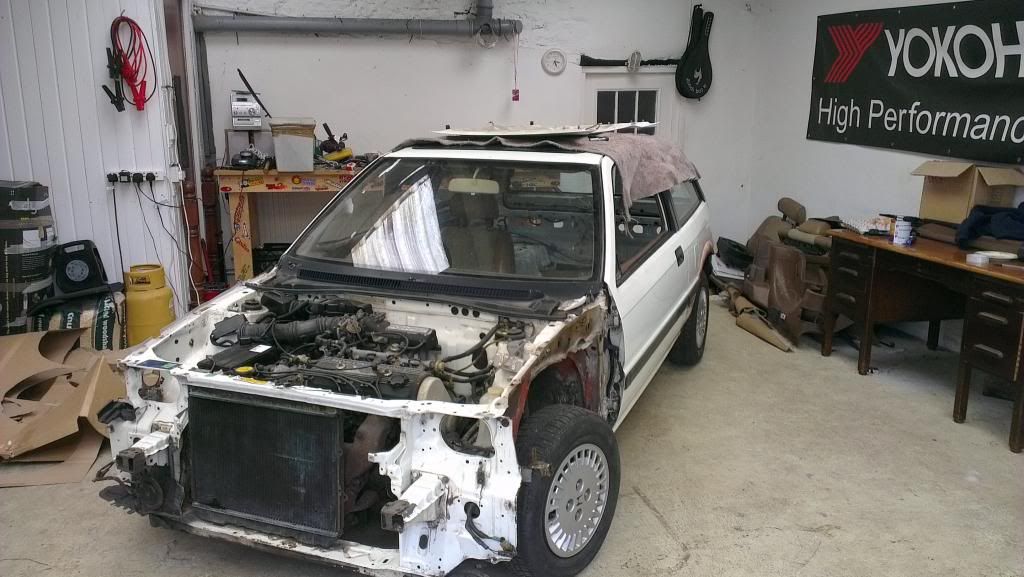
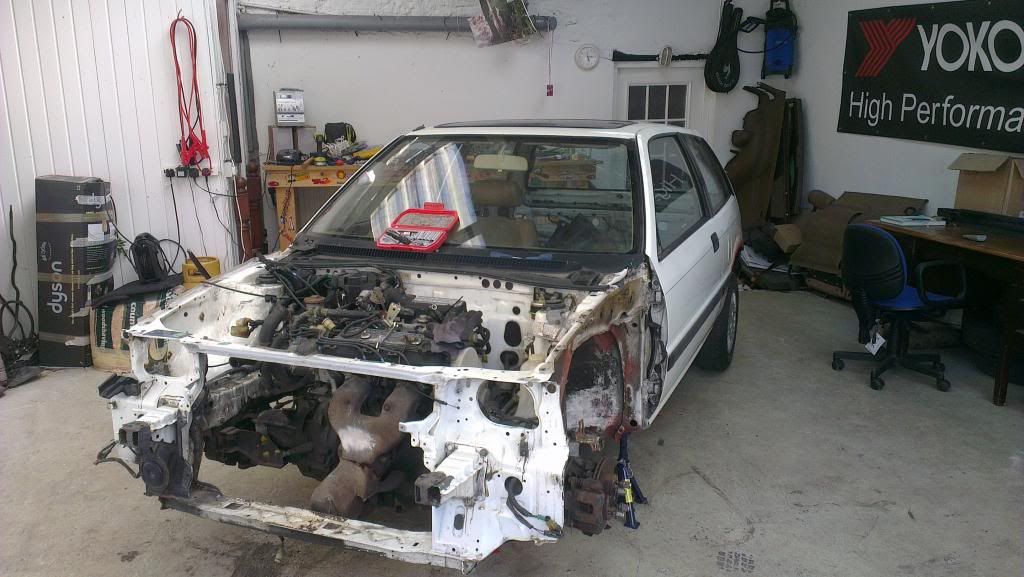
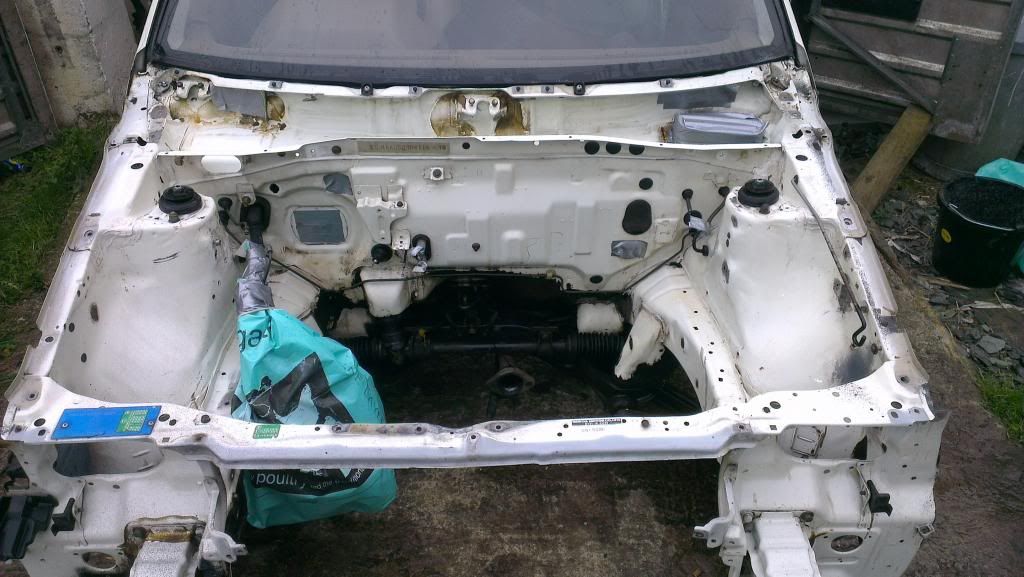
Then I used stonechip on the inner arches and undersealed the floorpan, no photos of this I’m afraid but you can see the black inner arches when I wheeled her out to degrease the engine bay…
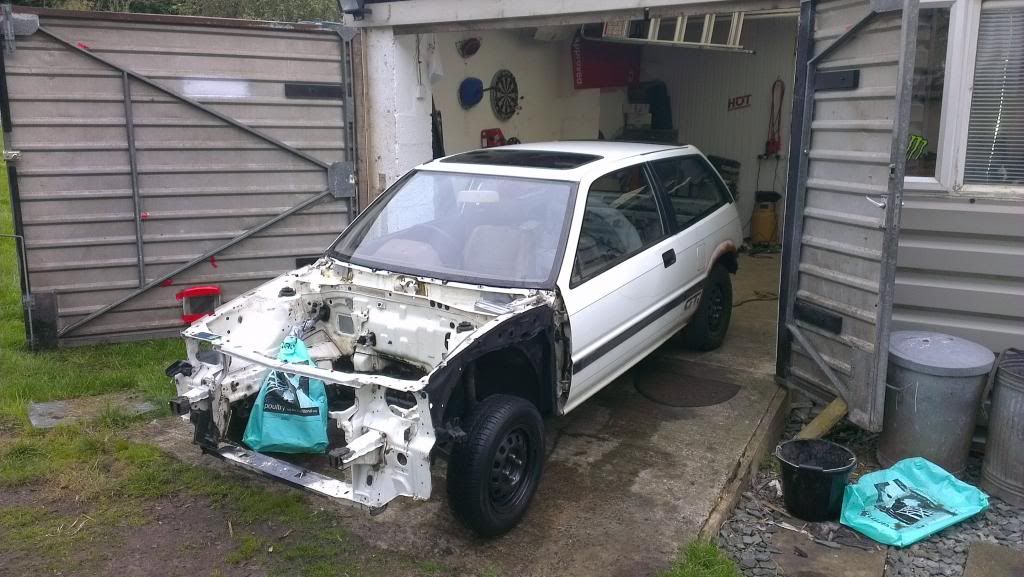
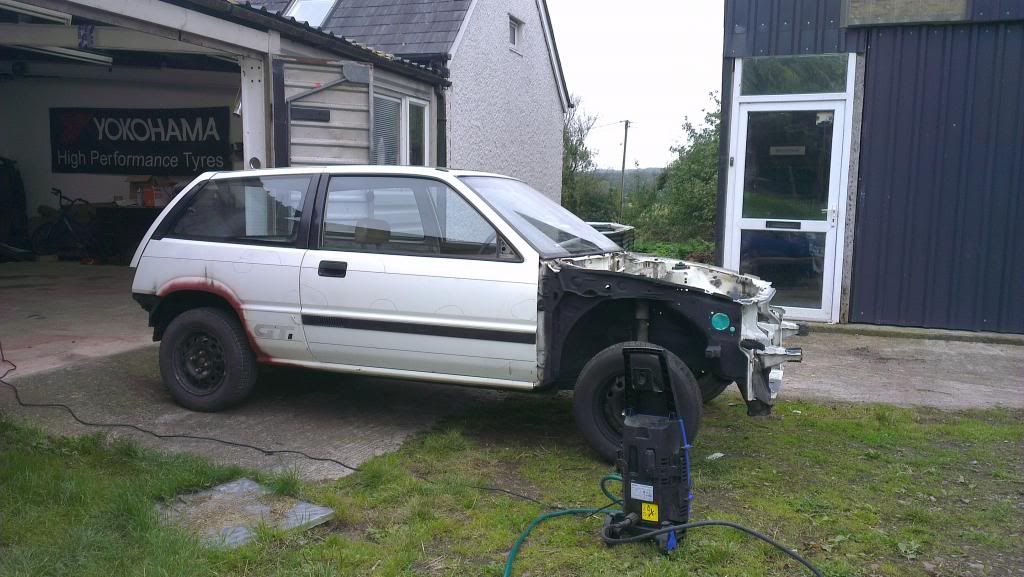
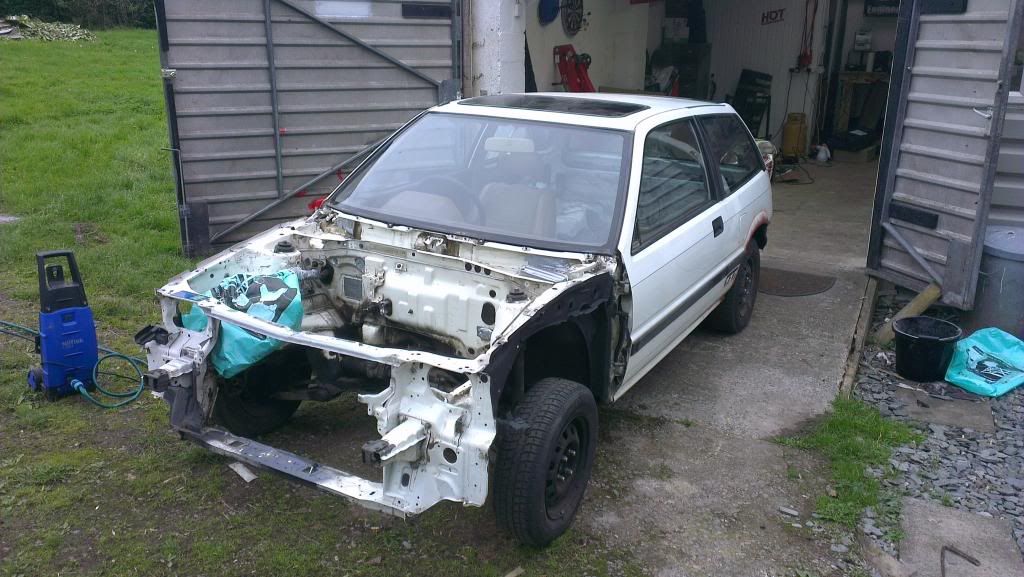


Then I used stonechip on the inner arches and undersealed the floorpan, no photos of this I’m afraid but you can see the black inner arches when I wheeled her out to degrease the engine bay…


- widowmaker
- Moderator

- Posts: 8097
- Joined: Wed Jul 04, 2007 10:46 pm
Re: My 86 GT....
I have a soft spot for the 3g's 

I owned a few myself, i just wish i had kept one
Will be keeping an eye on the project
I owned a few myself, i just wish i had kept one
Will be keeping an eye on the project
No longer on the 'sucker list'
Re: My 86 GT....
looking good some graft has gone on hear
The build viewtopic.php?f=19&t=29771" onclick="window.open(this.href);return false;
Re: My 86 GT....
Cheers for the comments guys, far more positive than the usual one's i hear from the wife about it!
Re: My 86 GT....
Been plodding along with her slowly, it’s cold in the garage at this time of year!
Pulled the front subframe off…
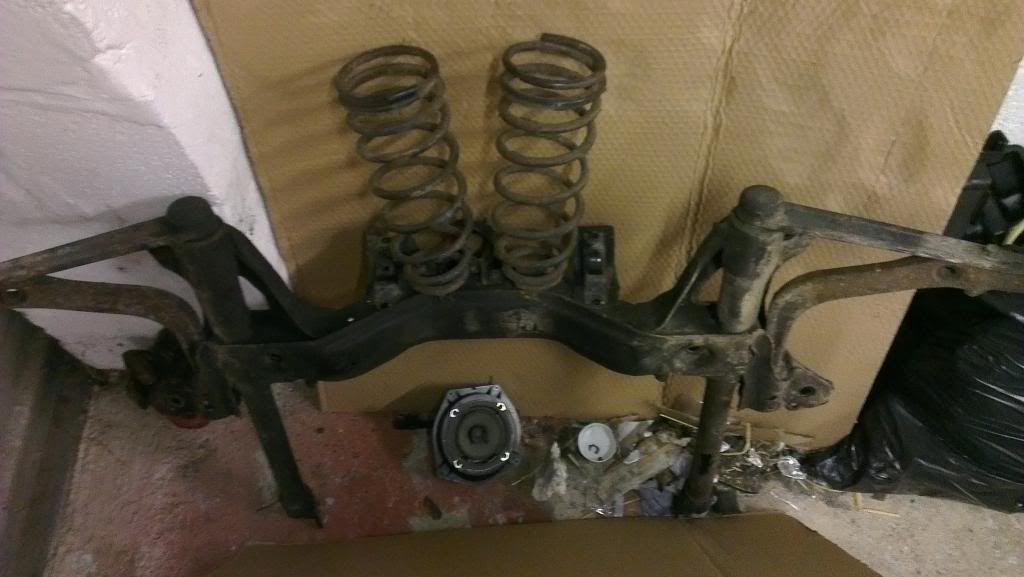
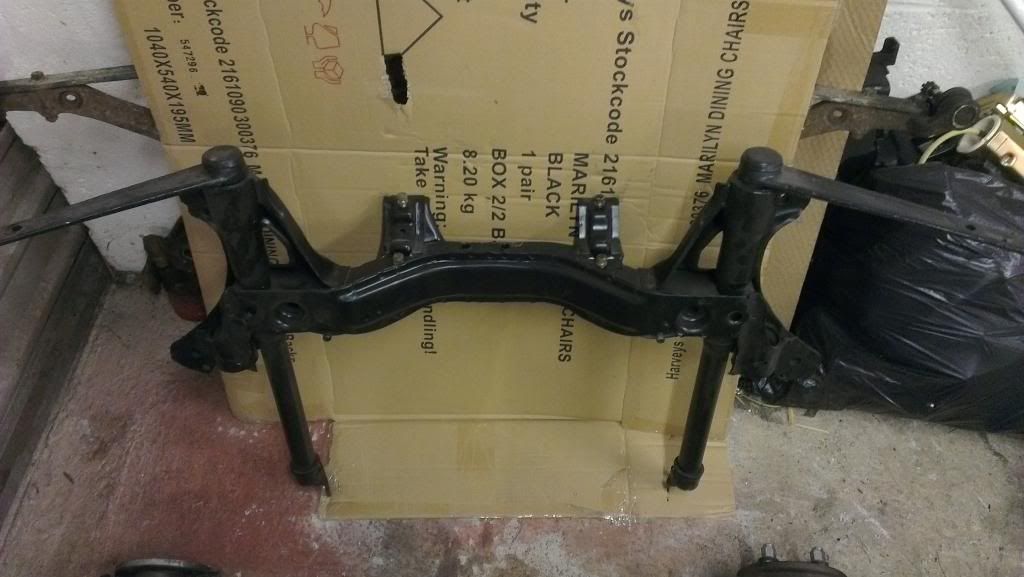
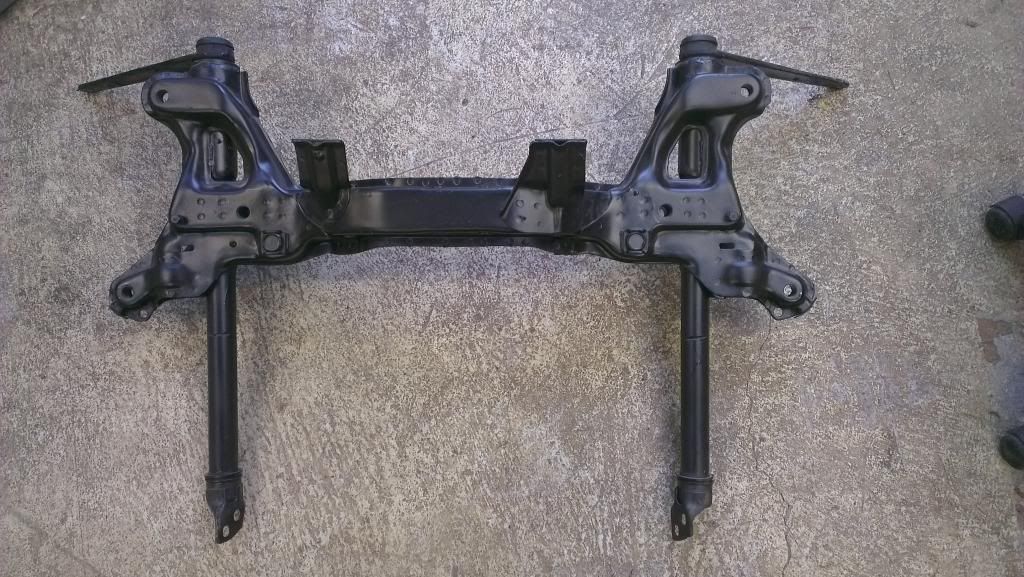
sent it off to be sand blasted and coated in rust inhibitor…
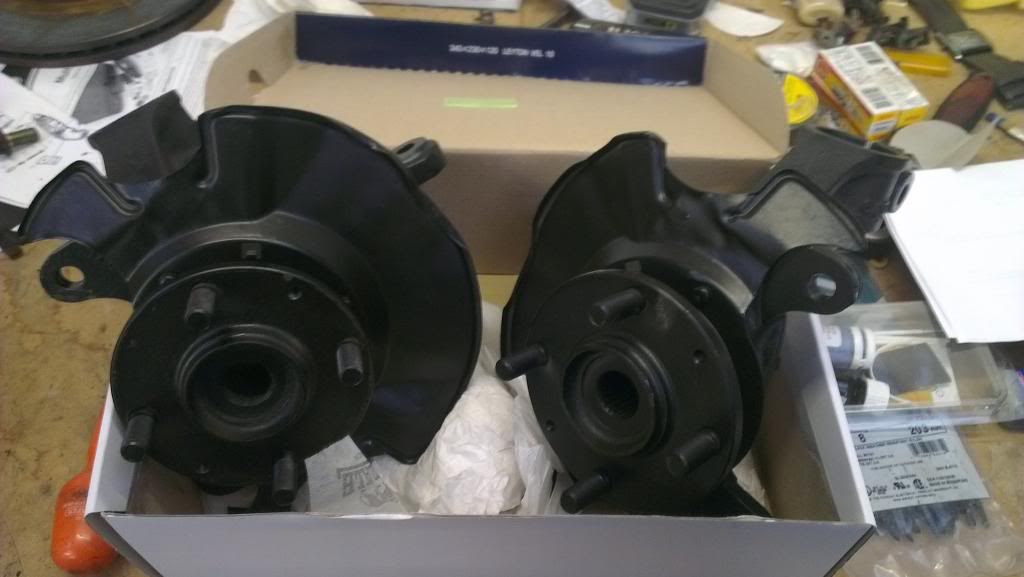
Also had the front hubs blasted and coated…
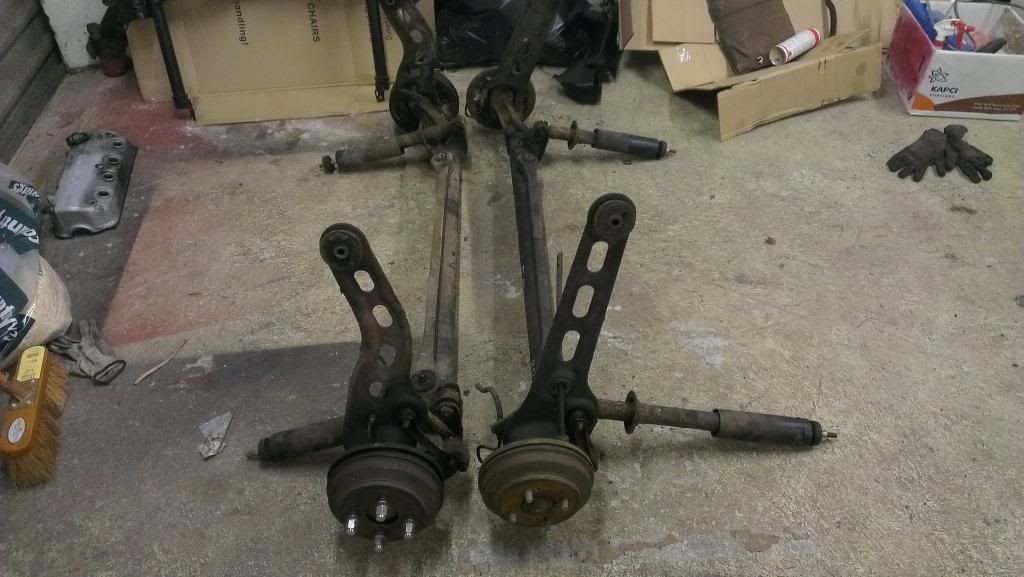
Pulled the rear beam off too, here it is on the left with a spare I acquired along the way…
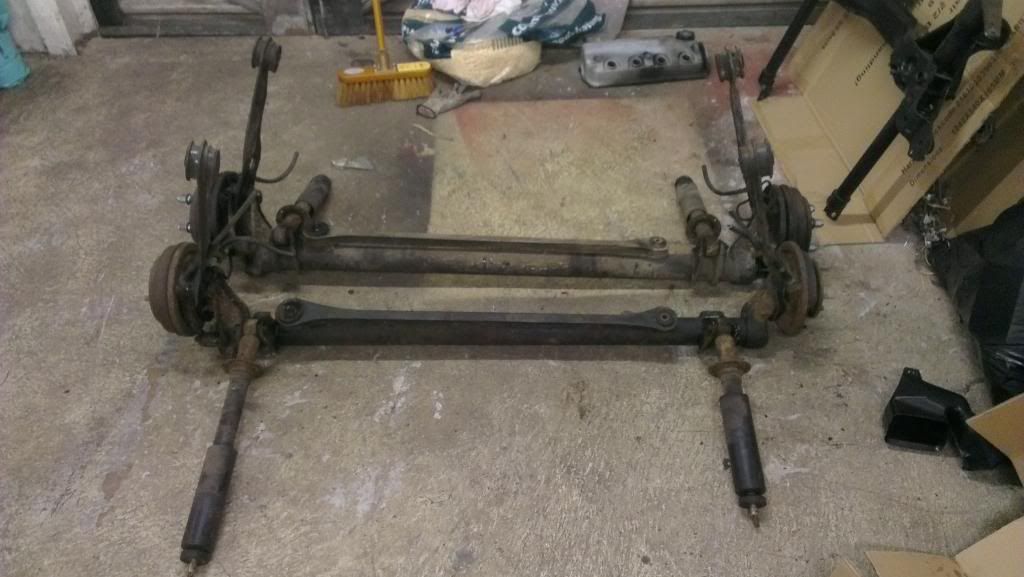
I’m collecting the rear beam, panhard rod and front anti roll bar from the blasters this week so no pretty photos of them yet.
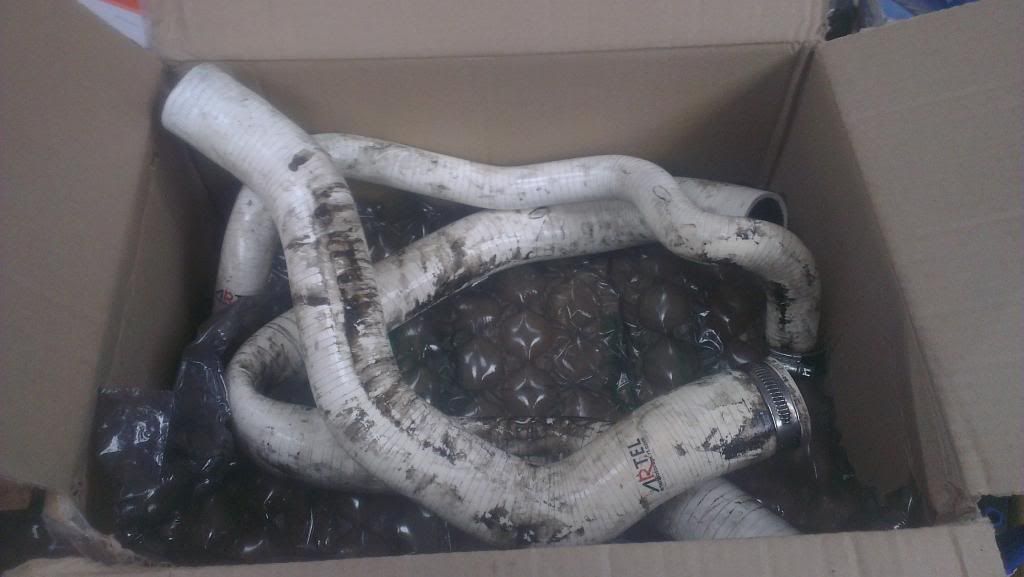
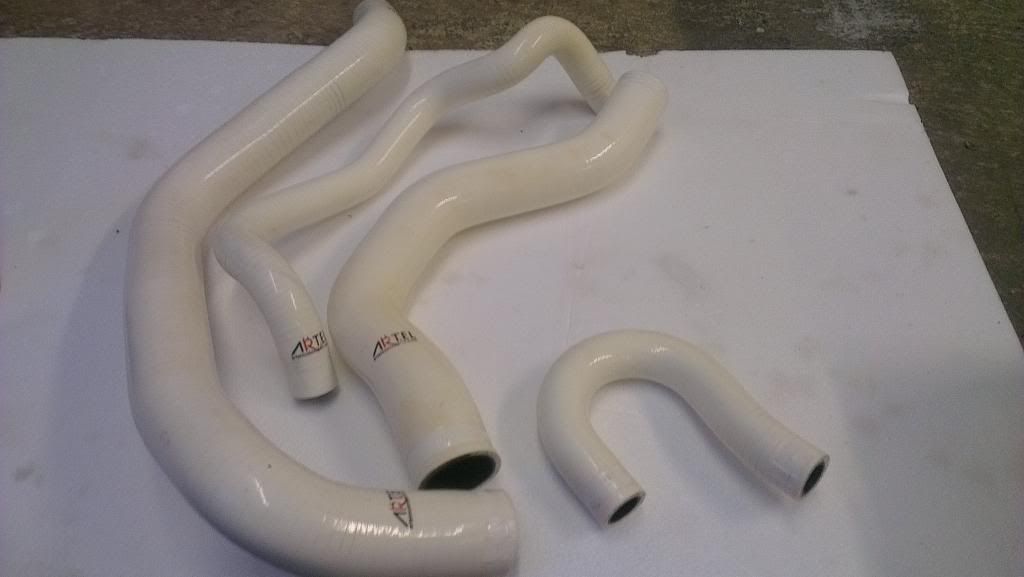
I bought a set of used Artel silicone hoses and they turned up last week so when I had 5 minutes I gave those a clean up…
Before…
After….
I’d also intended to use a set of spare 282mm Calipers I had so I gave them a fresh coat of paint..
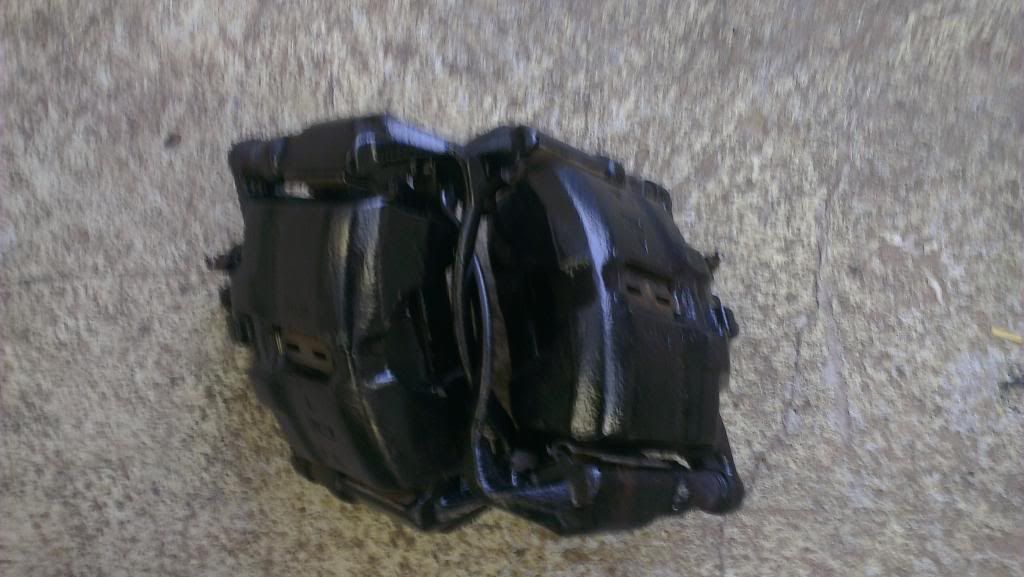
But I have since decided to run 262mm fronts so I swapped them with Ieaun (Rmotion CRX) for his 262’s. They are currently on the bench awaiting preparation.
Next was a job I’d been putting off for far too long, getting the bay freshened up.
I spent countless hours rubbing the bay down to get it to this stage, no in progress photos as my hands were crippled from the sanding!
Masked off for primer…
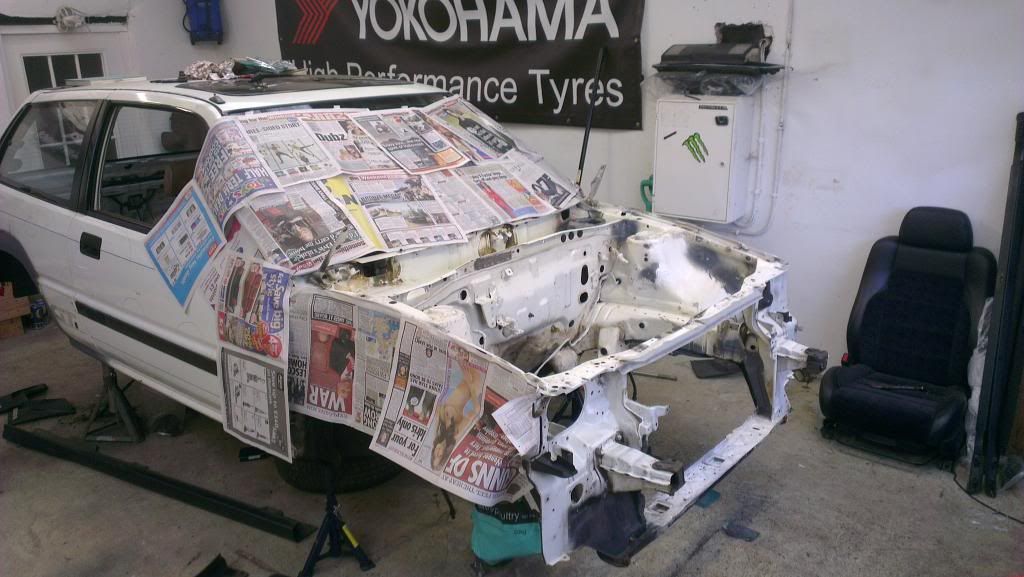
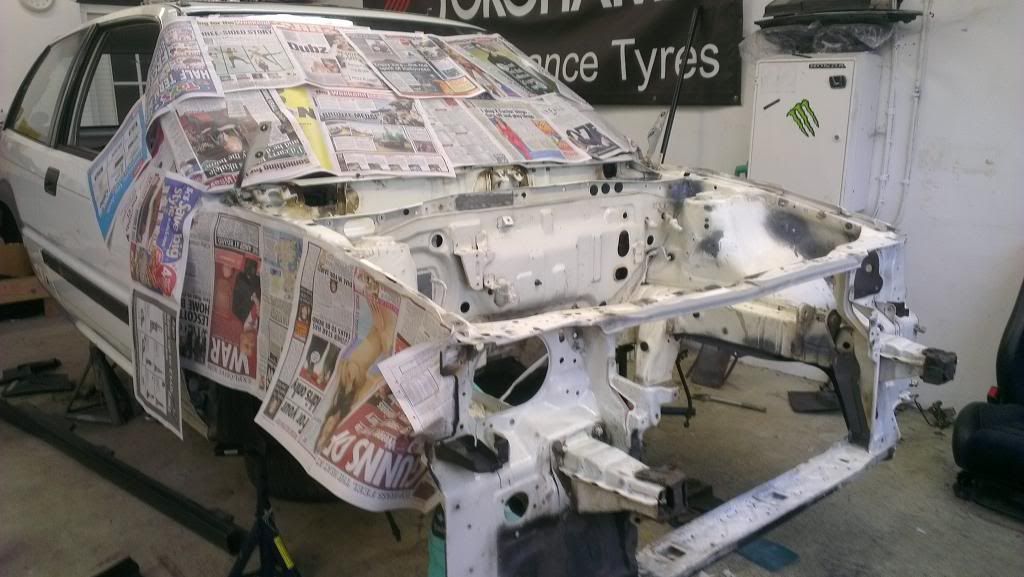
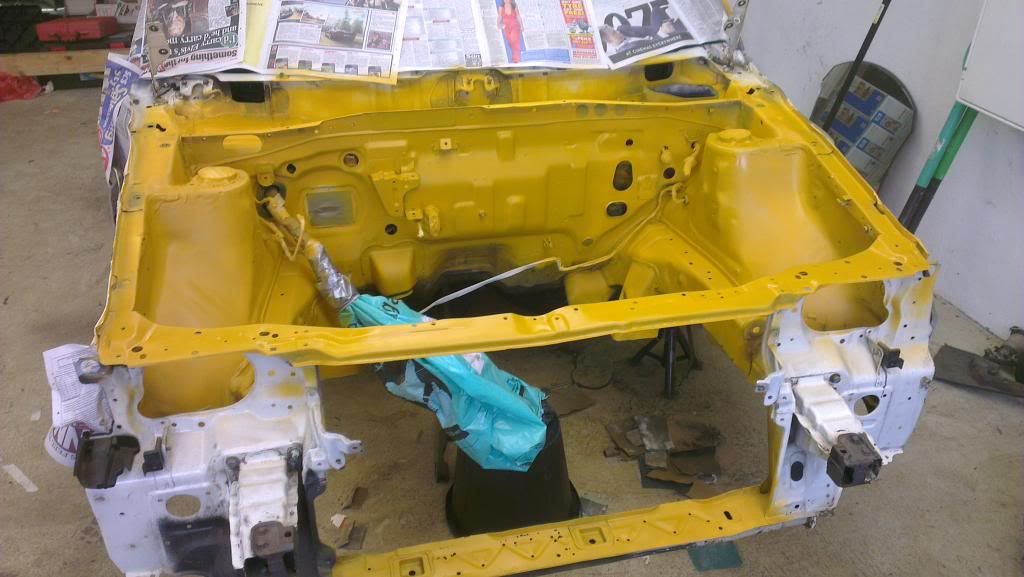
I then layed several coats of filler primer to smooth out any of my sanding errors…
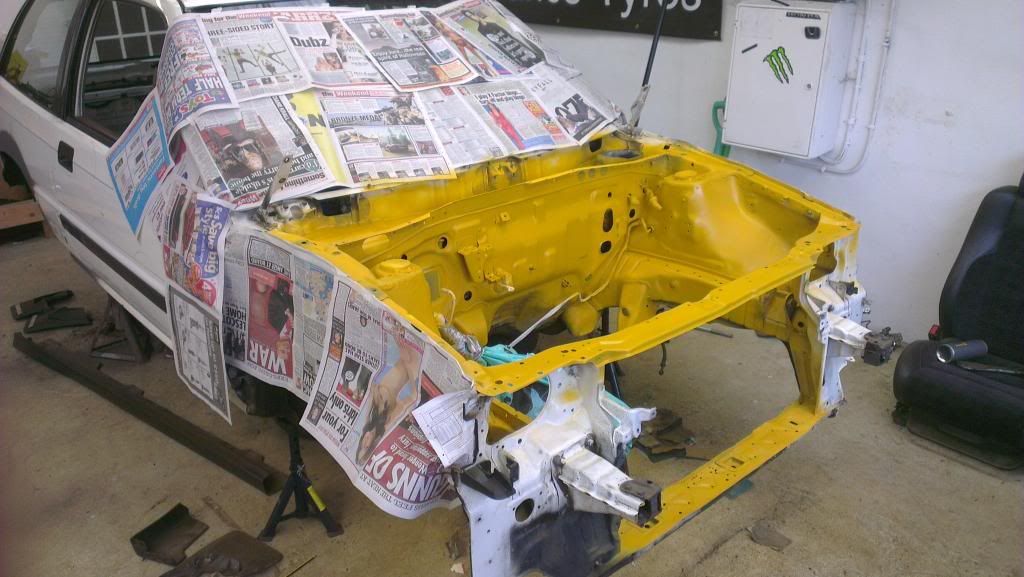
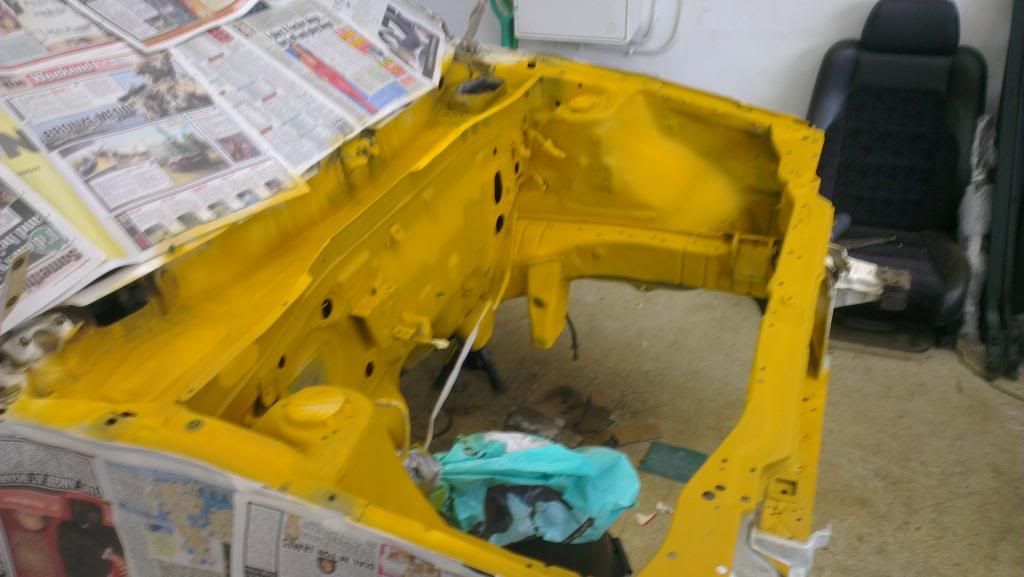
Pulled the front subframe off…

sent it off to be sand blasted and coated in rust inhibitor…


Also had the front hubs blasted and coated…

Pulled the rear beam off too, here it is on the left with a spare I acquired along the way…


I’m collecting the rear beam, panhard rod and front anti roll bar from the blasters this week so no pretty photos of them yet.
I bought a set of used Artel silicone hoses and they turned up last week so when I had 5 minutes I gave those a clean up…
Before…

After….

I’d also intended to use a set of spare 282mm Calipers I had so I gave them a fresh coat of paint..

But I have since decided to run 262mm fronts so I swapped them with Ieaun (Rmotion CRX) for his 262’s. They are currently on the bench awaiting preparation.
Next was a job I’d been putting off for far too long, getting the bay freshened up.
I spent countless hours rubbing the bay down to get it to this stage, no in progress photos as my hands were crippled from the sanding!
Masked off for primer…


I then layed several coats of filler primer to smooth out any of my sanding errors…


Re: My 86 GT....
Painted up the 262 calipers
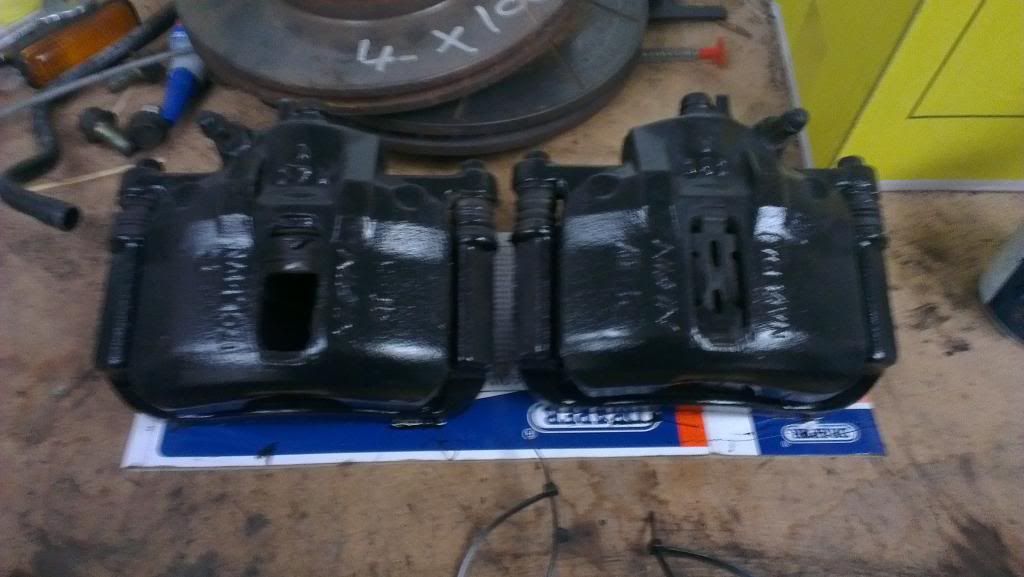
And……
Got a nice fresh coat of NH0 on the engine bay, really pleased with the finish (I owe a lot of the final quality to the gas heater I borrowed from a friend, being able to warm the bay up and then bake it on was a lifesaver)
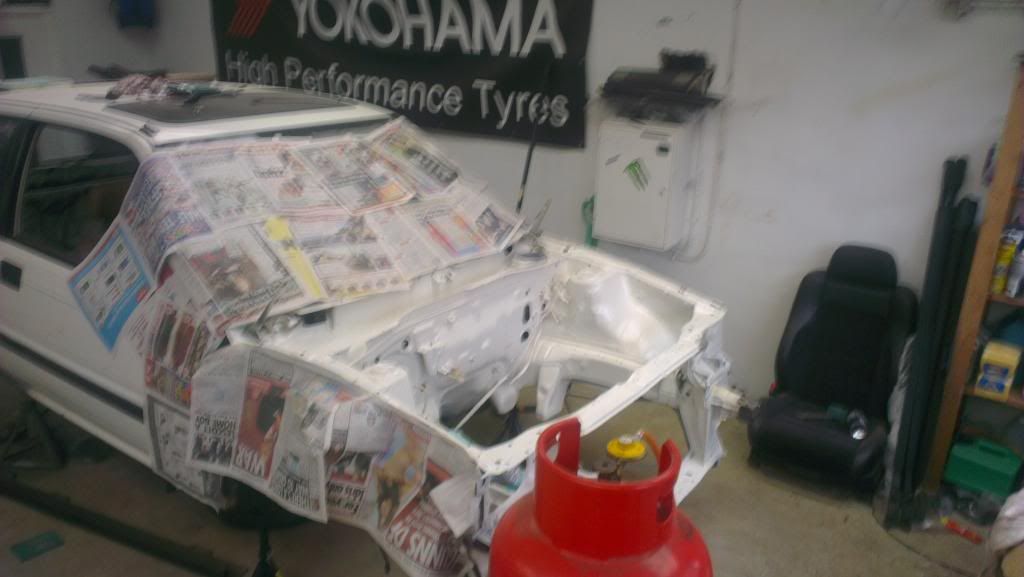
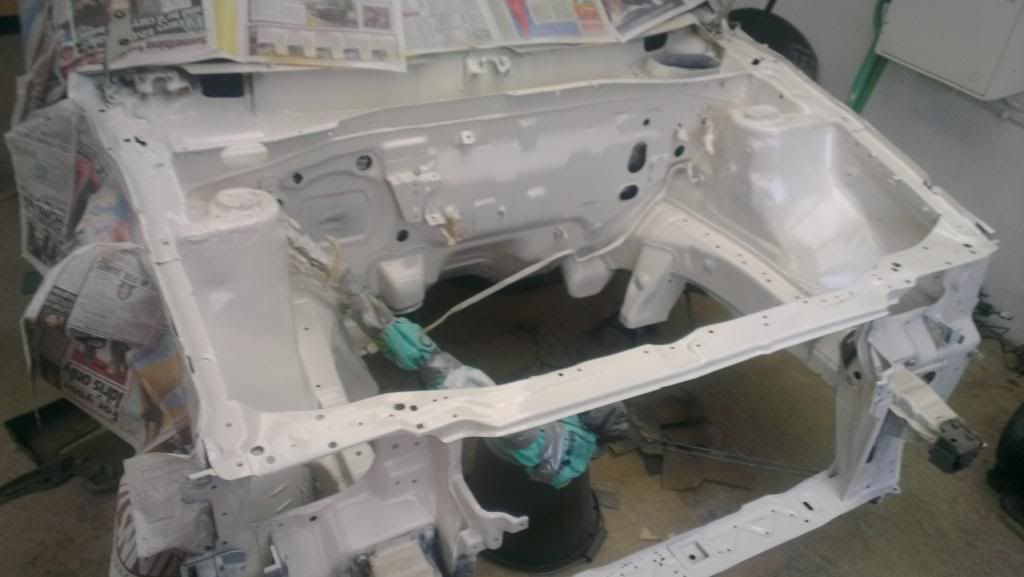
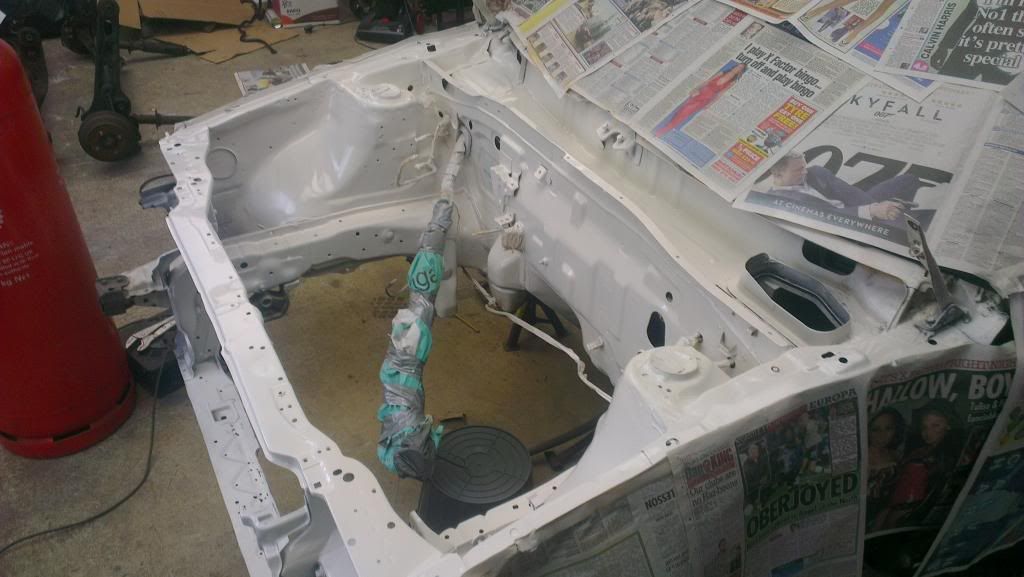
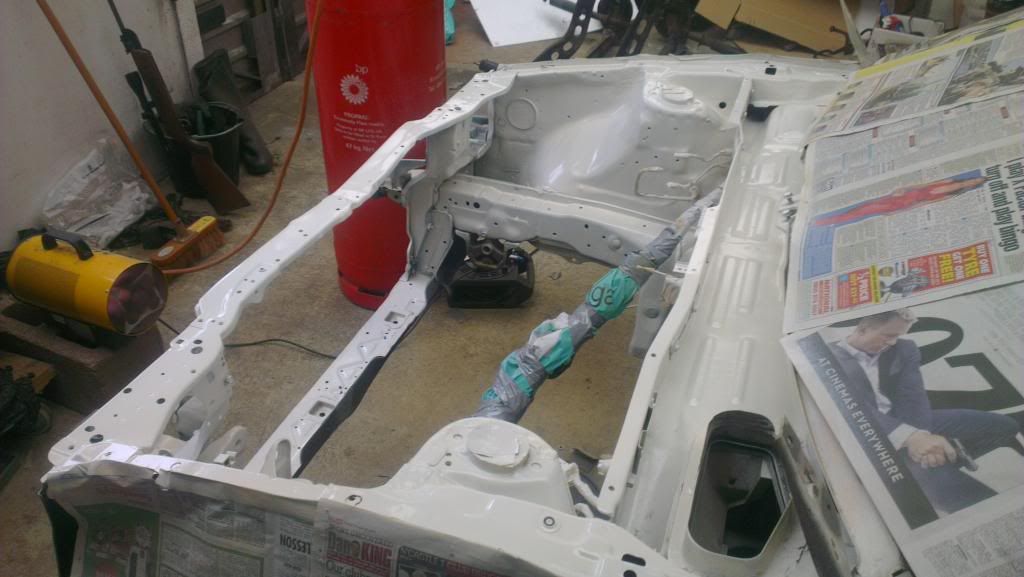
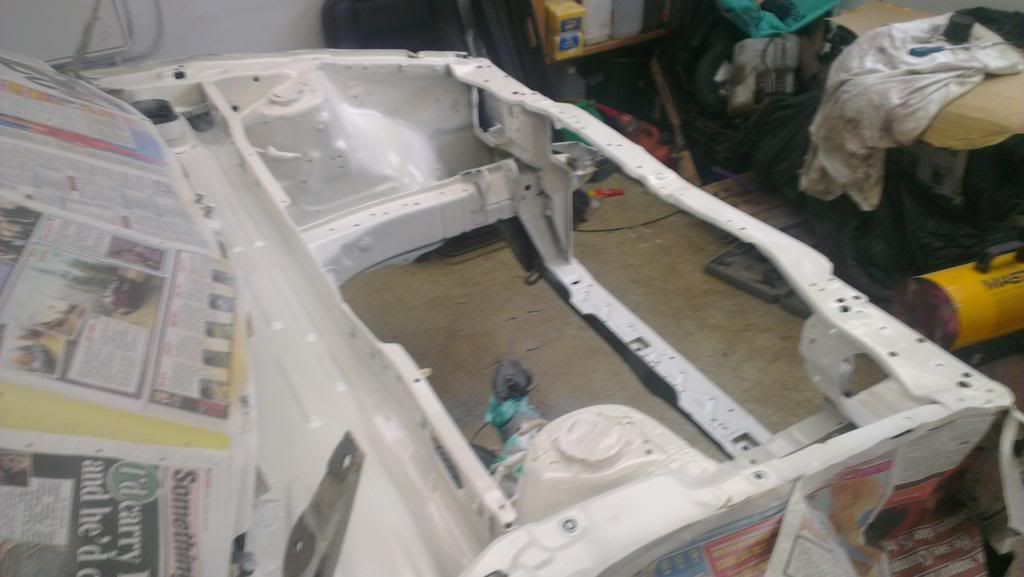
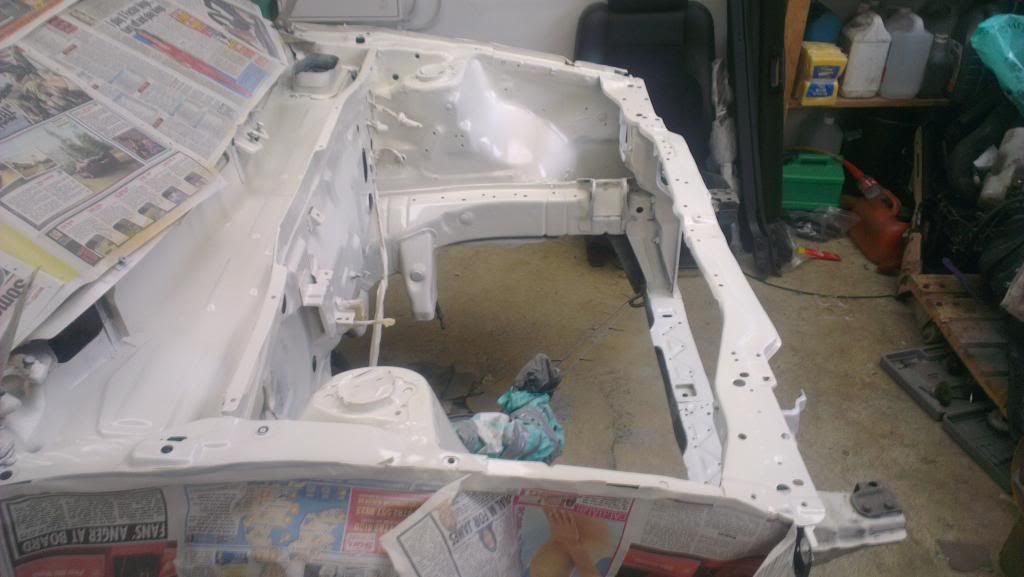

And……
Got a nice fresh coat of NH0 on the engine bay, really pleased with the finish (I owe a lot of the final quality to the gas heater I borrowed from a friend, being able to warm the bay up and then bake it on was a lifesaver)


Re: My 86 GT....
Hopefully this update will get us somewhere near the current state of affairs….
Popped down to see my man who does the blasting and he’d had some grief getting the rear shocks off and the knackered rear bushes out, cue the gas bottle…..
We cut the rear shocks off to get access to the ancient metal sleeve which had attached itself to the shock mounts, then heated them both up…
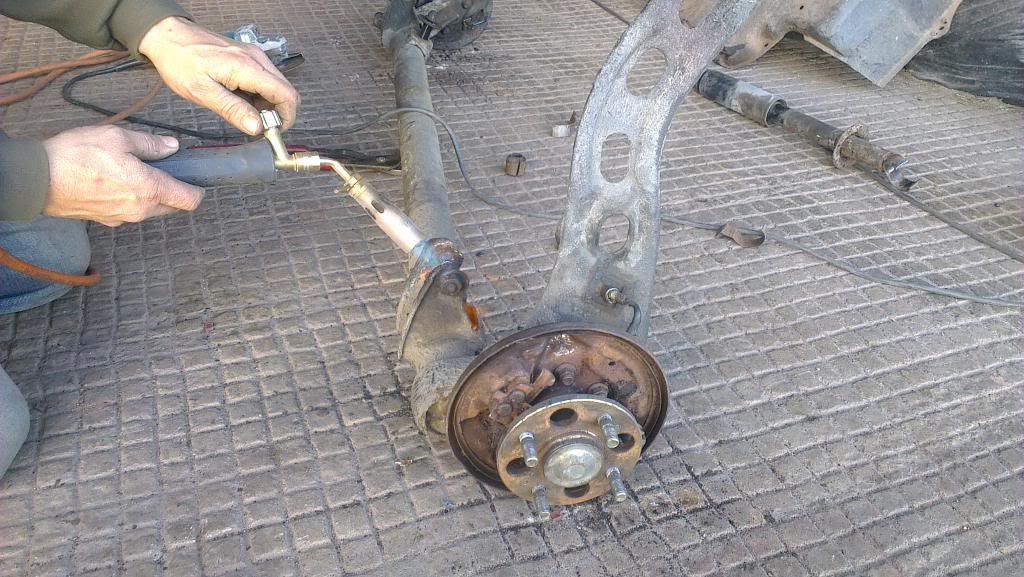
Then persuaded them off with the hammer…
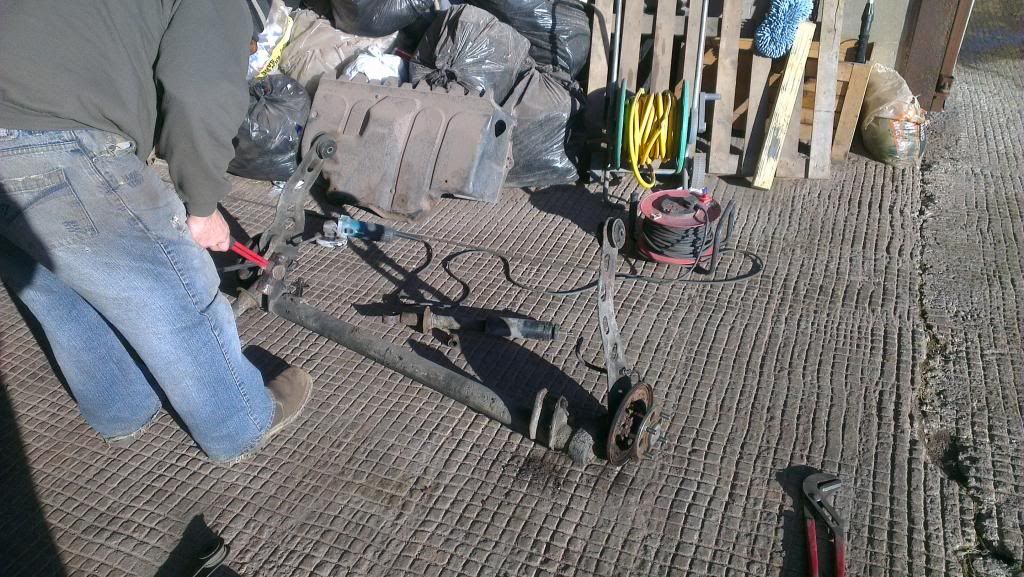
Bushes are always a pain to remove so I wasted no time and heated them up and let them burn themselves out…
Going, going….
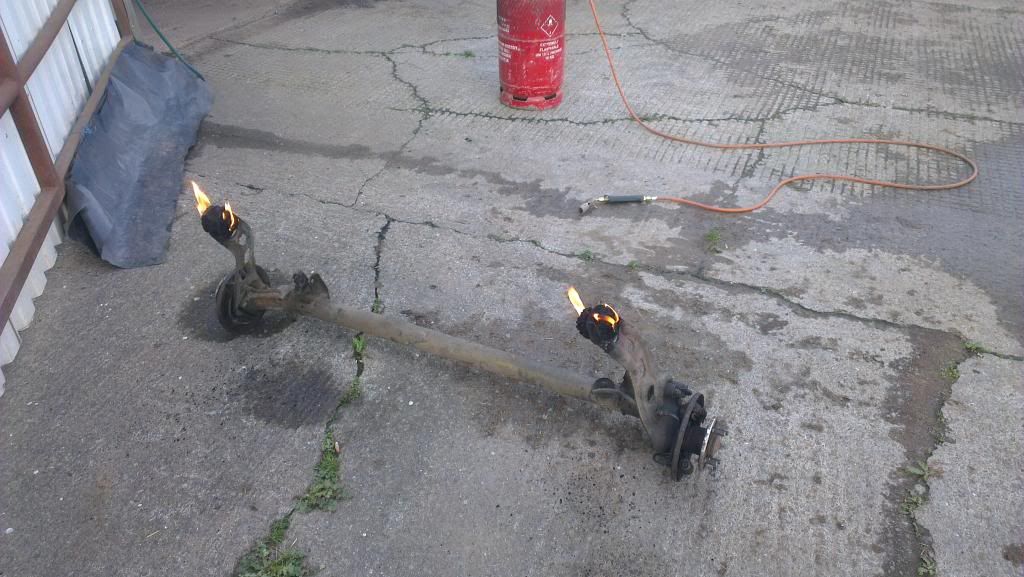
Gone!
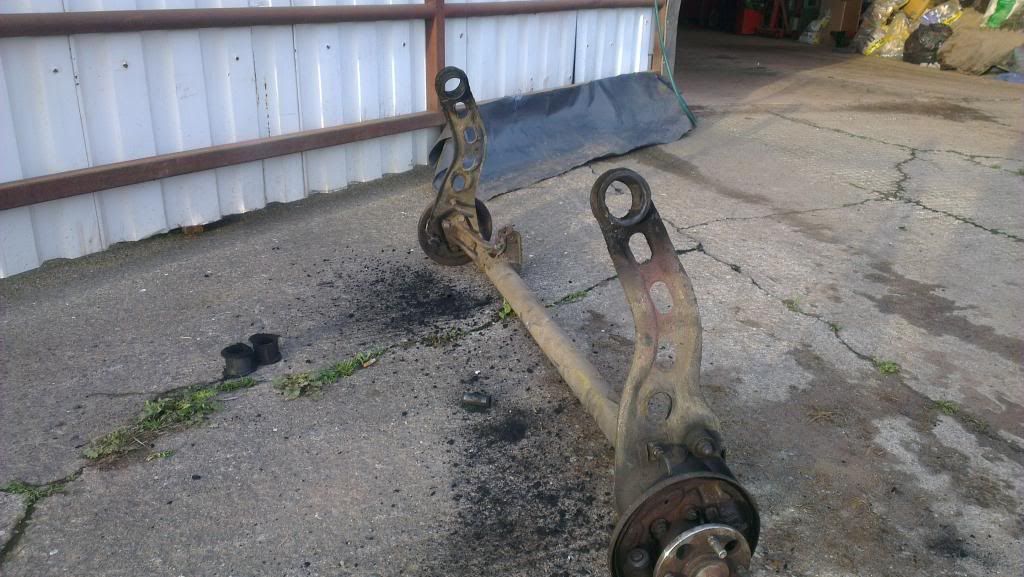
I left the stripped beam with him ready for blasting.
Back to the garage….
When painting the bay I may have overlooked the Rad support and the bonnet catch panel so I got some CW on them…
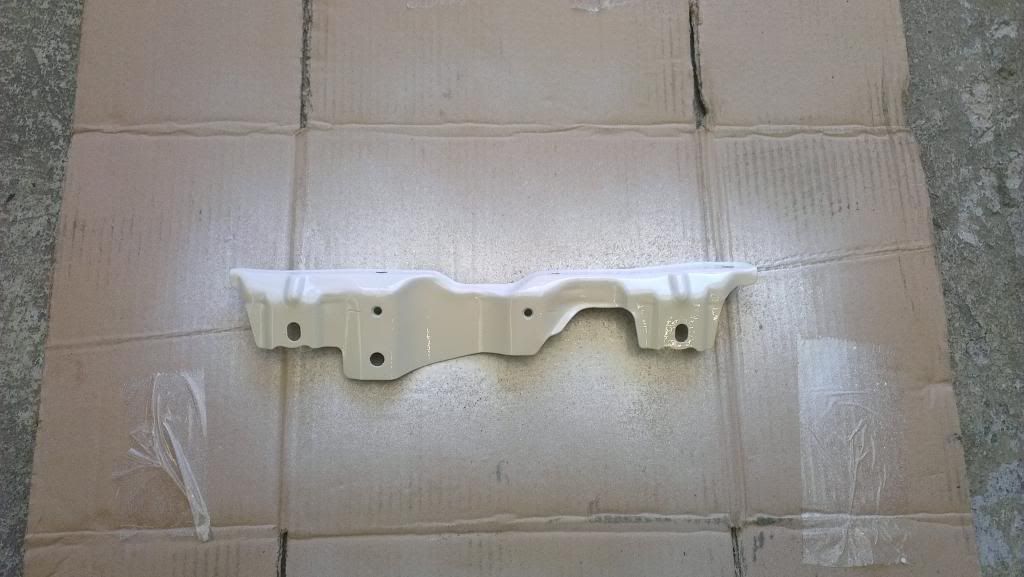
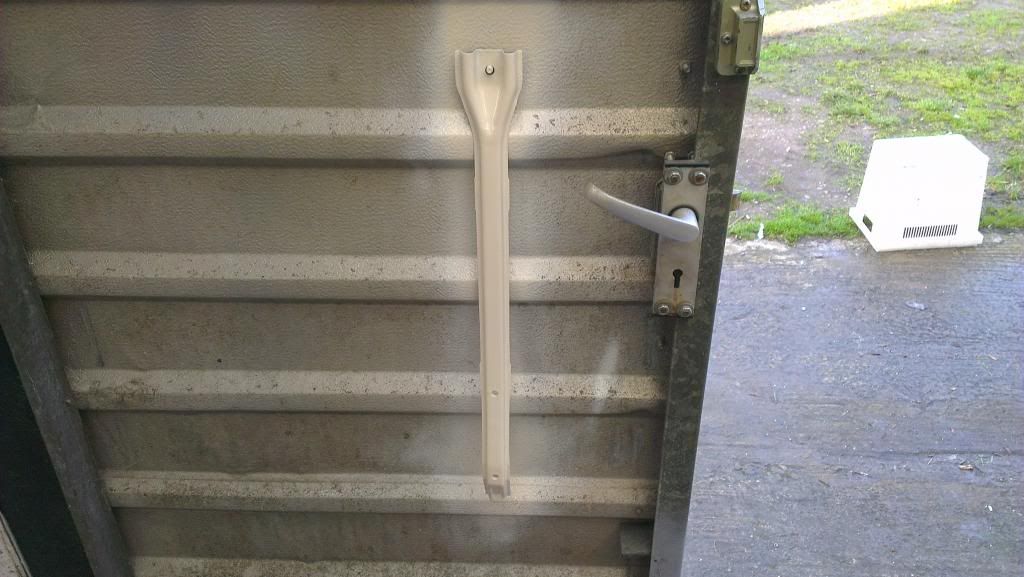
Next was on to a list of small bits that needed freshening up to be fitted back in the bay, starting with the rack and brackets…
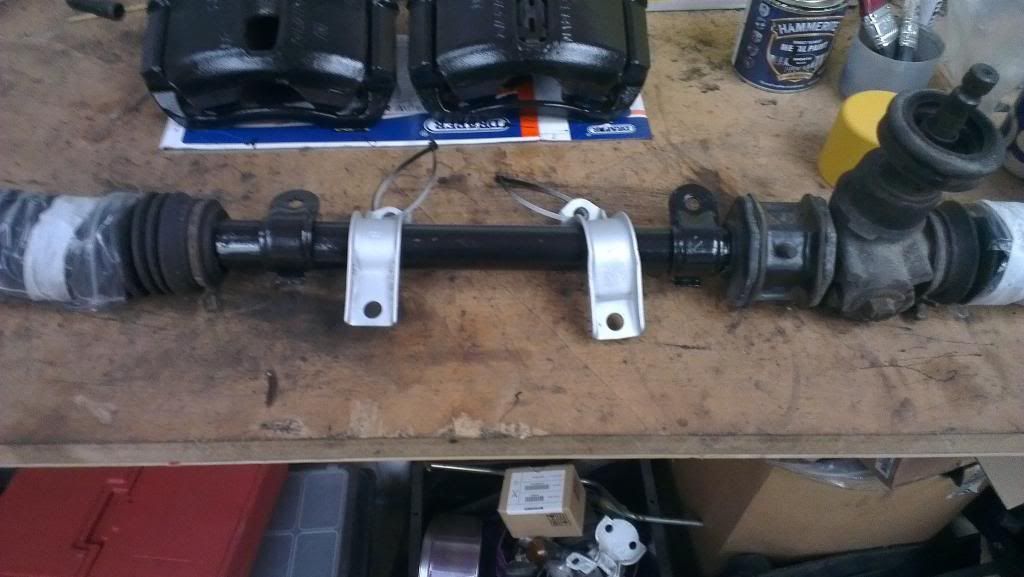
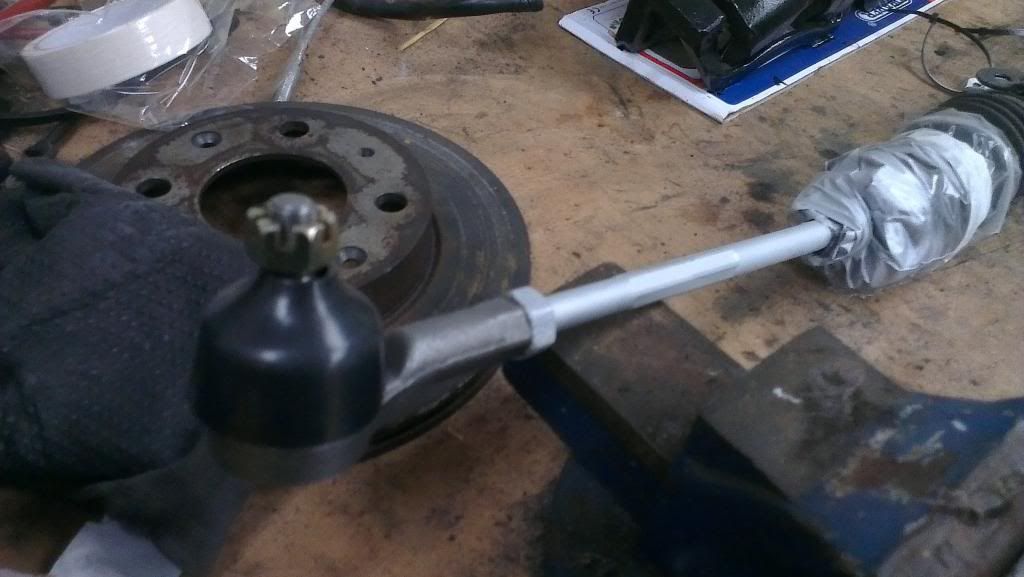
I also fitted new track rod ends…
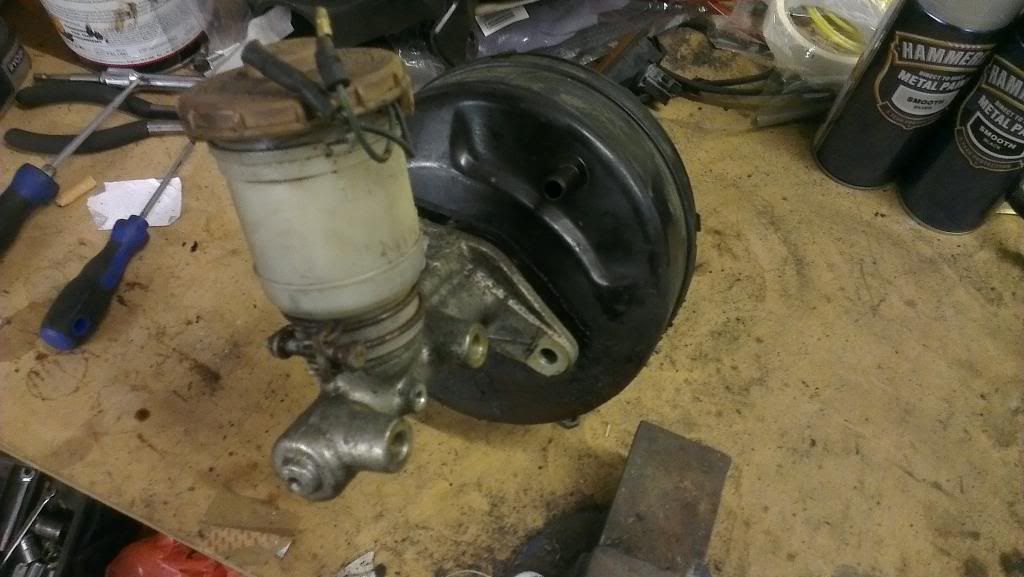
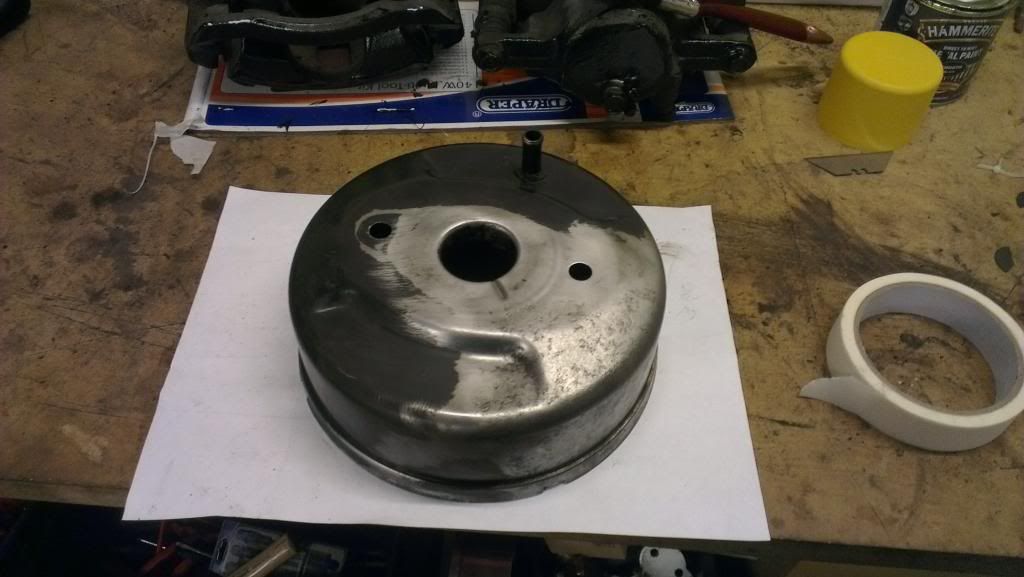
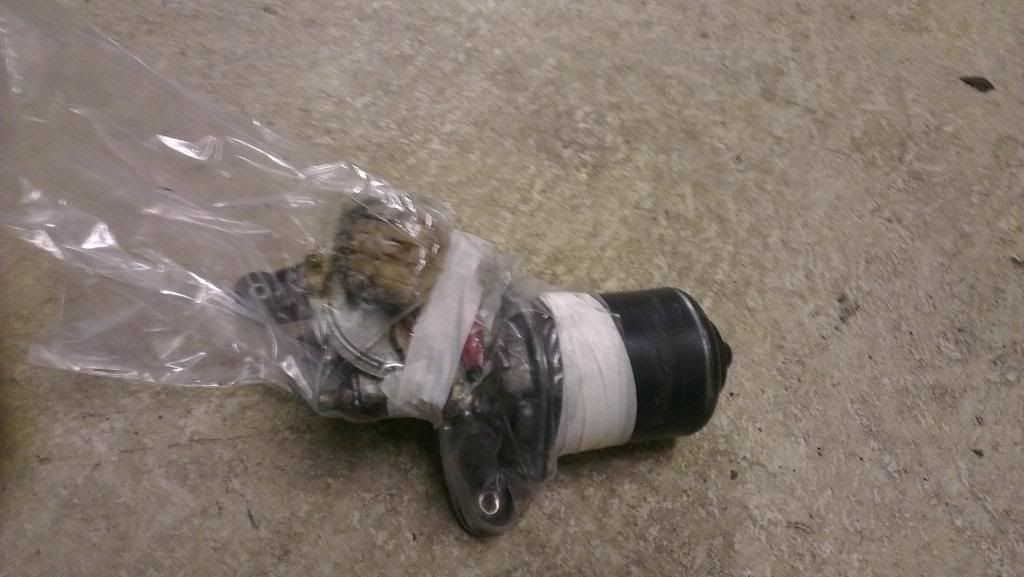
Next I pulled the servo, master cylinder and wiper motor out of their storage boxes, hit them with the wire brush then got some fresh hammerite smooth on them…
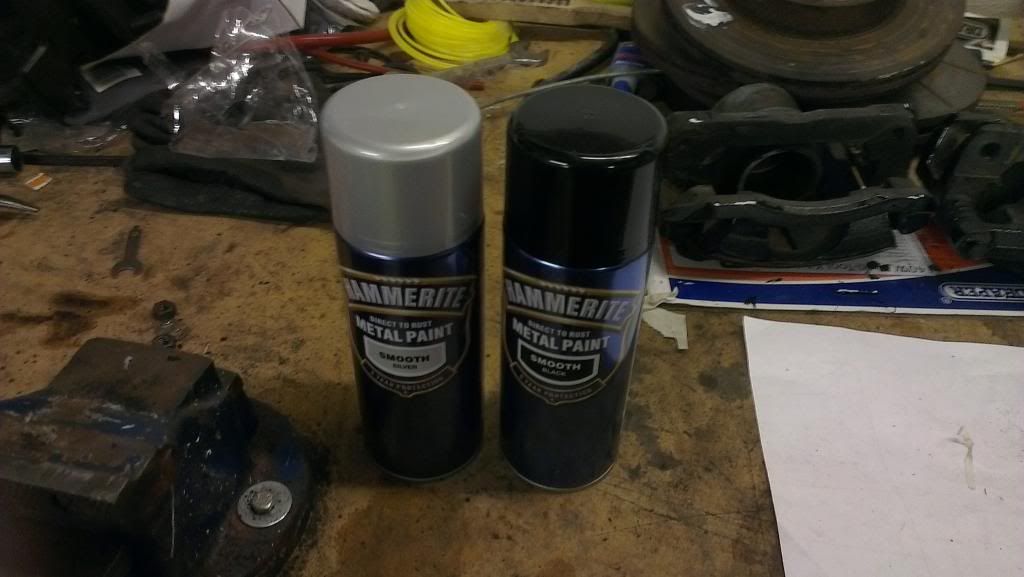
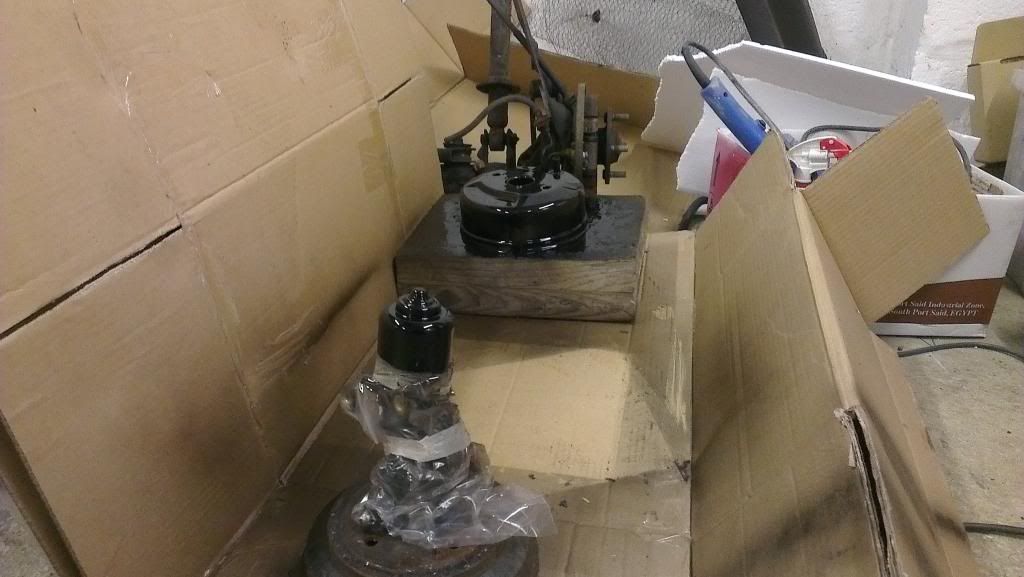
Next, while the wife was out I seized my opportunity and cleaned some parts in the sink, a pet hate of hers!
Washer bottle getting cleaned….
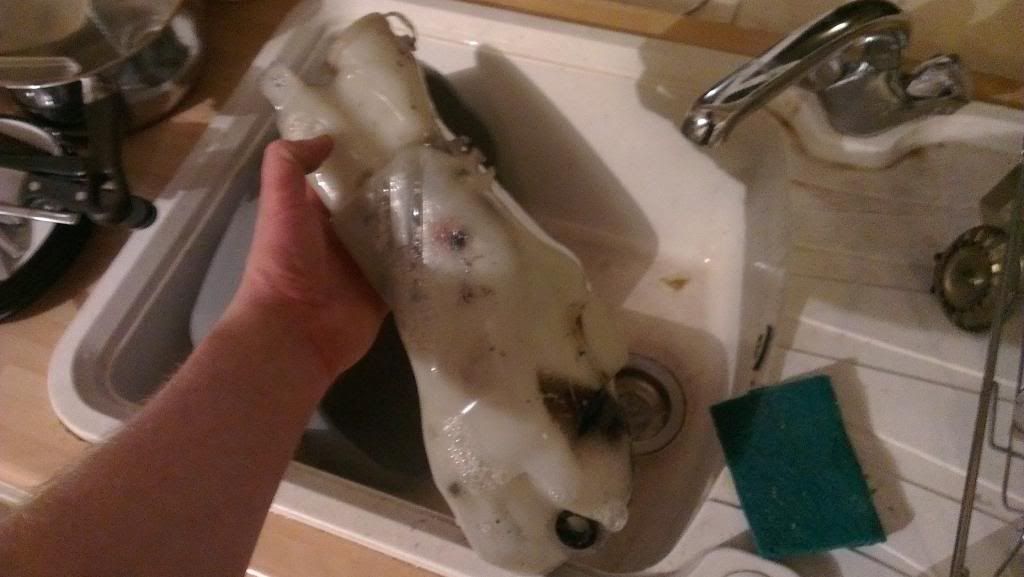
Now was quite a big moment for the car, I actually fitted something back on!
Washer bottle fitted…
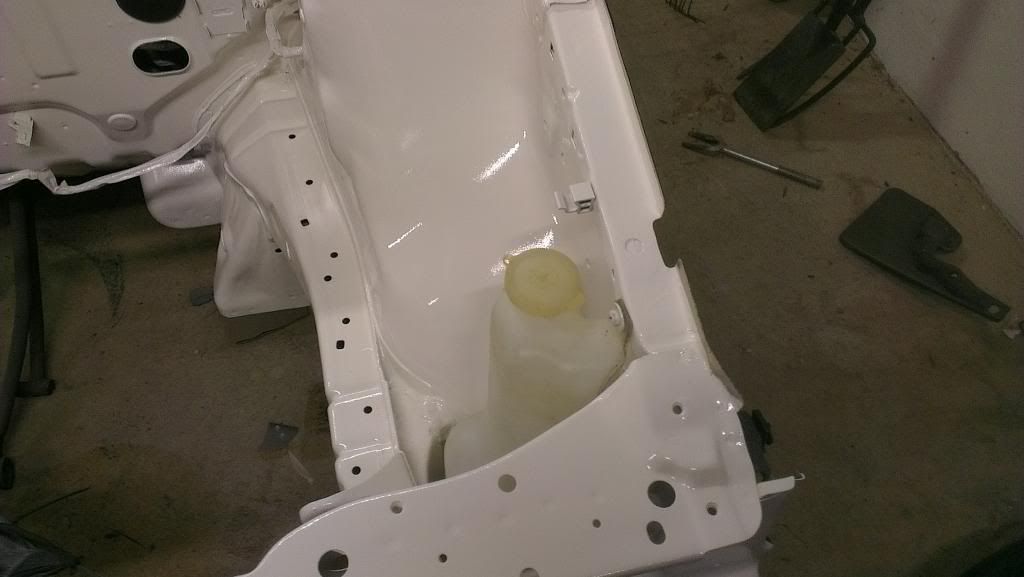
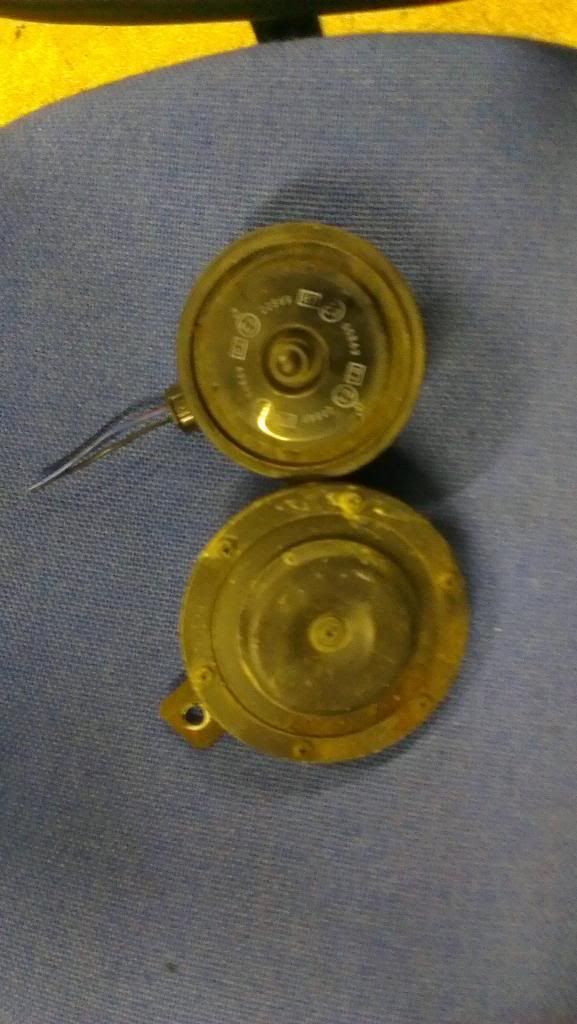
Next dug the horn out of storage to refit but it was huge, rusty and didn’t seem to work when I tested it on the bench; luckily I had a spare horn from an MB6.
MB6 top, GT bottom…
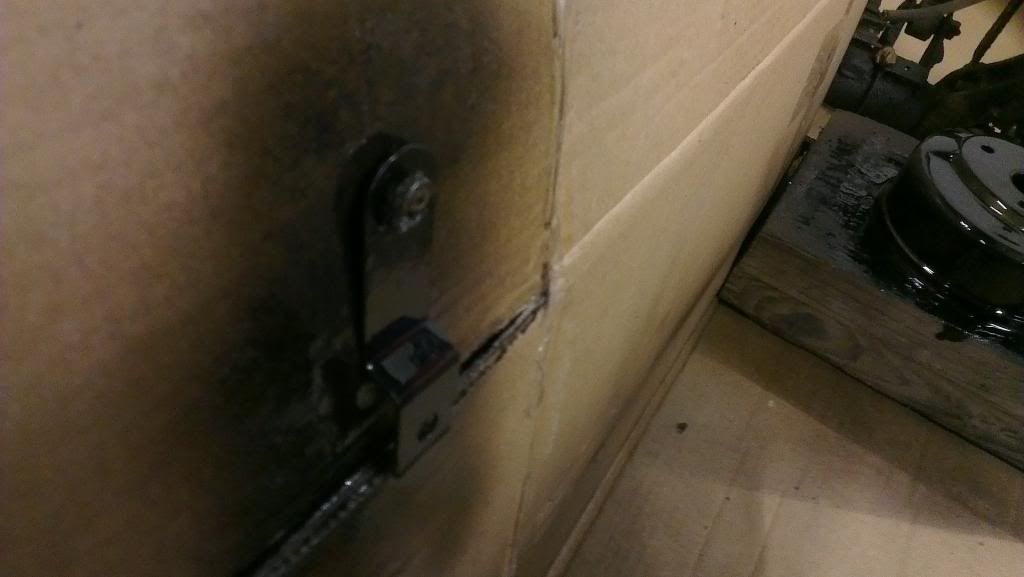
After a bit of trimming I got the bracket to fit snug so I put a coat of paint on it…
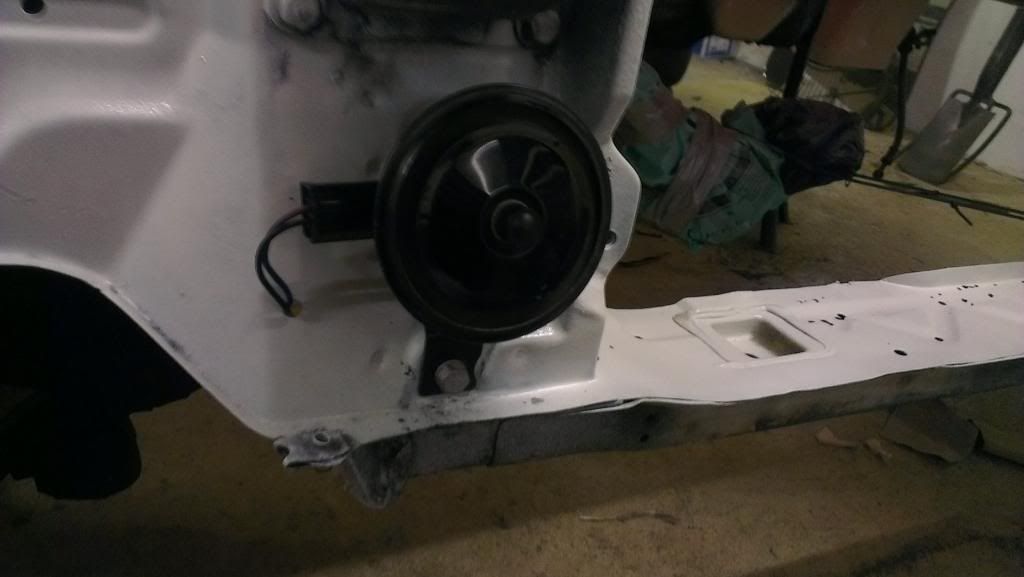
And got it fitted…
Back to the parts I painted earlier…
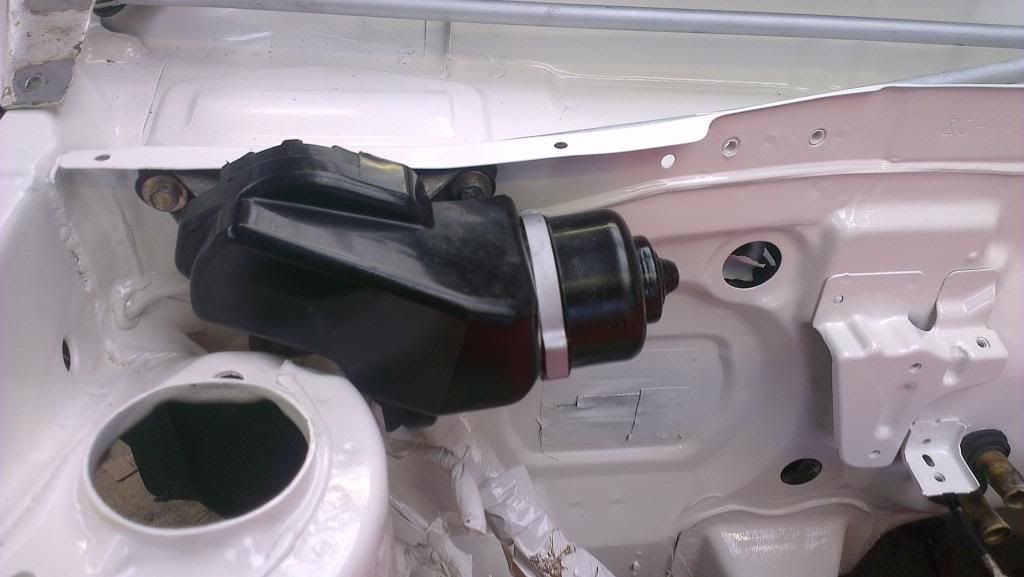
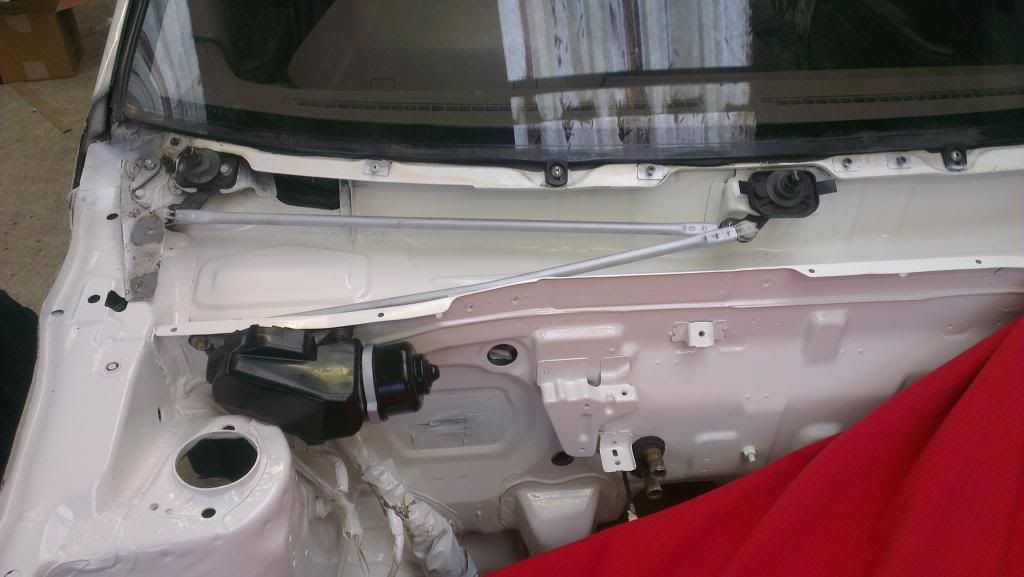
I cleaned up the plastic surround of the wiper motor, painted the linkages and retaining clip and got that bolted on…
the MC looked crap in Hammerite so I’ve stripped it and repainted in VHT aluminium so I’ll get theat fitted to the servo for the next update…
A new part for a change!
I received delivery of a Energy Suspension PU bush kit….
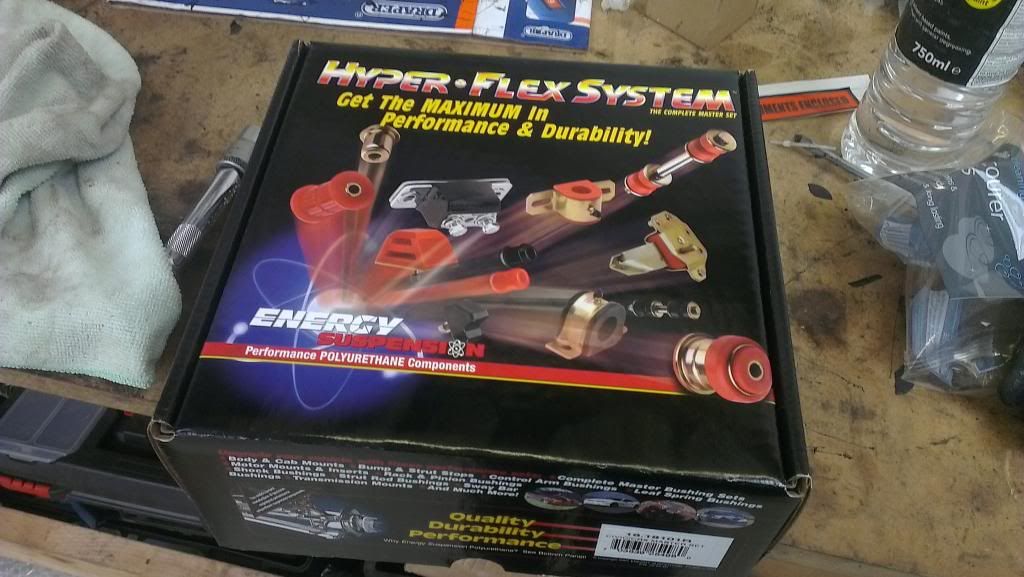
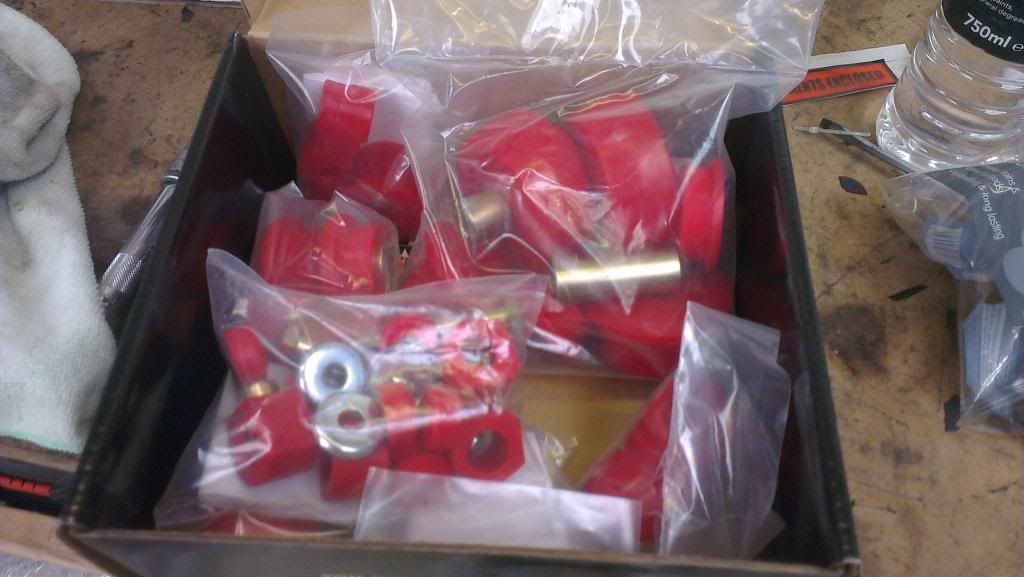
I’ve had a good look through the kit and in fairness it seems good quality and a very comprehensive kit with individually detailed fitting instructions. As soon as the various parts are back from the blasters I’ll get them fitted.
I appologise for the mega long update but this is now up to date as of 20/11/2012!
Popped down to see my man who does the blasting and he’d had some grief getting the rear shocks off and the knackered rear bushes out, cue the gas bottle…..
We cut the rear shocks off to get access to the ancient metal sleeve which had attached itself to the shock mounts, then heated them both up…

Then persuaded them off with the hammer…

Bushes are always a pain to remove so I wasted no time and heated them up and let them burn themselves out…
Going, going….

Gone!

I left the stripped beam with him ready for blasting.
Back to the garage….
When painting the bay I may have overlooked the Rad support and the bonnet catch panel so I got some CW on them…


Next was on to a list of small bits that needed freshening up to be fitted back in the bay, starting with the rack and brackets…

I also fitted new track rod ends…

Next I pulled the servo, master cylinder and wiper motor out of their storage boxes, hit them with the wire brush then got some fresh hammerite smooth on them…


Next, while the wife was out I seized my opportunity and cleaned some parts in the sink, a pet hate of hers!
Washer bottle getting cleaned….

Now was quite a big moment for the car, I actually fitted something back on!
Washer bottle fitted…

Next dug the horn out of storage to refit but it was huge, rusty and didn’t seem to work when I tested it on the bench; luckily I had a spare horn from an MB6.
MB6 top, GT bottom…

After a bit of trimming I got the bracket to fit snug so I put a coat of paint on it…

And got it fitted…

Back to the parts I painted earlier…
I cleaned up the plastic surround of the wiper motor, painted the linkages and retaining clip and got that bolted on…


the MC looked crap in Hammerite so I’ve stripped it and repainted in VHT aluminium so I’ll get theat fitted to the servo for the next update…
A new part for a change!
I received delivery of a Energy Suspension PU bush kit….


I’ve had a good look through the kit and in fairness it seems good quality and a very comprehensive kit with individually detailed fitting instructions. As soon as the various parts are back from the blasters I’ll get them fitted.
I appologise for the mega long update but this is now up to date as of 20/11/2012!


