Stayed like that for a few months while i striped the donor car i bought for the running gear and a few other parts
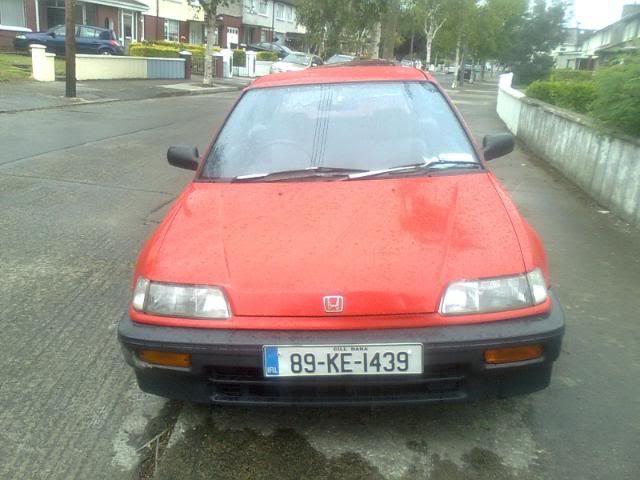
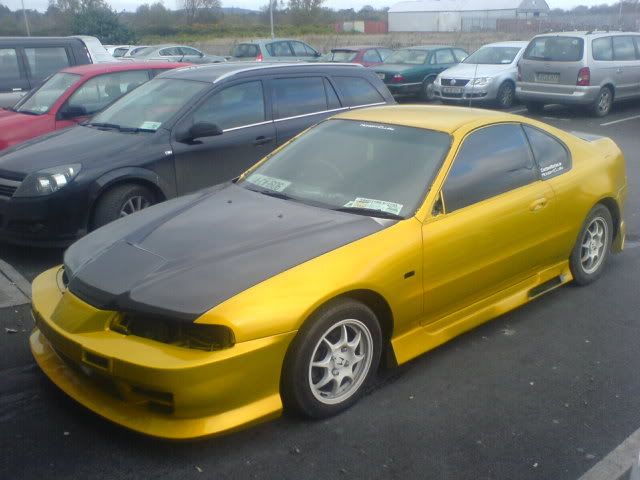
This was the donor car a 94 bb4 prelude i got for good money with some nice parts attached
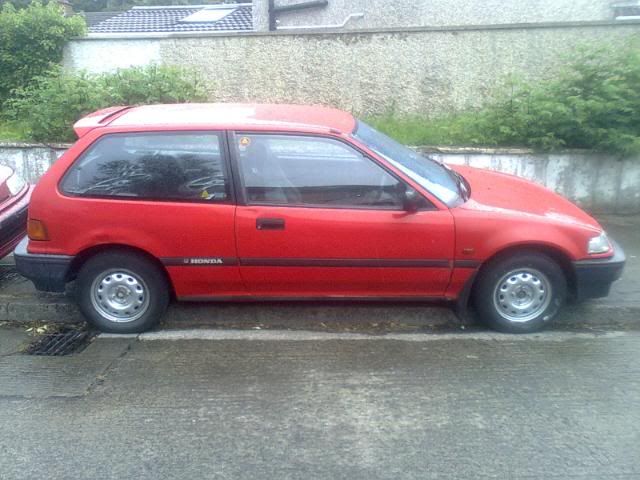
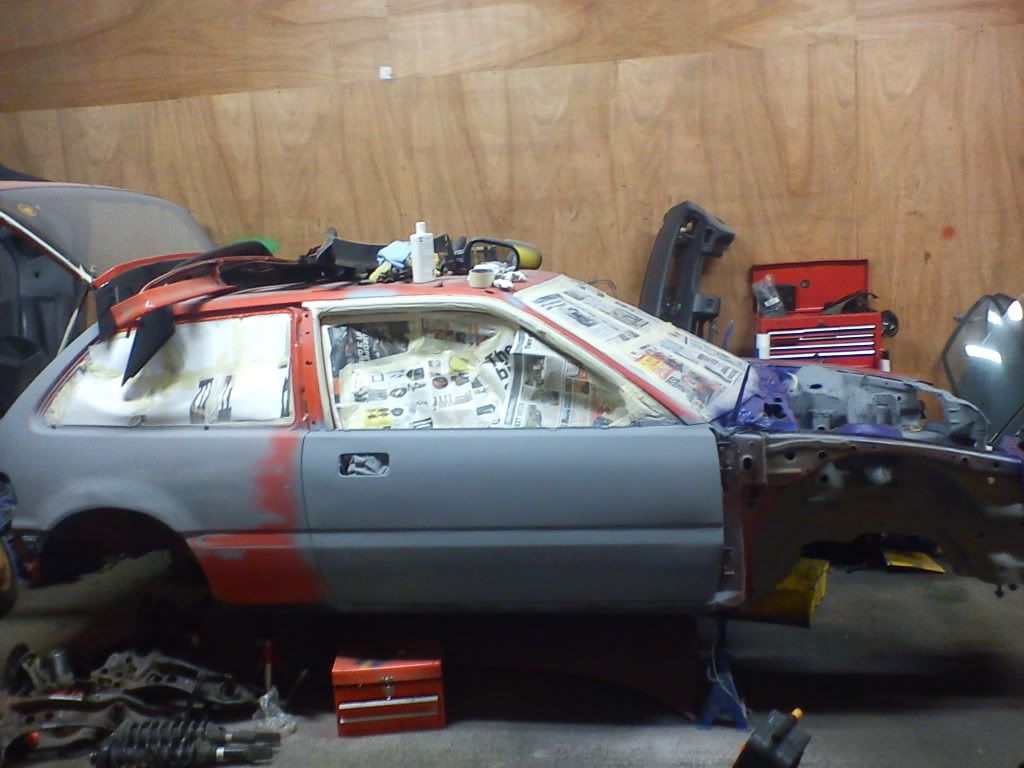
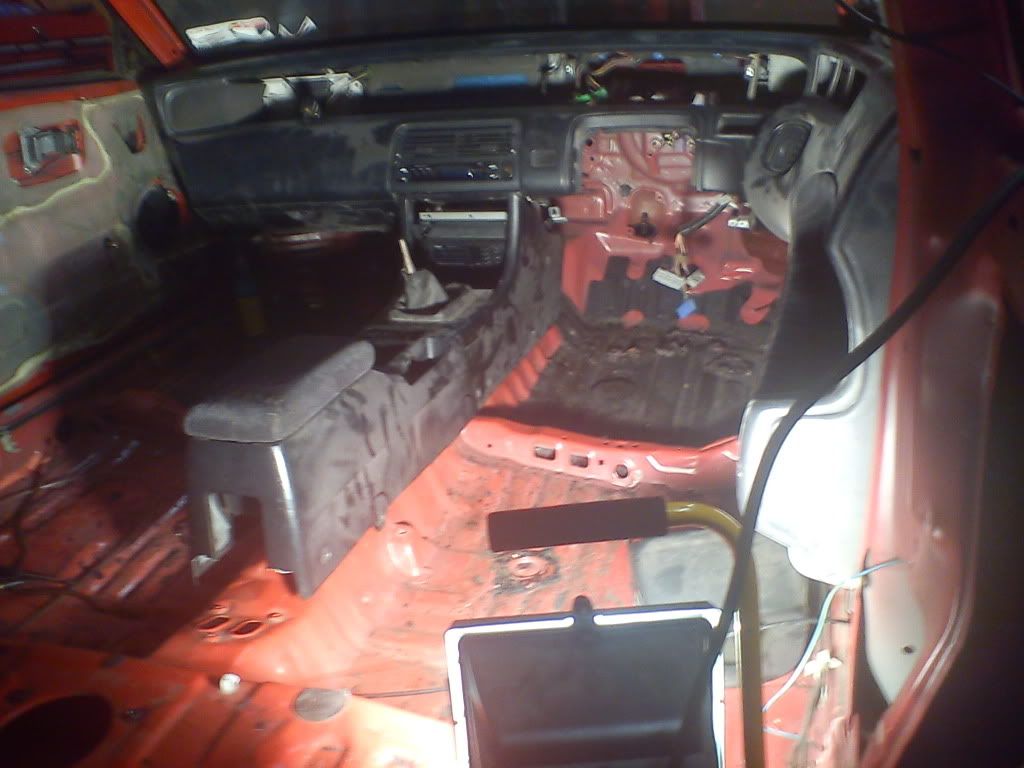
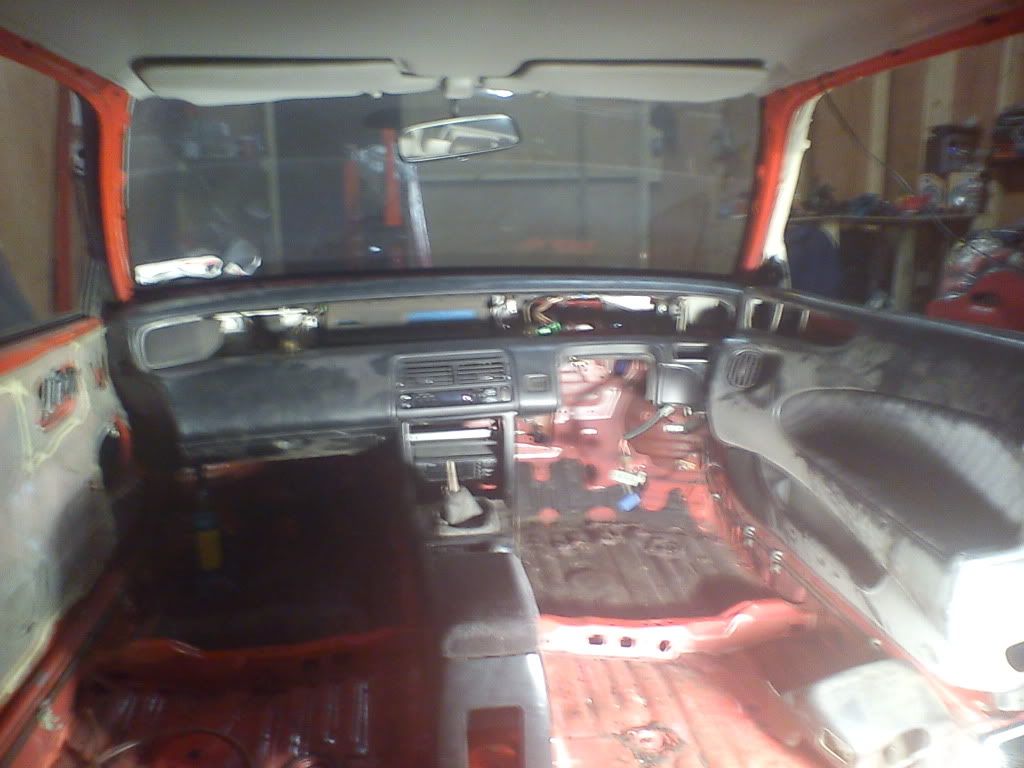
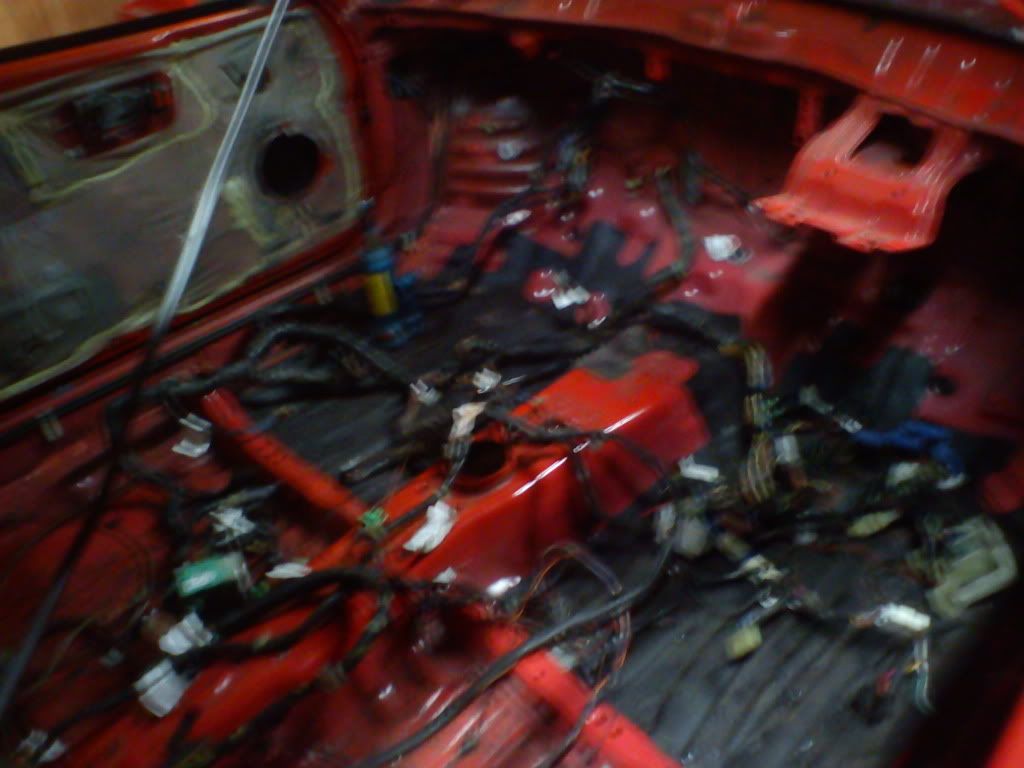
So set about stripping the civic of all it running gear and interior cause wont be using either of them

1.3 single carb into the bin
more stripping
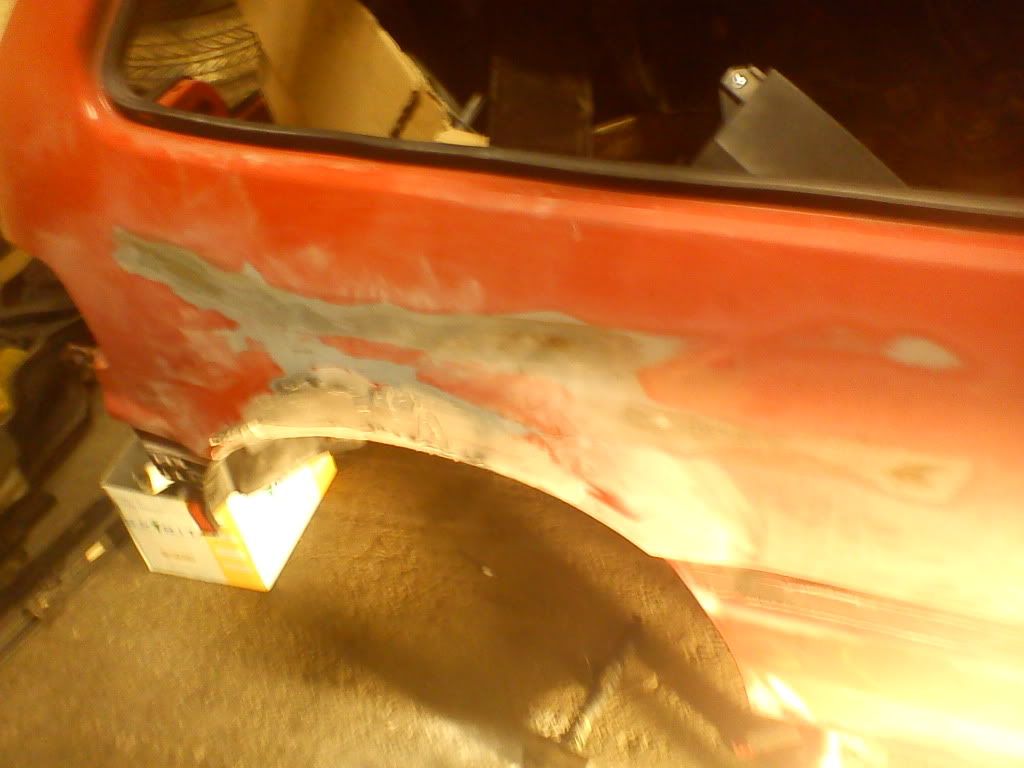
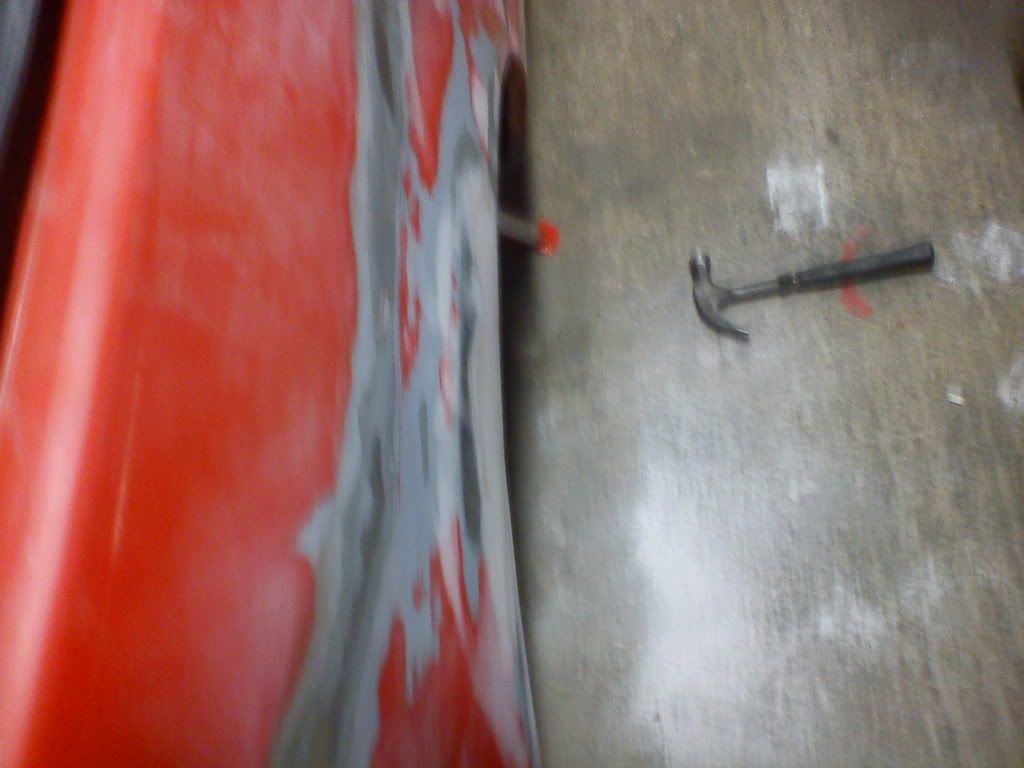
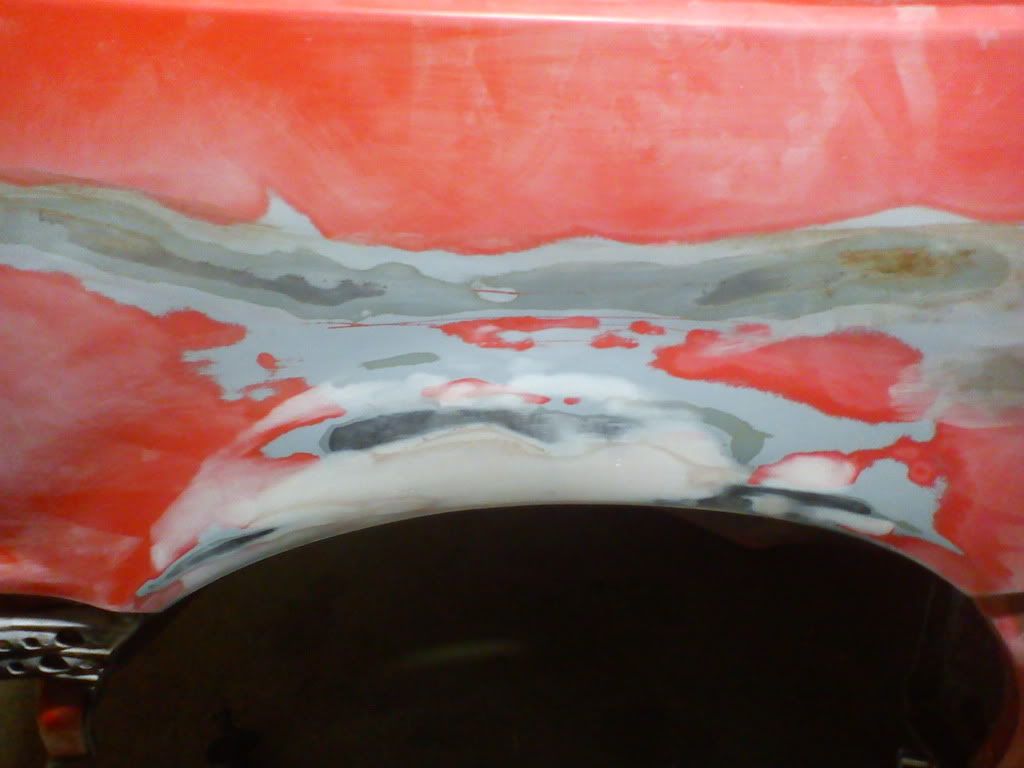
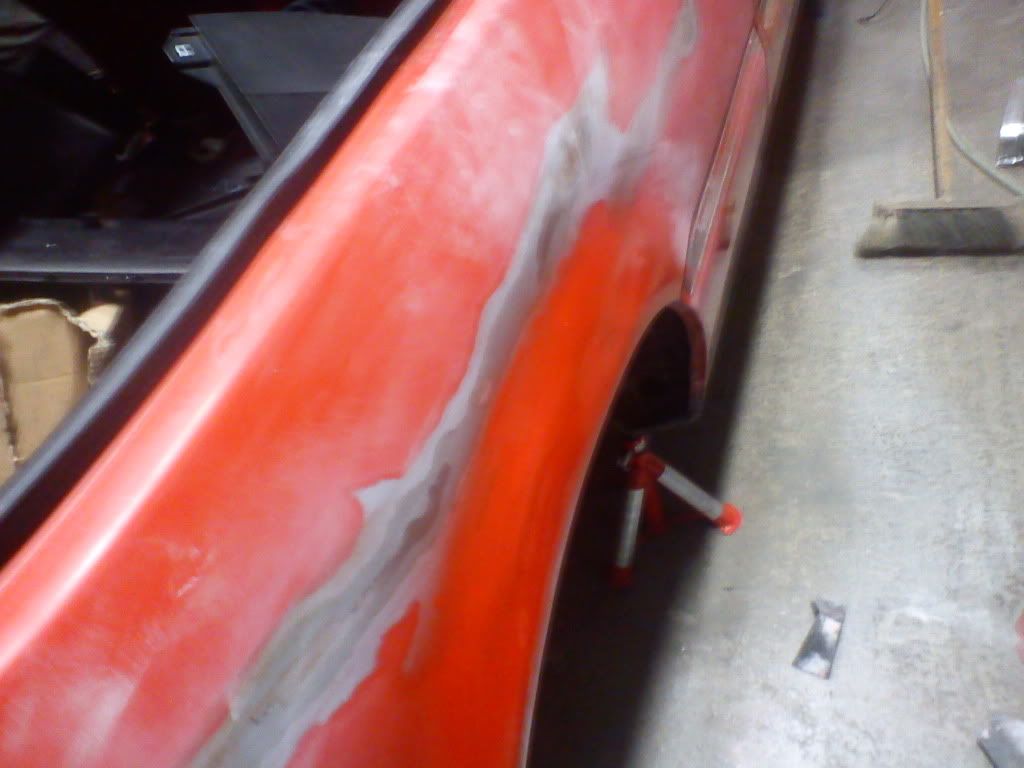
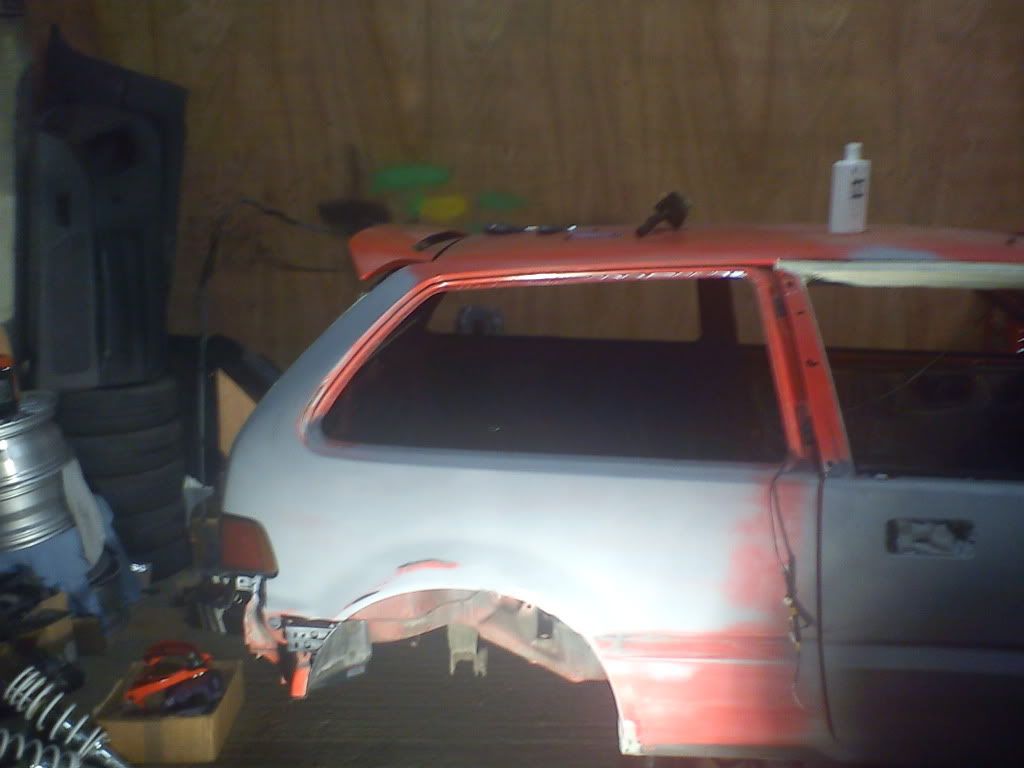
After knocking out the dent in the rear quater time for filling and top coat to find any low spots on the repair
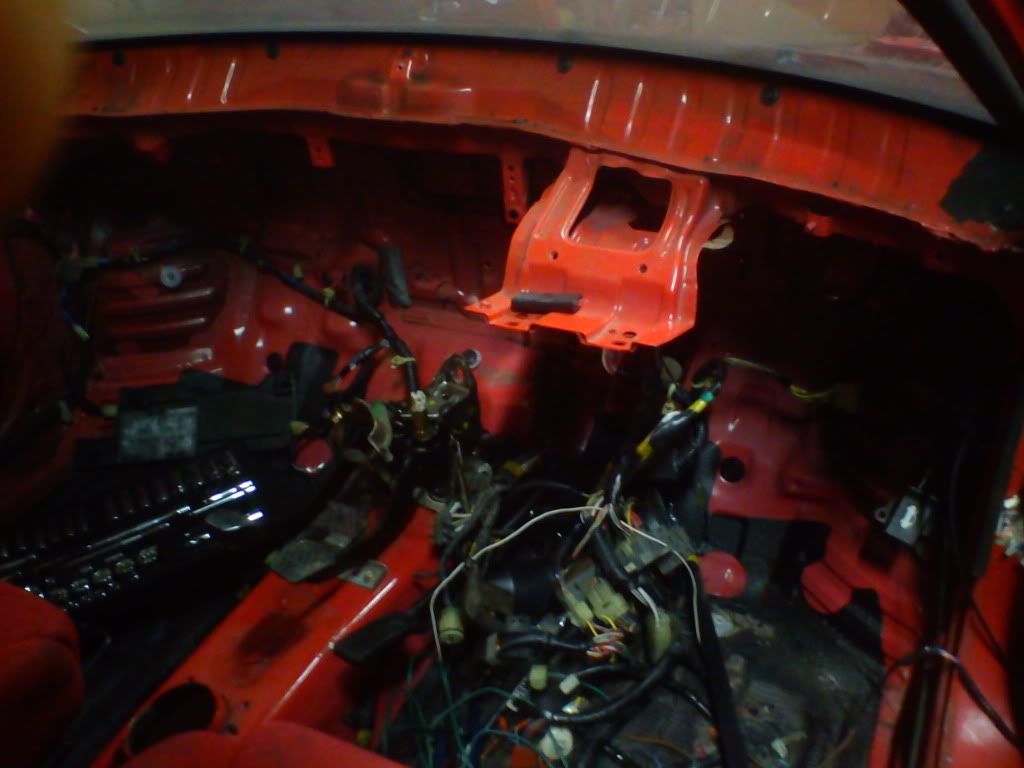
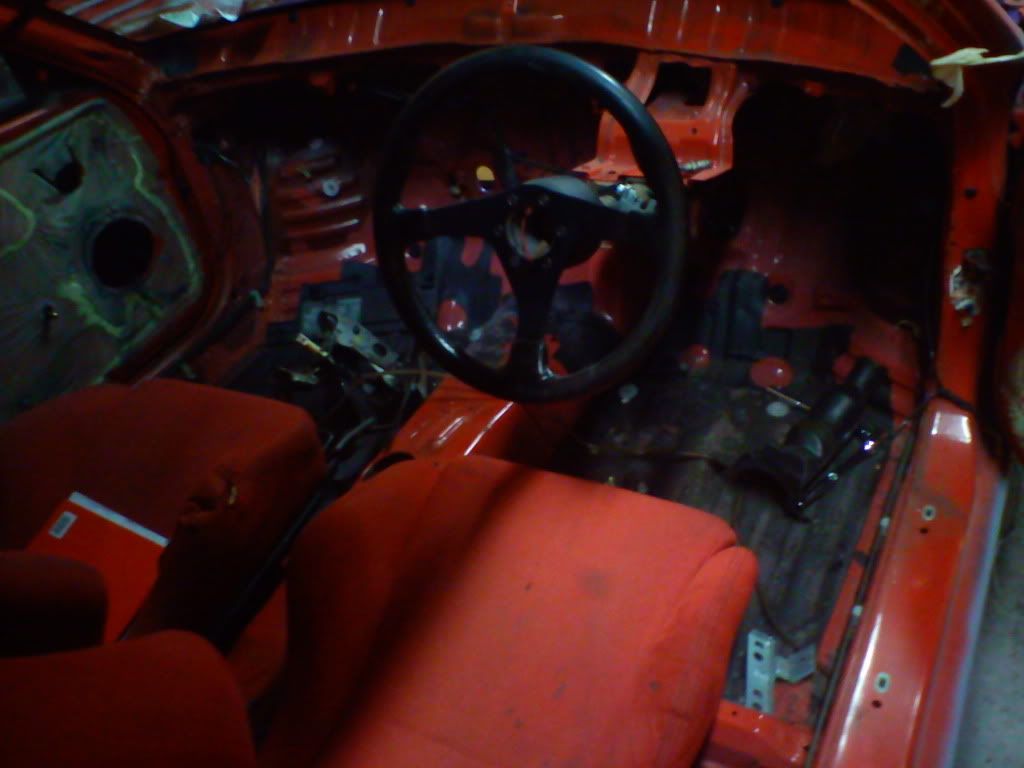
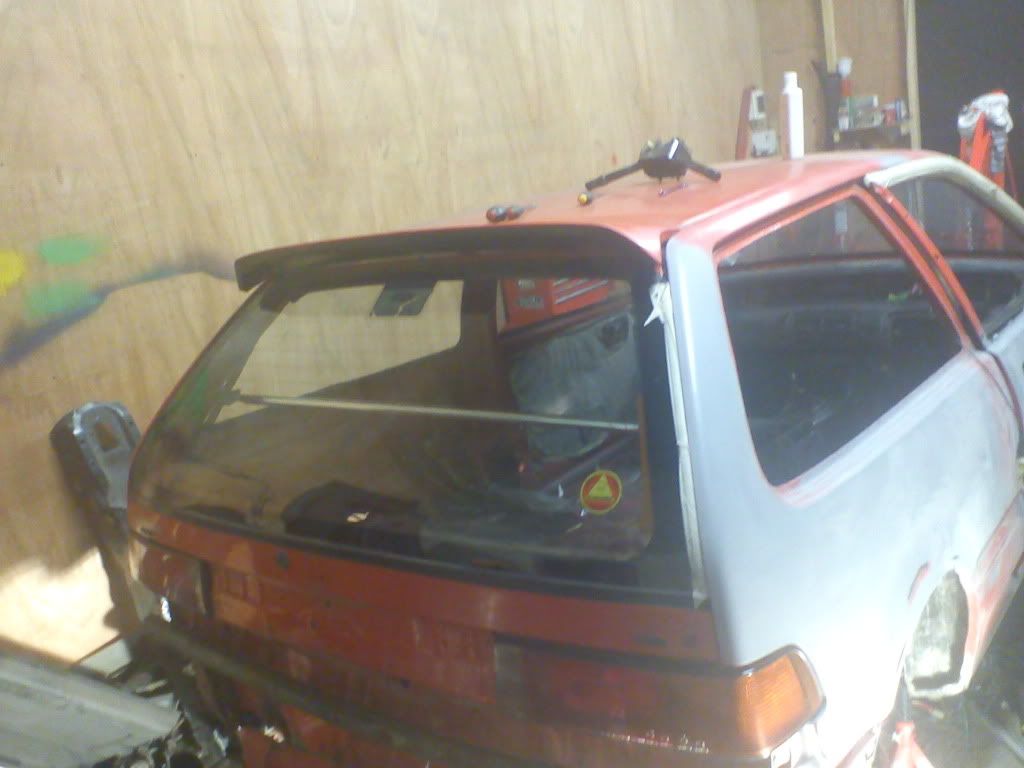
Interior ripped out so can rip out the 1.3 harness and repaint the interior when bodys been done
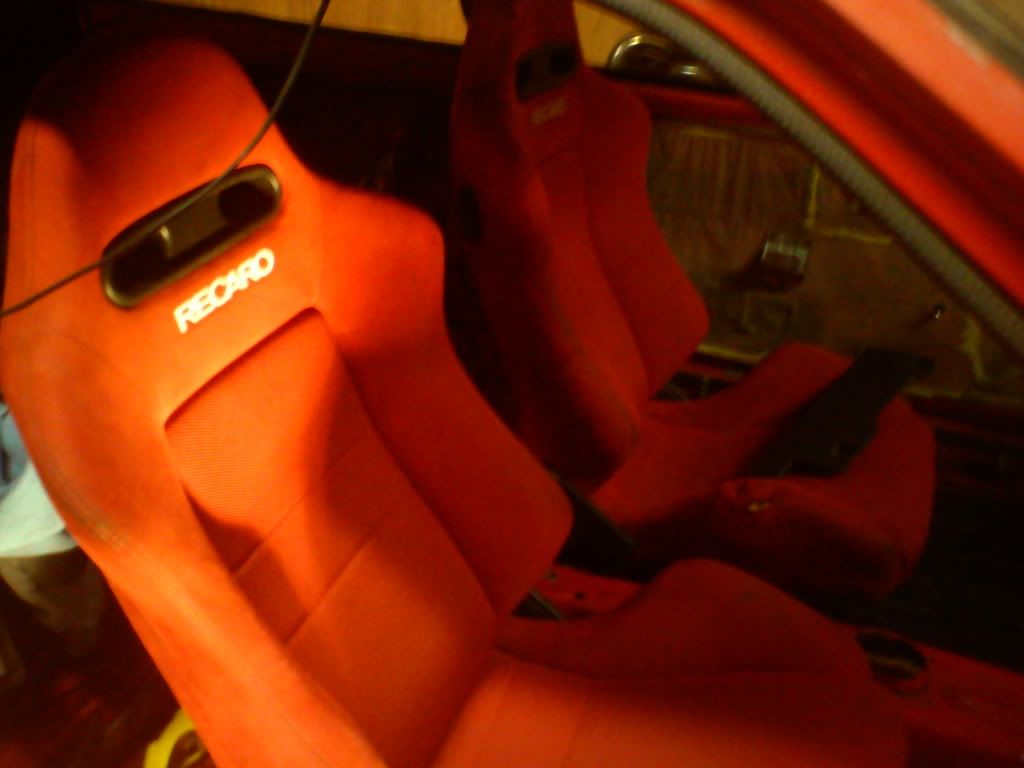
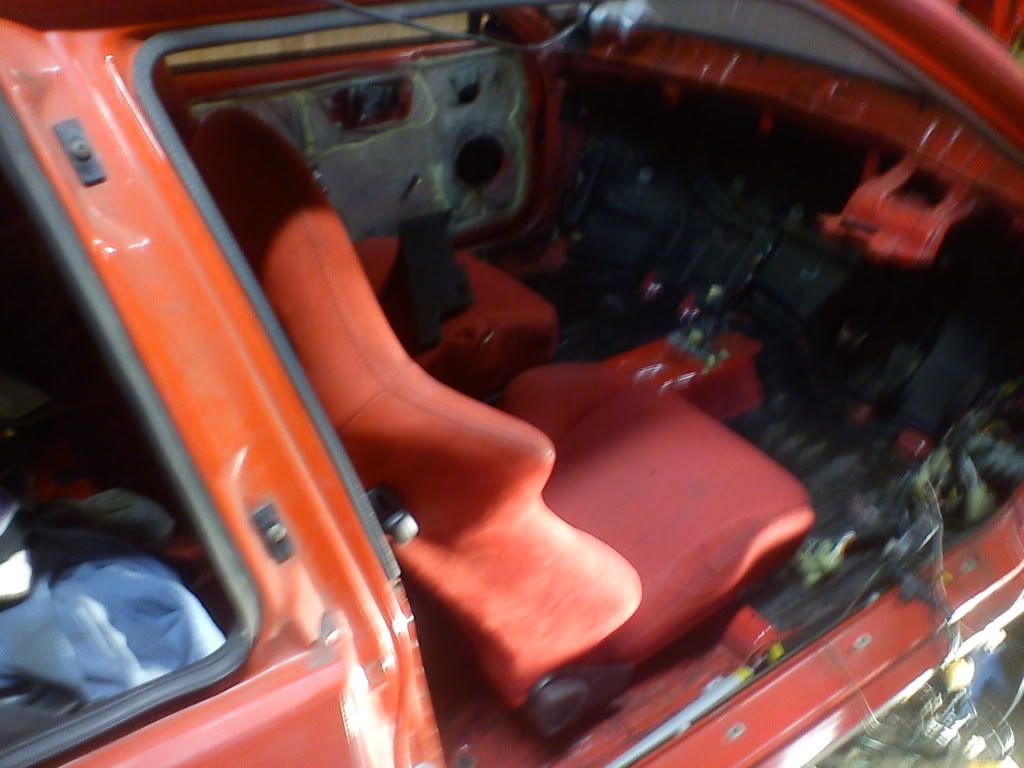
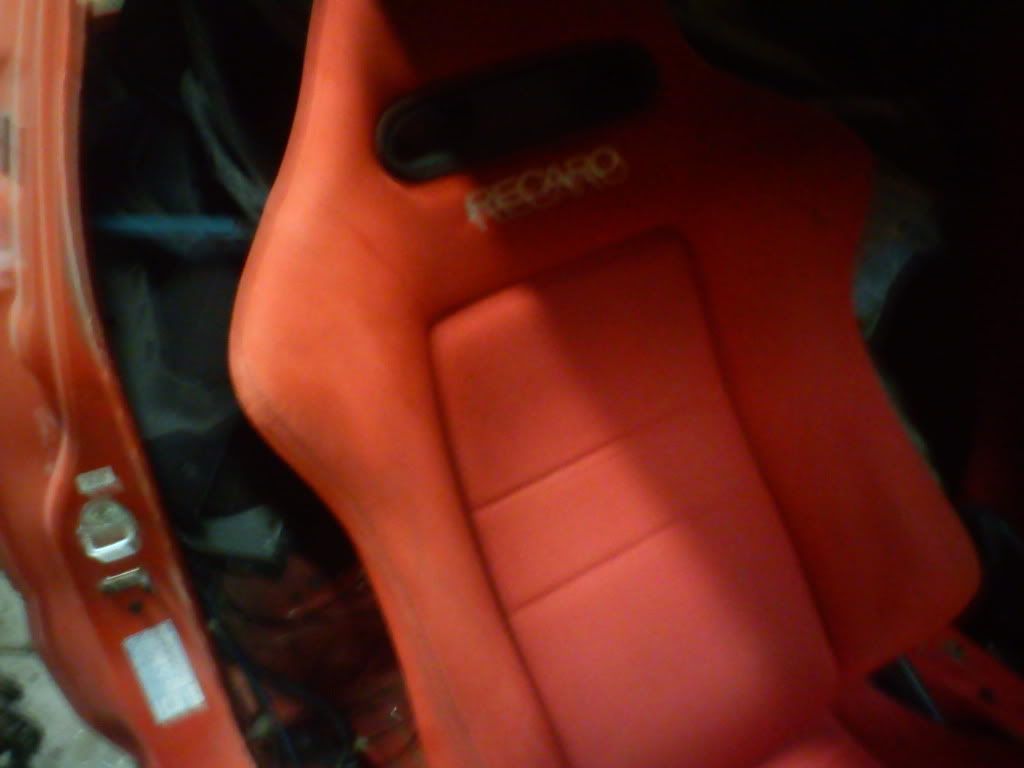
And test fitted the dc-5 recaro`s had to make custum brakets to work with the ef rails but sorted now been cleaned since them pics aswell
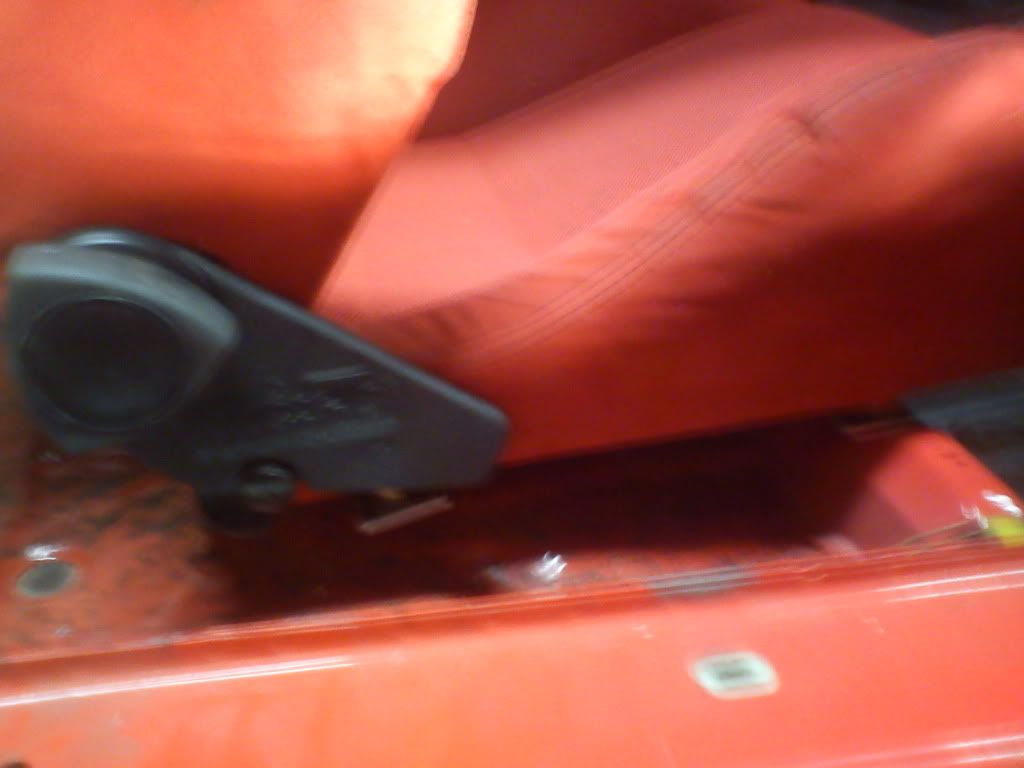
Just about see the brackets under the seat
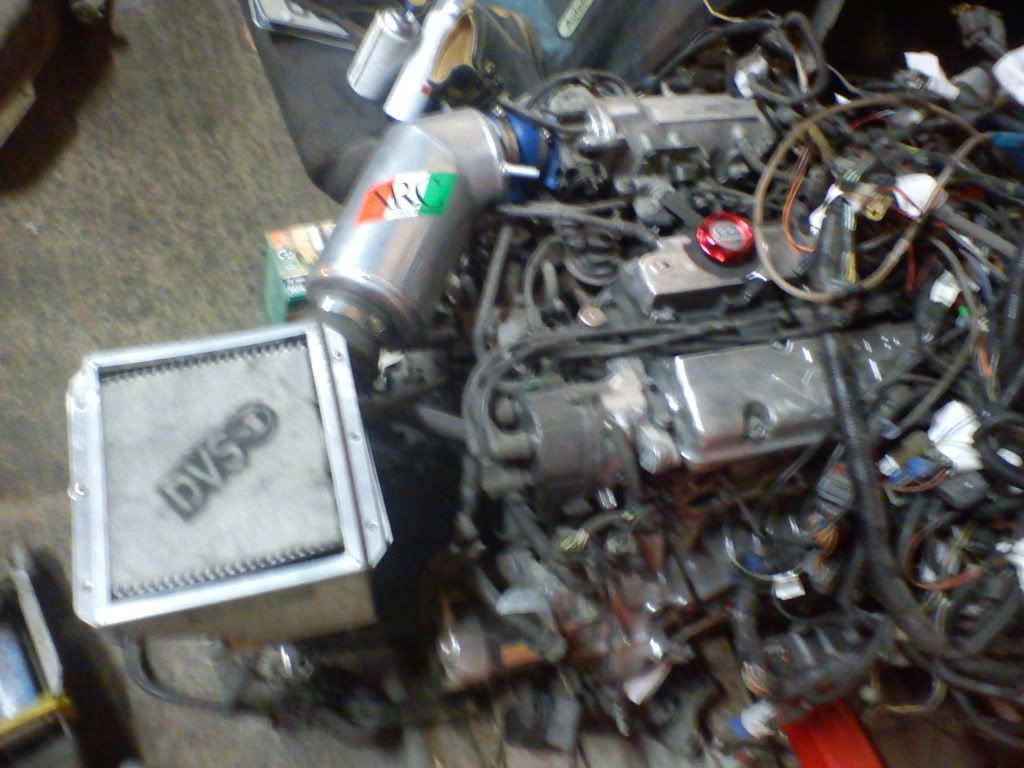
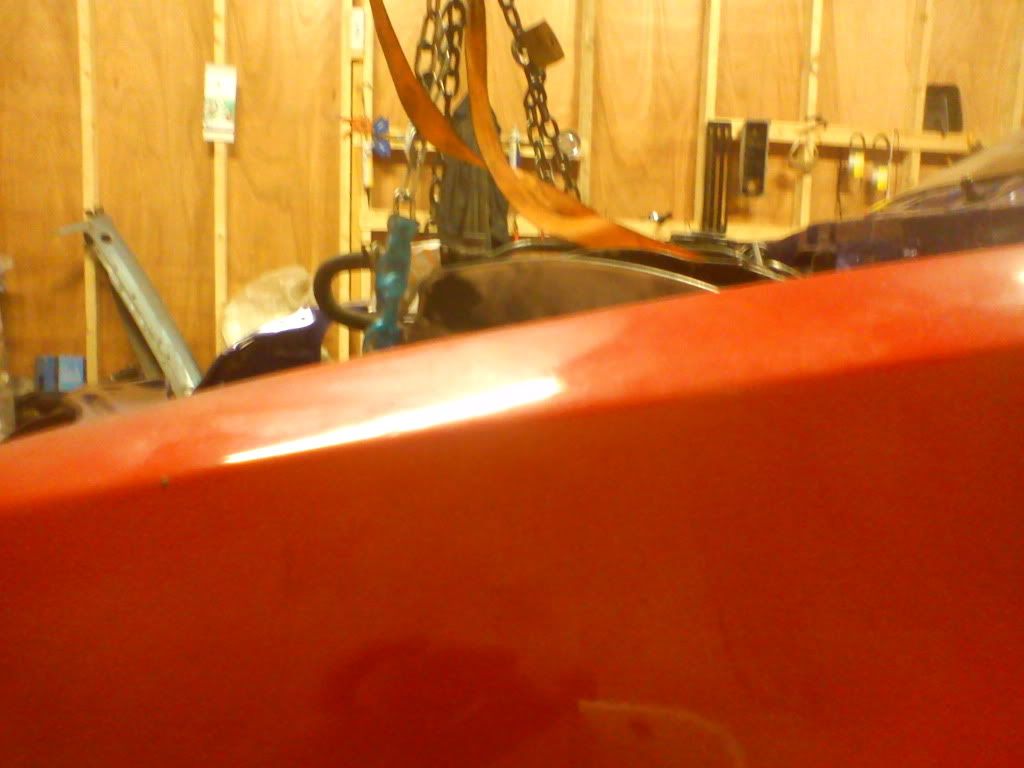
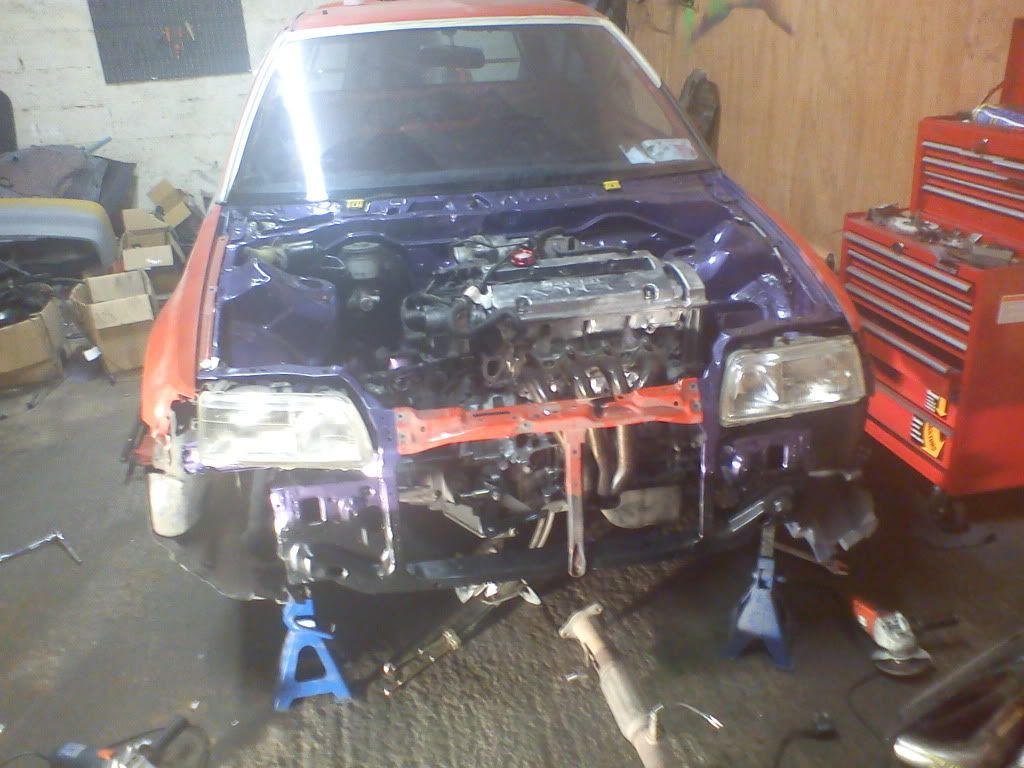
The new heart for the civic
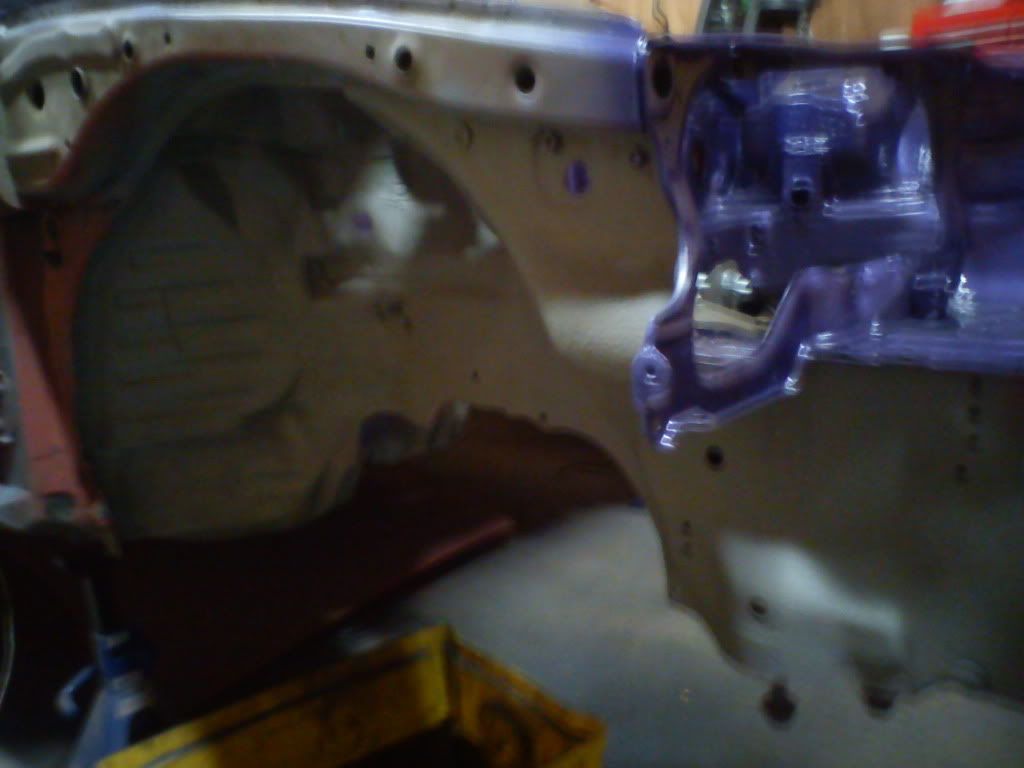
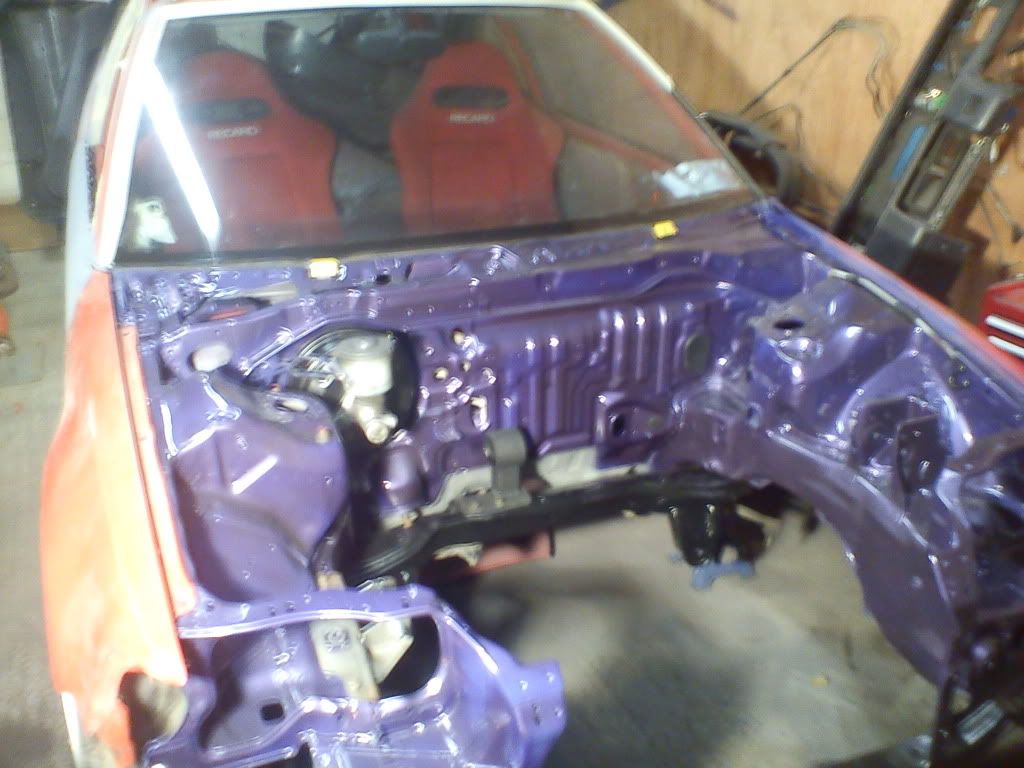
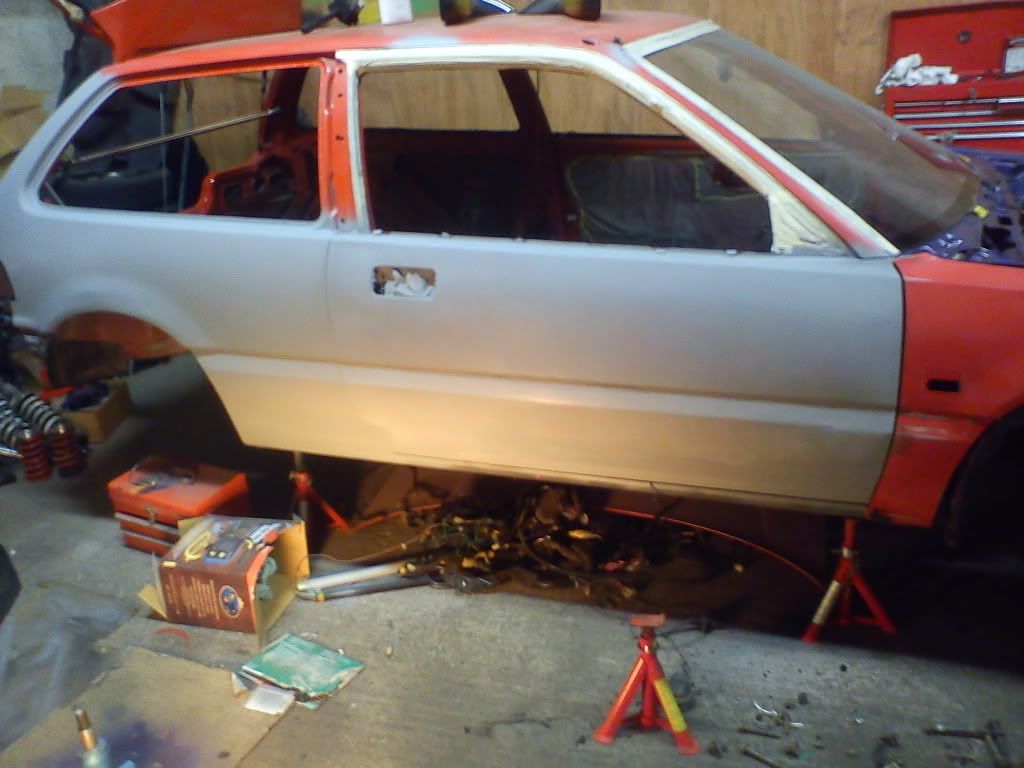
so lately i`v been sorting the engine bay on it for the new motor changing all colour all over to champ white so wanted something not so white in the bay so mixed 2 colours to get this
here it is after lots of rubbing and cleaning and painting
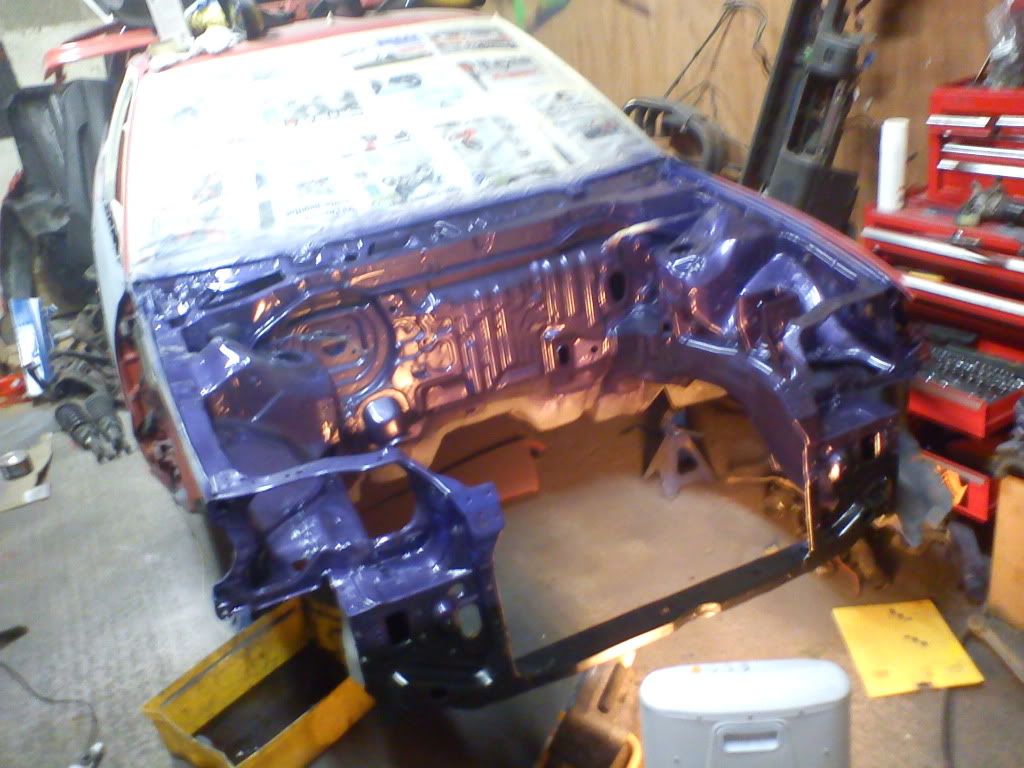
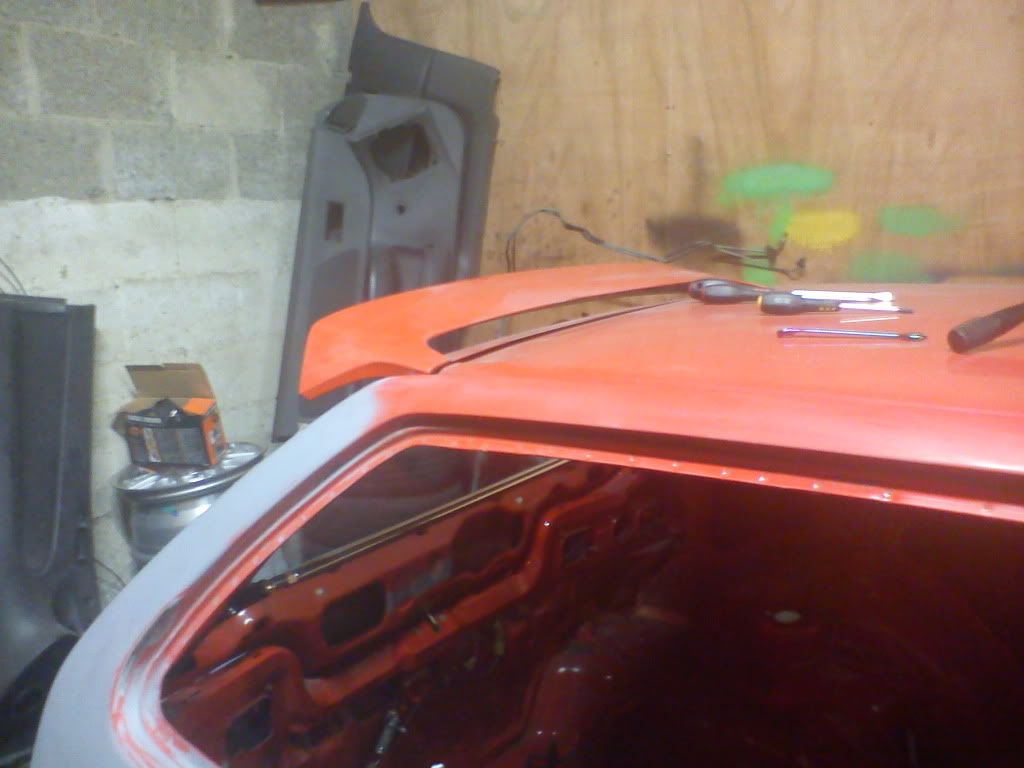
and one of the side view of the prep work and sorting the dings from the last 20 odd years
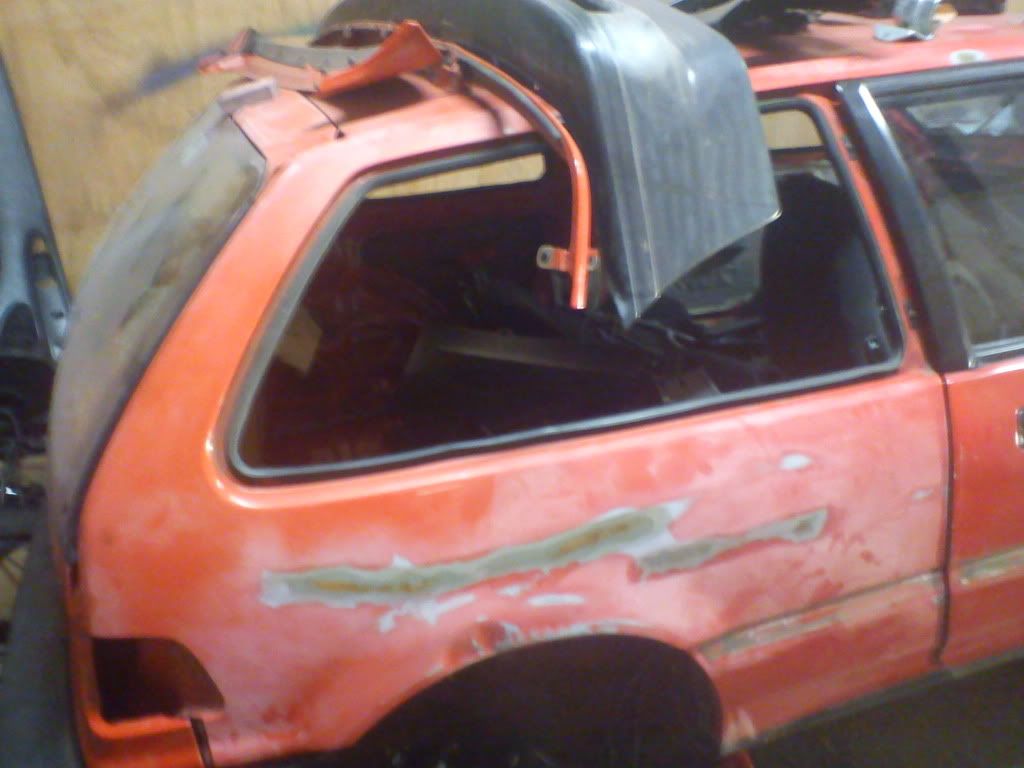
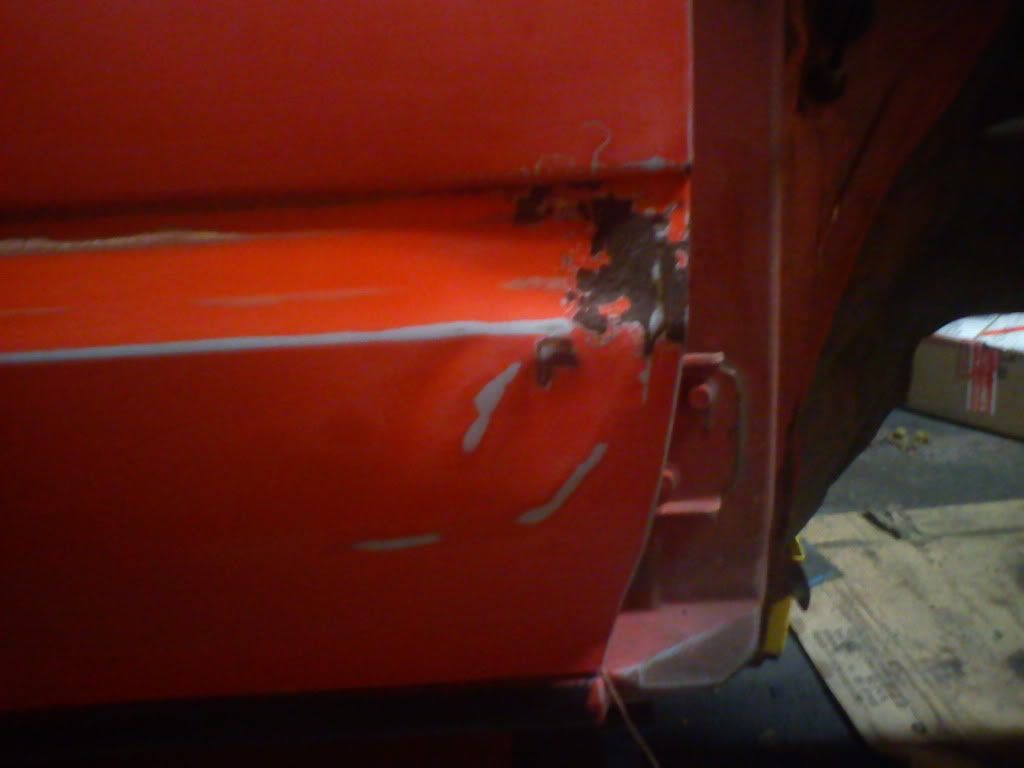
Before with the damage to the drivers door
After the door was sorted and other dings where taken out of drivers side
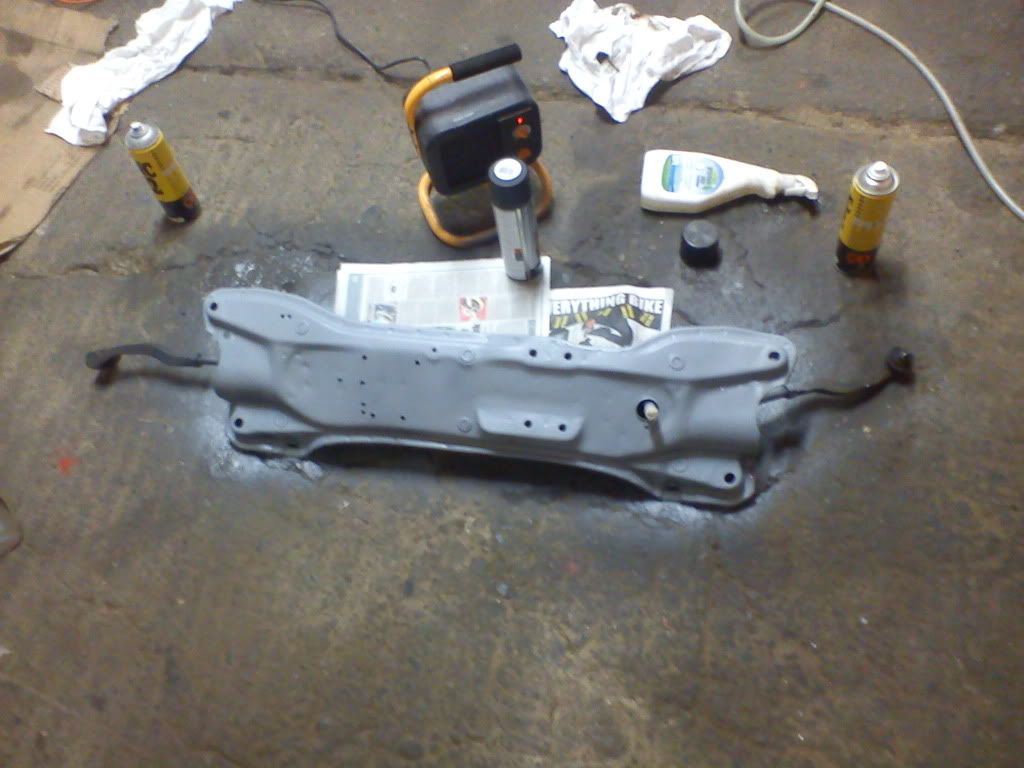
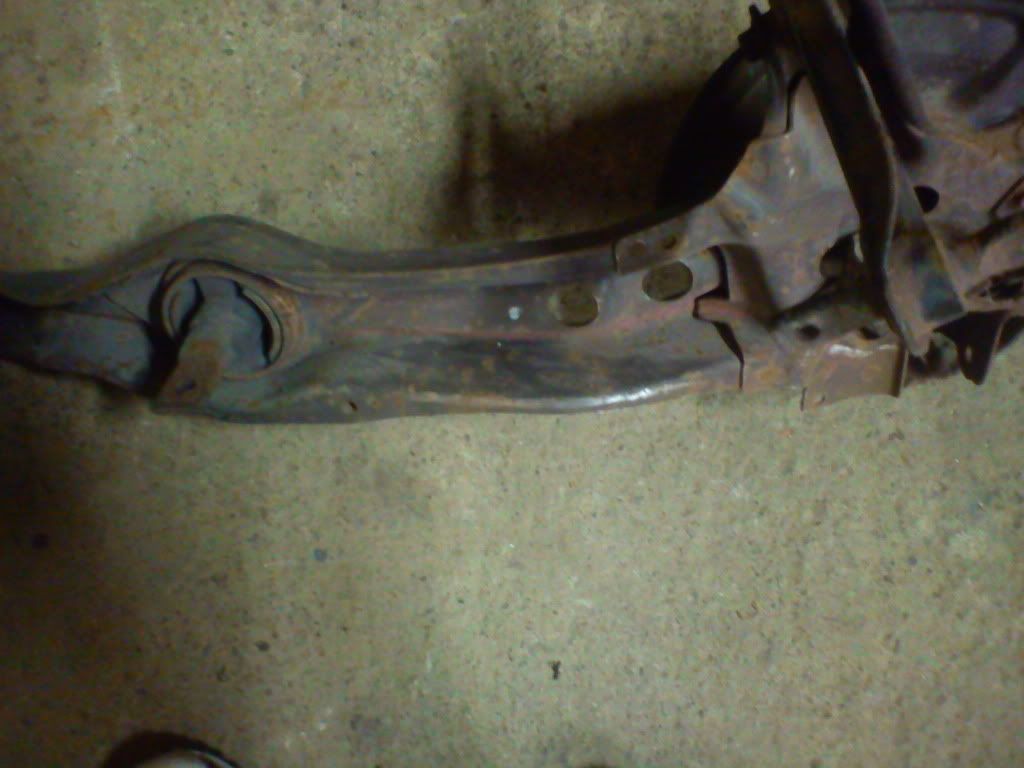
set about painting the subframe nothing fancy seems its going to be covered by the motor so matt black it was
Davids zinc anti rust primer first
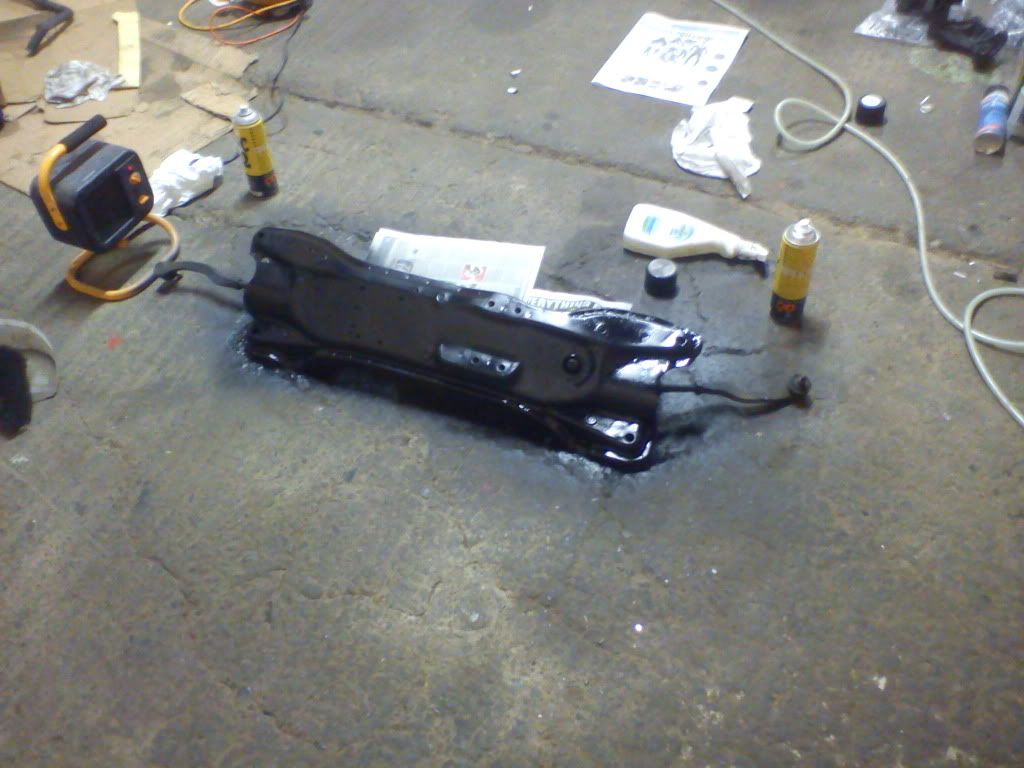
then lots of coats of matt black over the anti rust primer
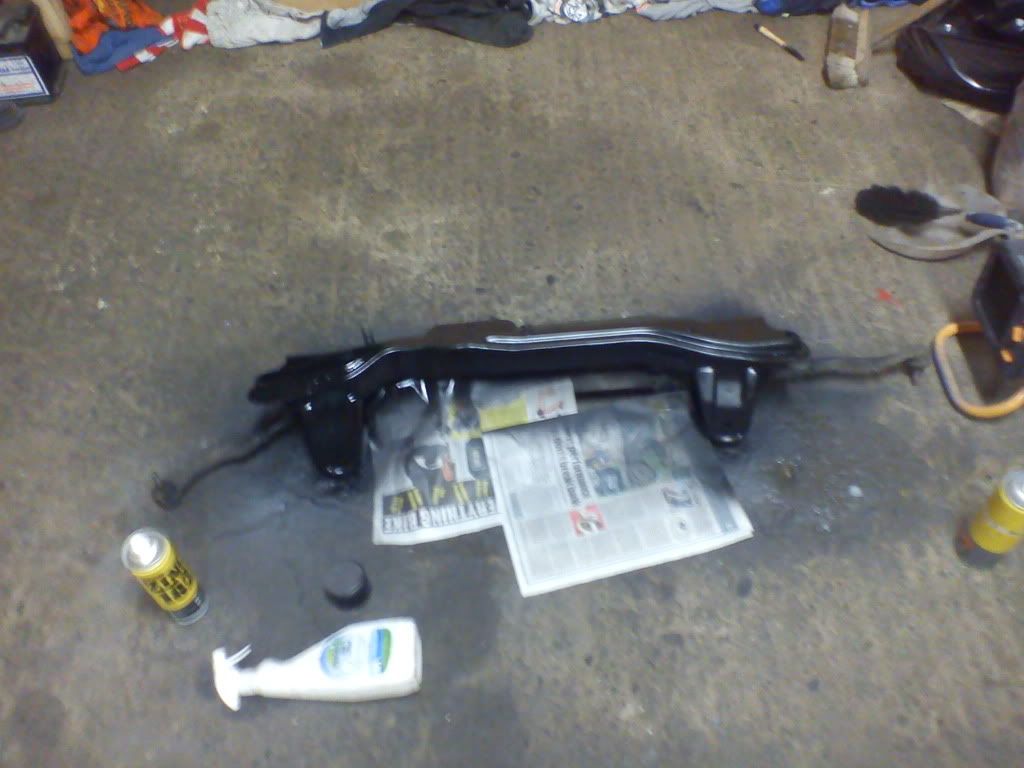
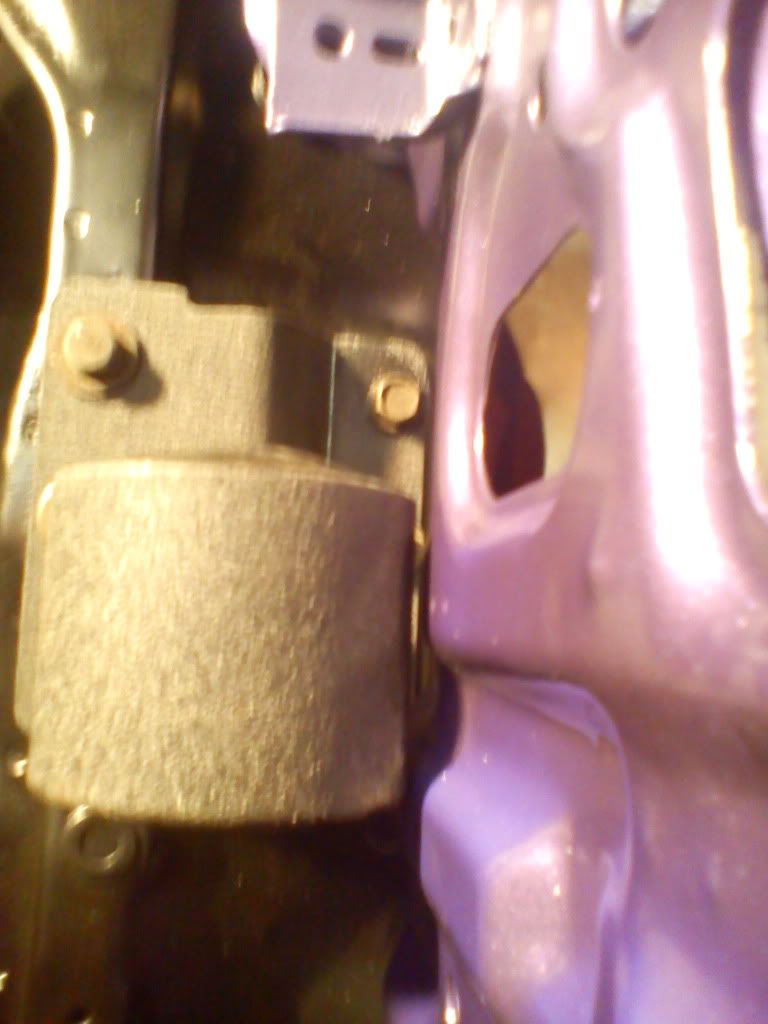
So started on the rear legs they where looking a bit past it as u can see below so they got some of the same treatment

So next thing was to remove the lume from the new engine seems i took it out of the prelude still attached to the motor and set about removing the dirt and oil from 94 to 2010
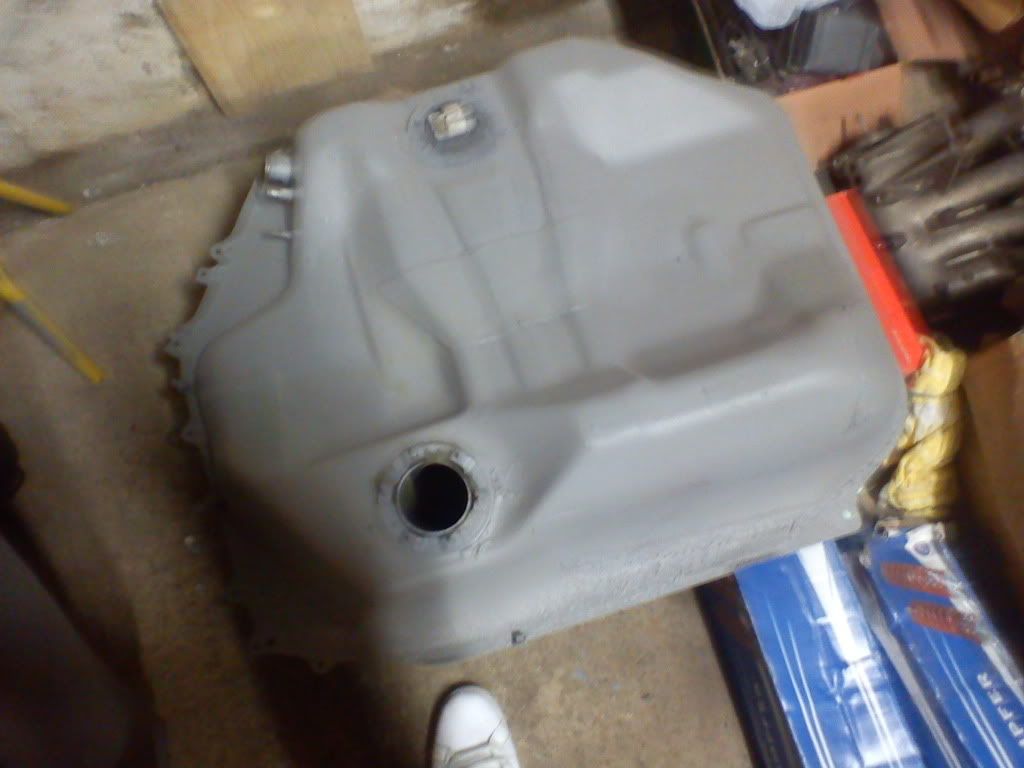
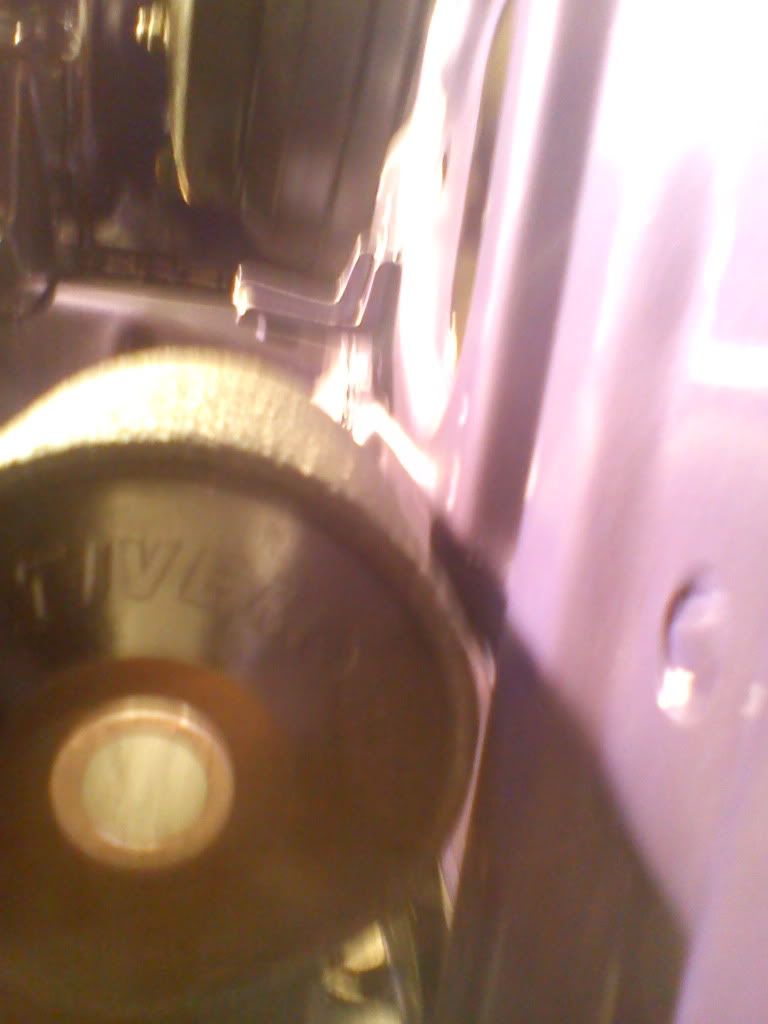
Then set about cleaning up the fuel tank as it had some surface rust so cleared the rust with a wire brush on the drill degreeced and primed with anti-rust primer then stoned chiped the top where it will be hidden wont be seen but annoyed me heres how it looked after
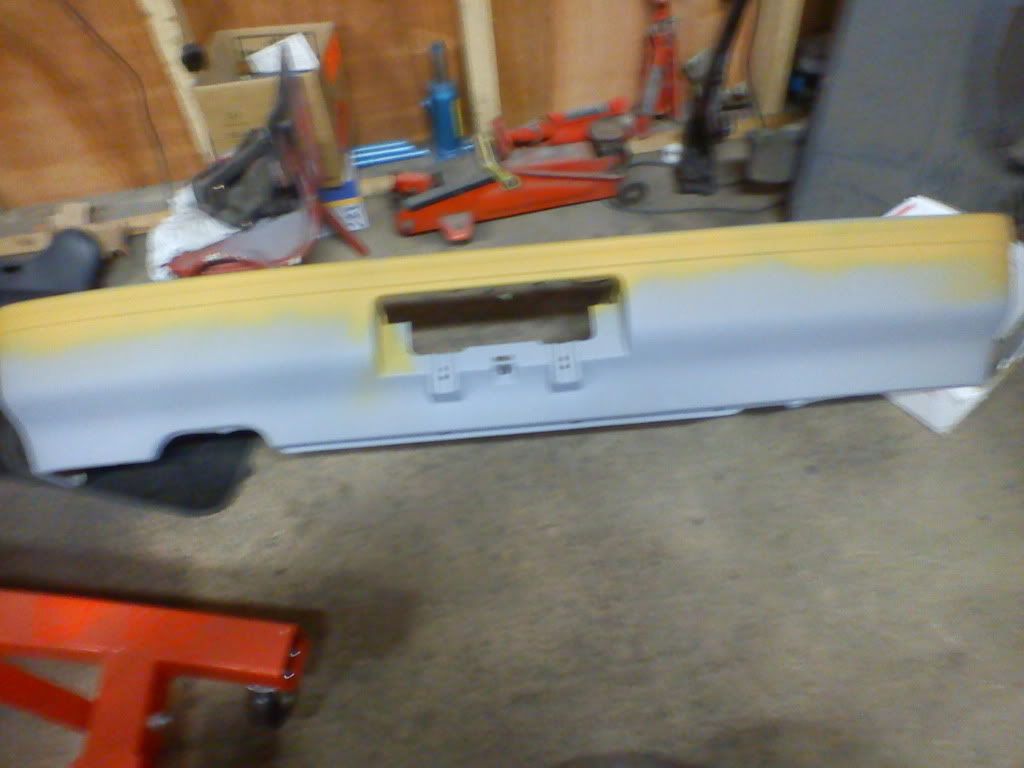
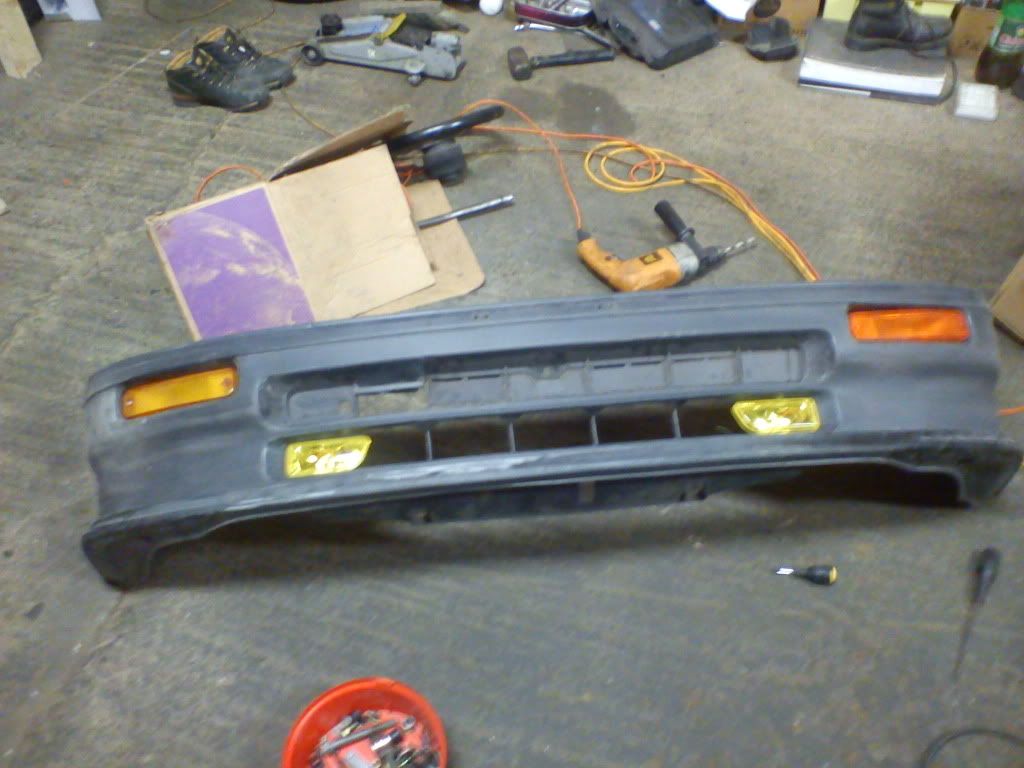
Picked up a jap rear bumper of darren in backyard performance sound chap to deal with was champ white but had a few marks so stripped it back and primed it for paint
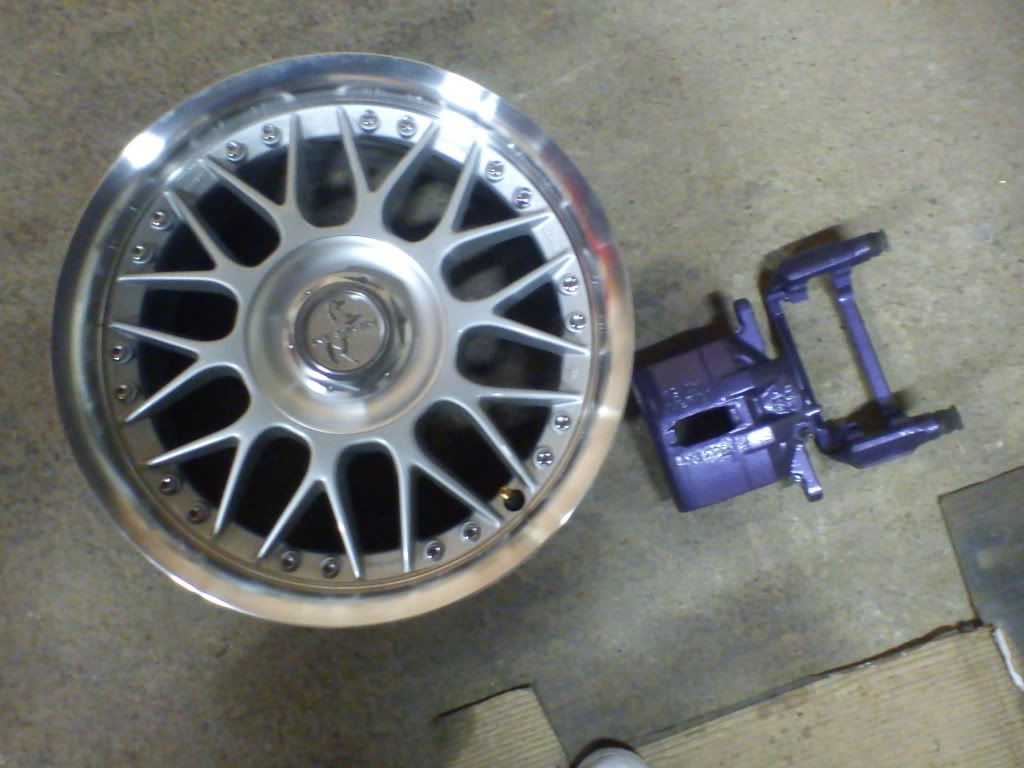
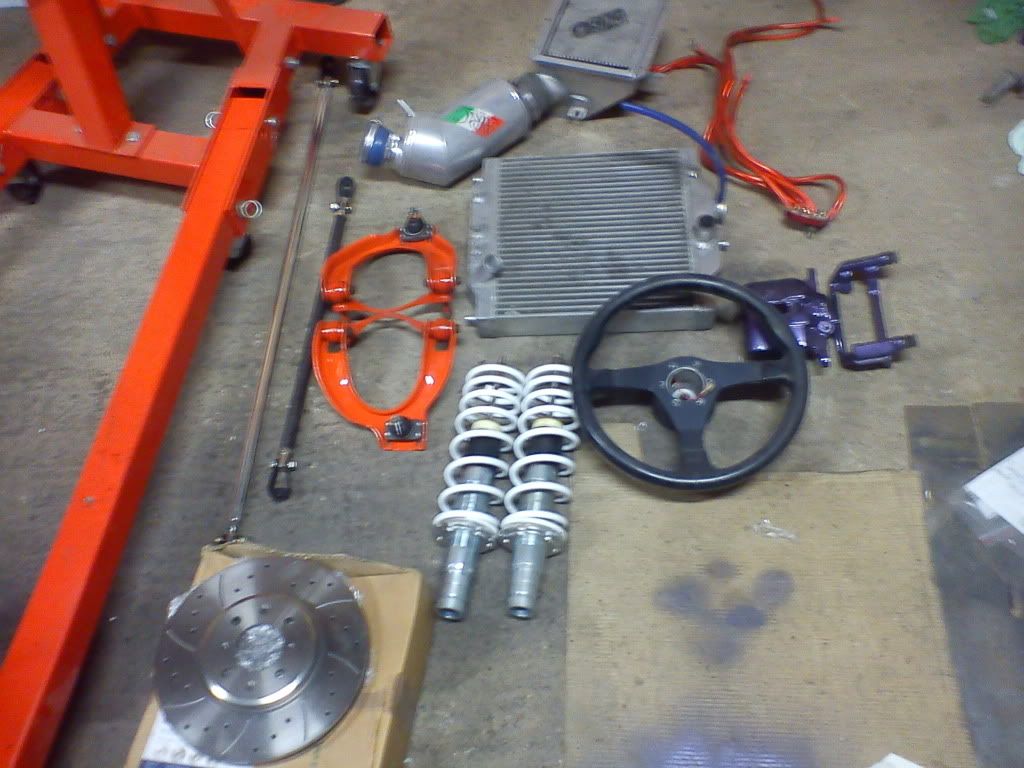
So heres a pic of the wheels and what the brakes will look like when all done
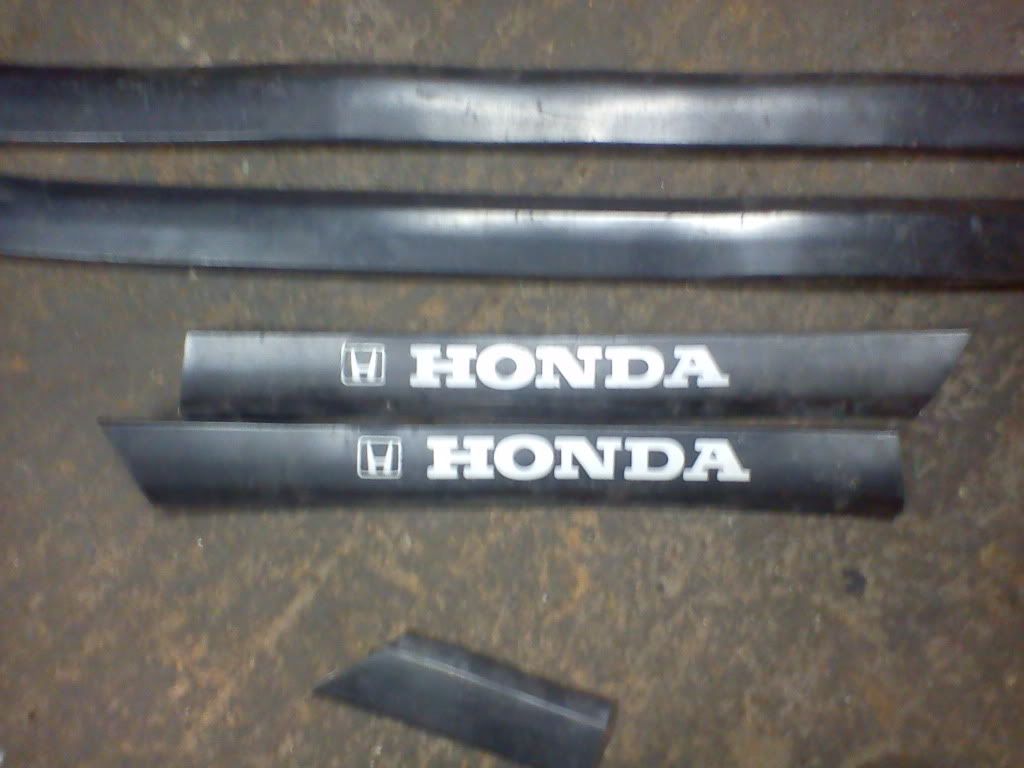
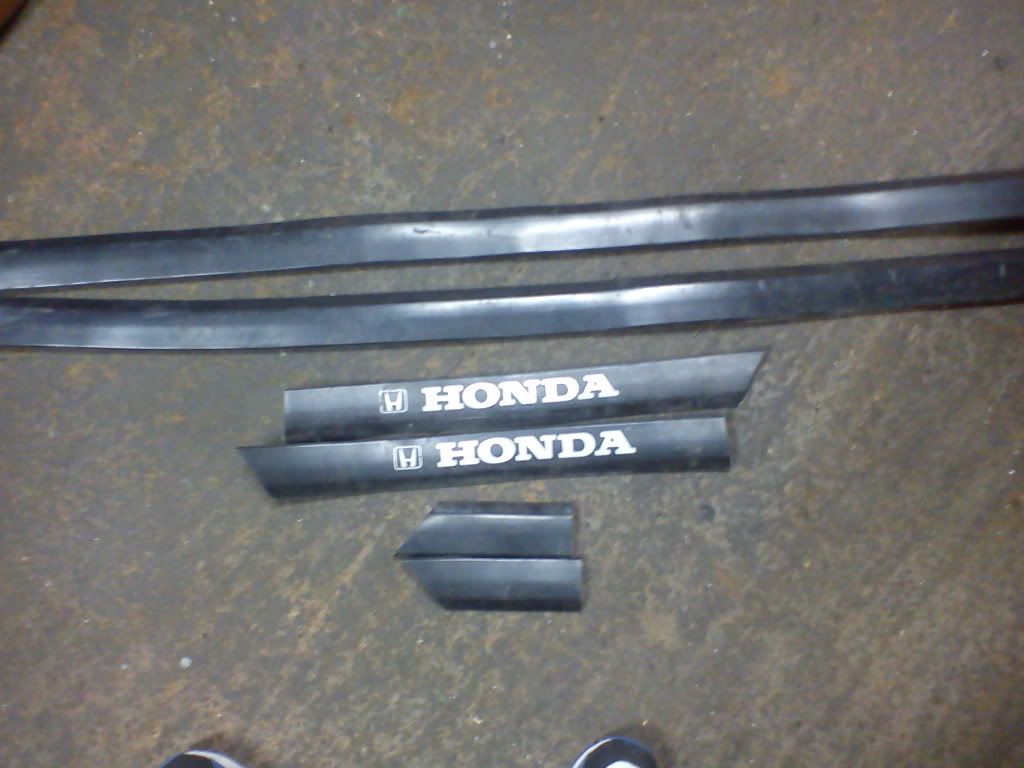
And a snap of some random parts for the build
Stone chipped the inner arch pics aint the best of the phone
and one of the seats after cleaning
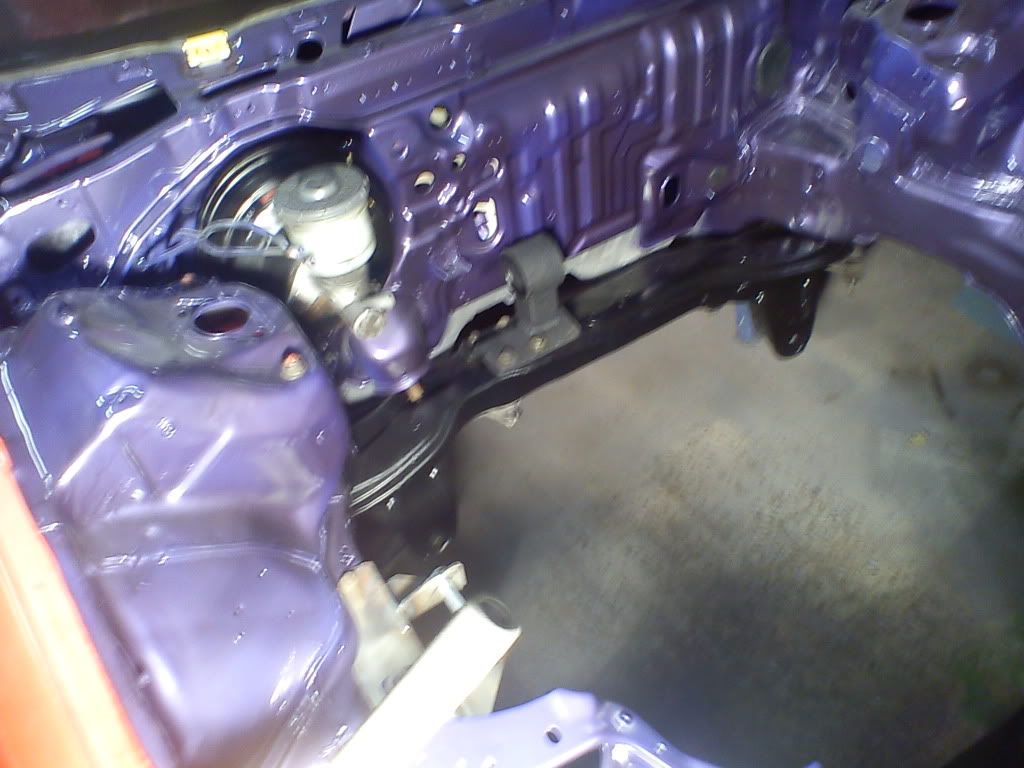
So with the subframe dry from painting i stuck it back on the car with the rear mount attached so didn`t scrape the bay trying to fit the mount, also wanted to see the clearance of the mount to firewall and glad i checked clearance now also stuck the brake master cyclinder back on for test fitting the motor in next few days
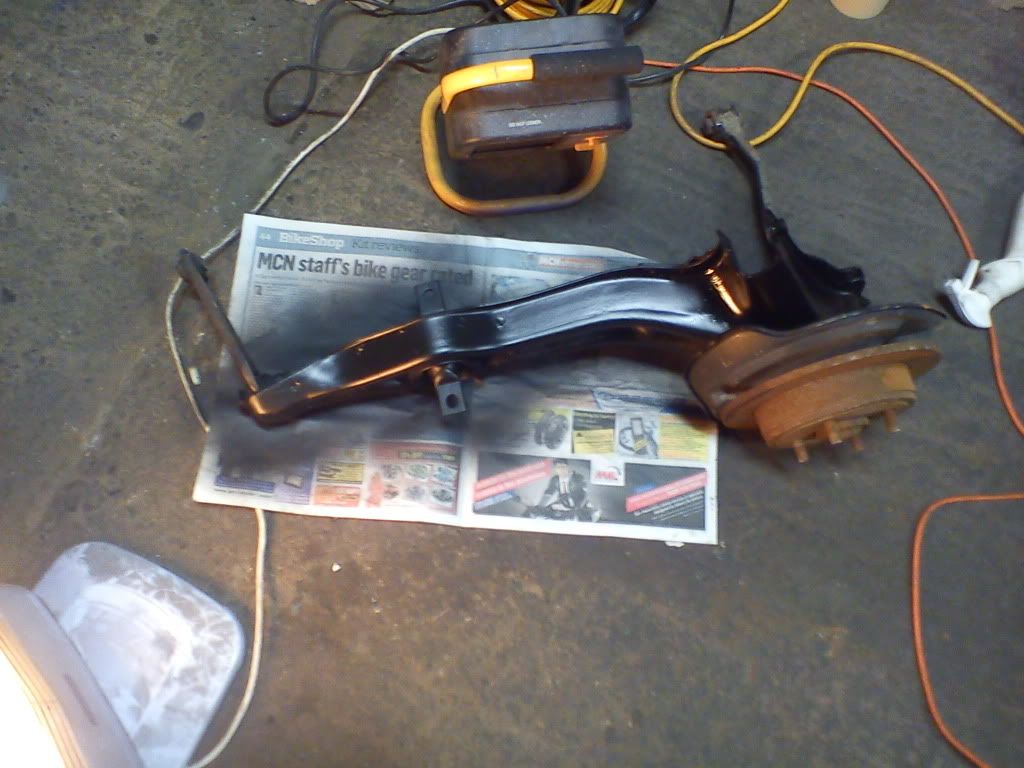
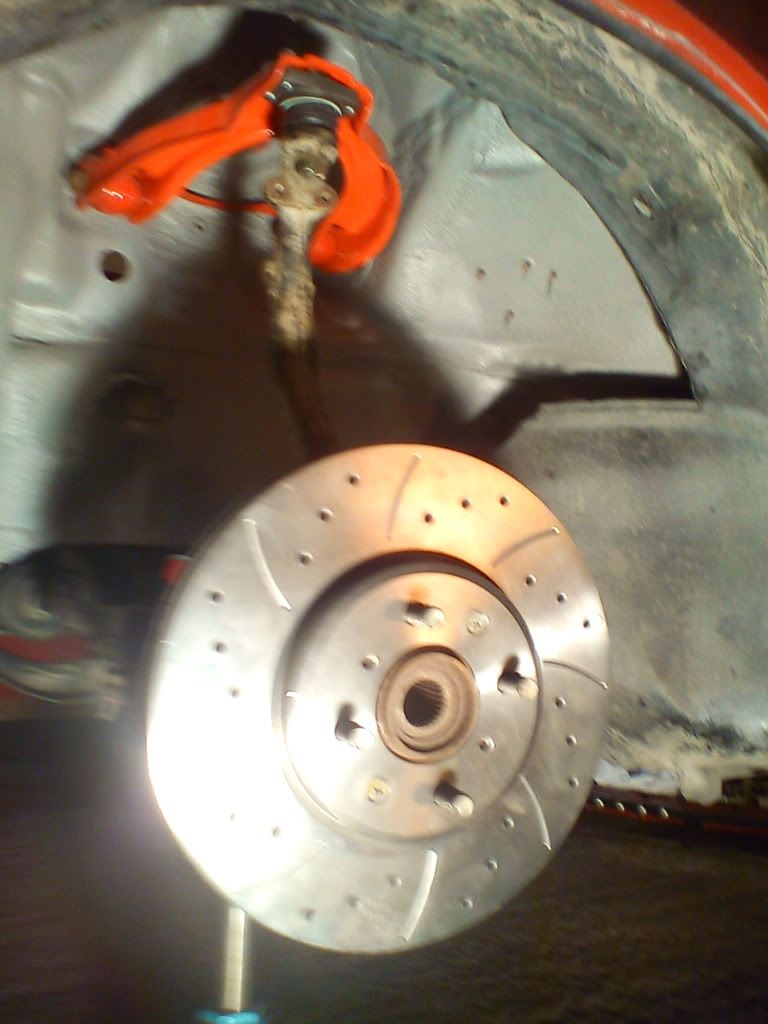
Wanted to see how the wheels will sit but waiting/looking for parts like shock forks so build up the hub with its new disc and chamber arm bottle jack to take the weight and set out to see if camber will work with wheels and looking good
Hub built up so could check wheel width will be painting knuckle of hub before final fitting cause looks rubbish as is
one of wheel on hub
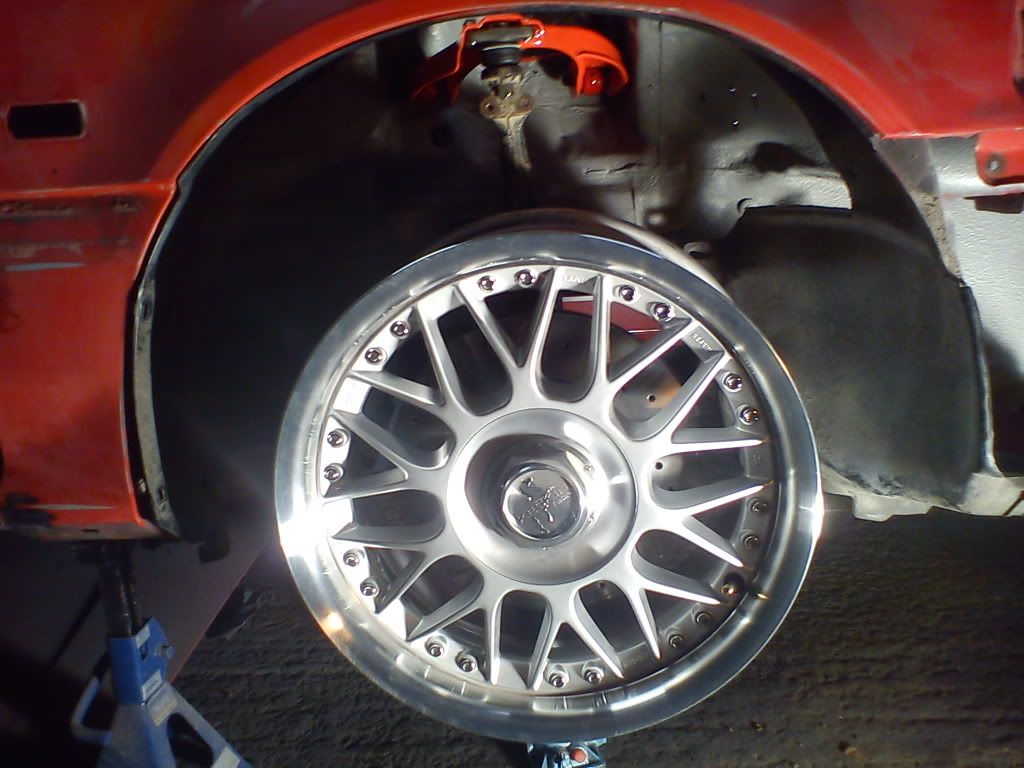
and one of how much it`ll stick out top should tuck in once shocks go on but looking good for the camber
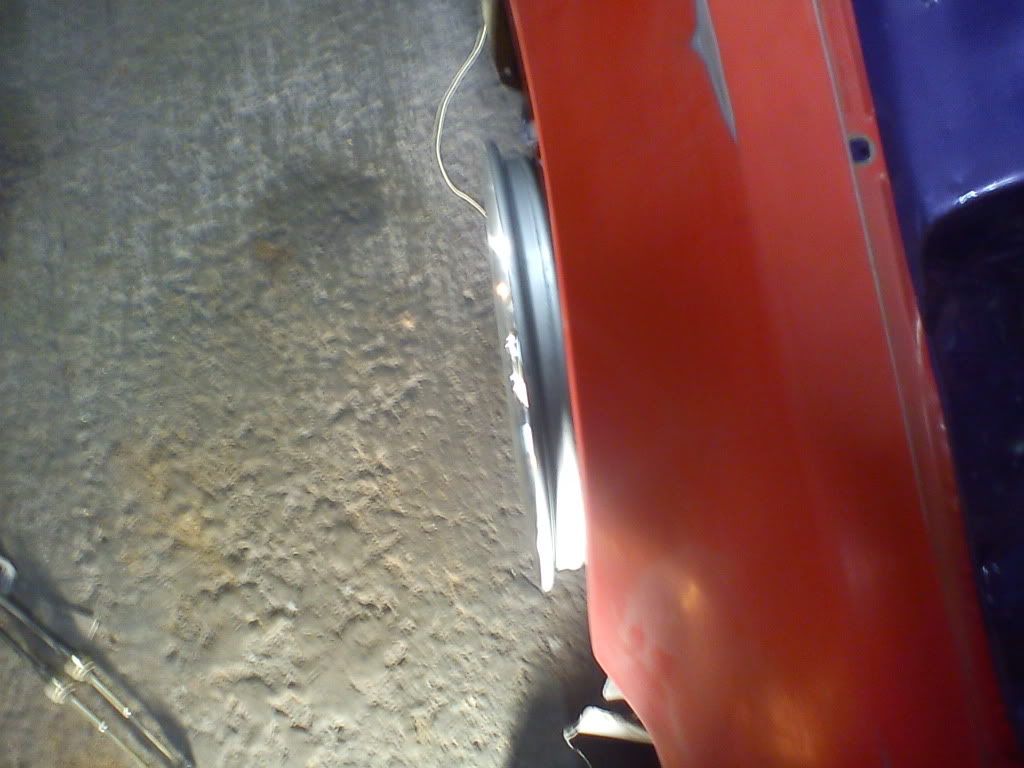
And one or two of how close the rear mount sits to the wall its shocking tigh might space the rear bolts to lift it away a tad
Also fitted the collum and steering wheel so can start figuring out whats what on the prelude digi dash fitting and where it`ll sit in relation to wheel pedels and seat position
so loads of fun ahead of me
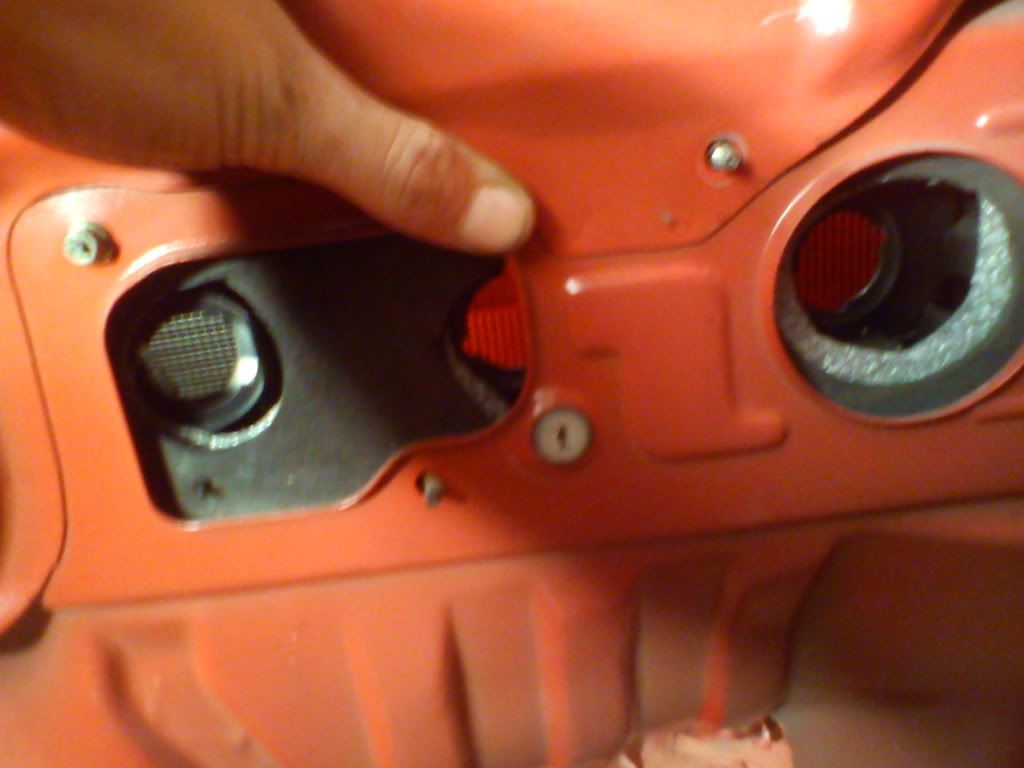
So while stripping out the car for the colour change i wiped out the rear wiper motor and put a delete in its place
So next was to skim a few mill off the prelude hangers to fit the discs still have to smooth with bench grinder before repainting them
Next was to check the ef2 rear lights as there slightly different from the dx ones and nothing much to worry about compaired to some of the jobs on the car
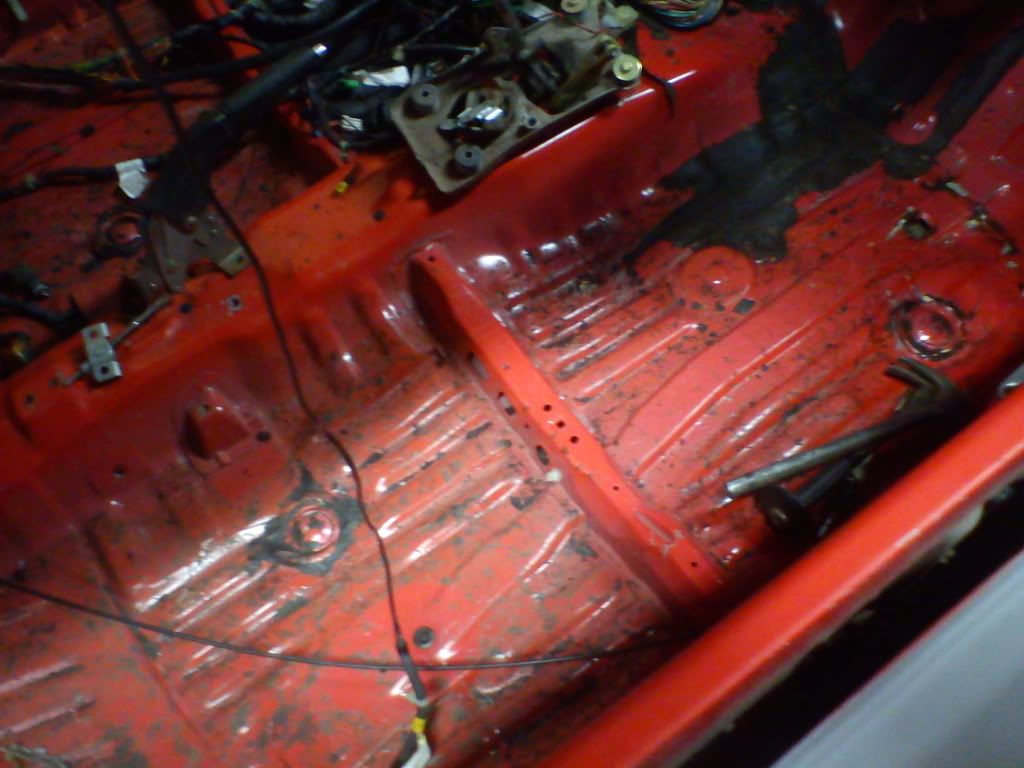
So next was the fun part of removing the sound deadining from the Rear and boot lots of banging with a hammer and a chisel

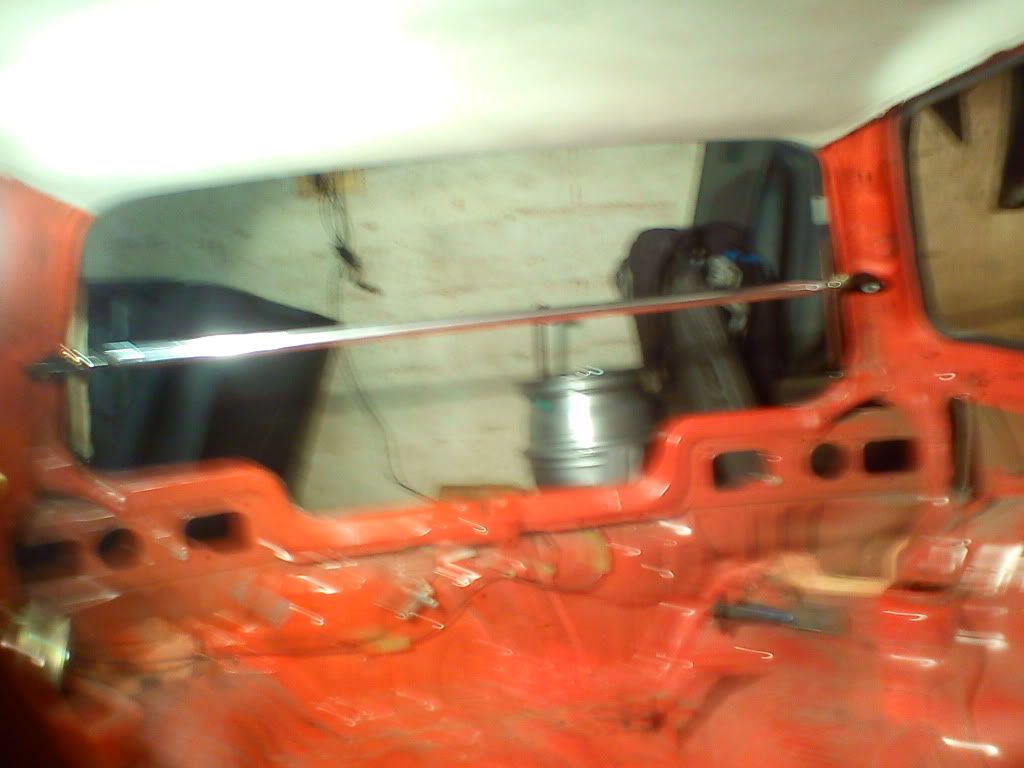
Also fitted the c pillar strut just to check it fitted okay fits perfect
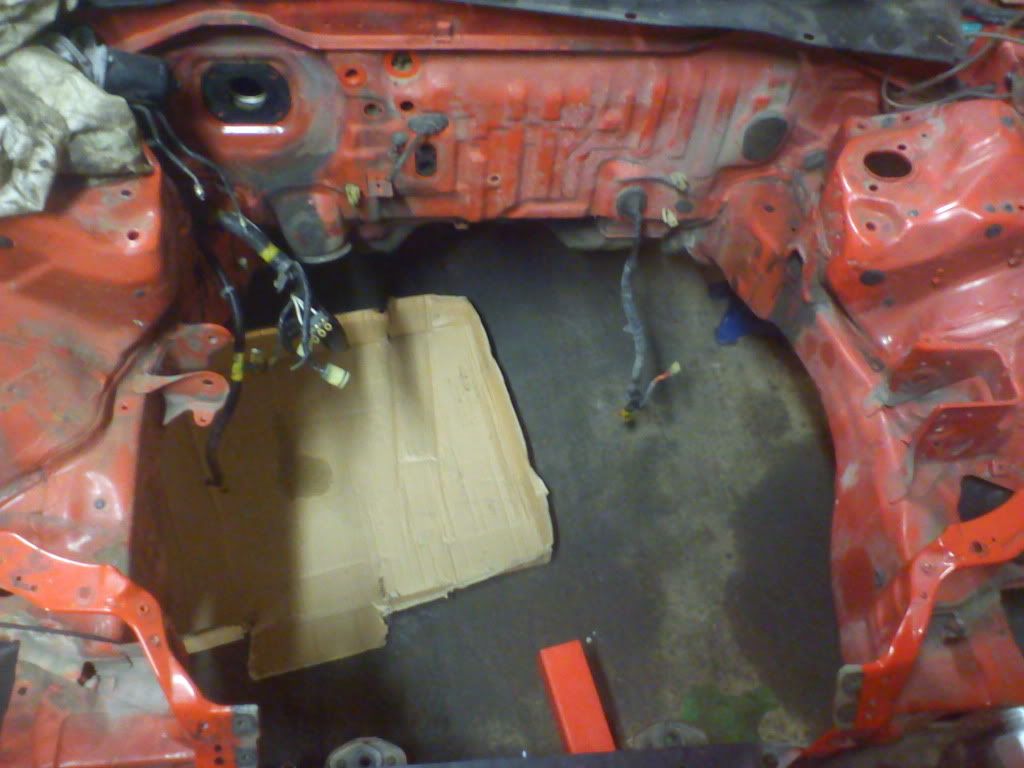
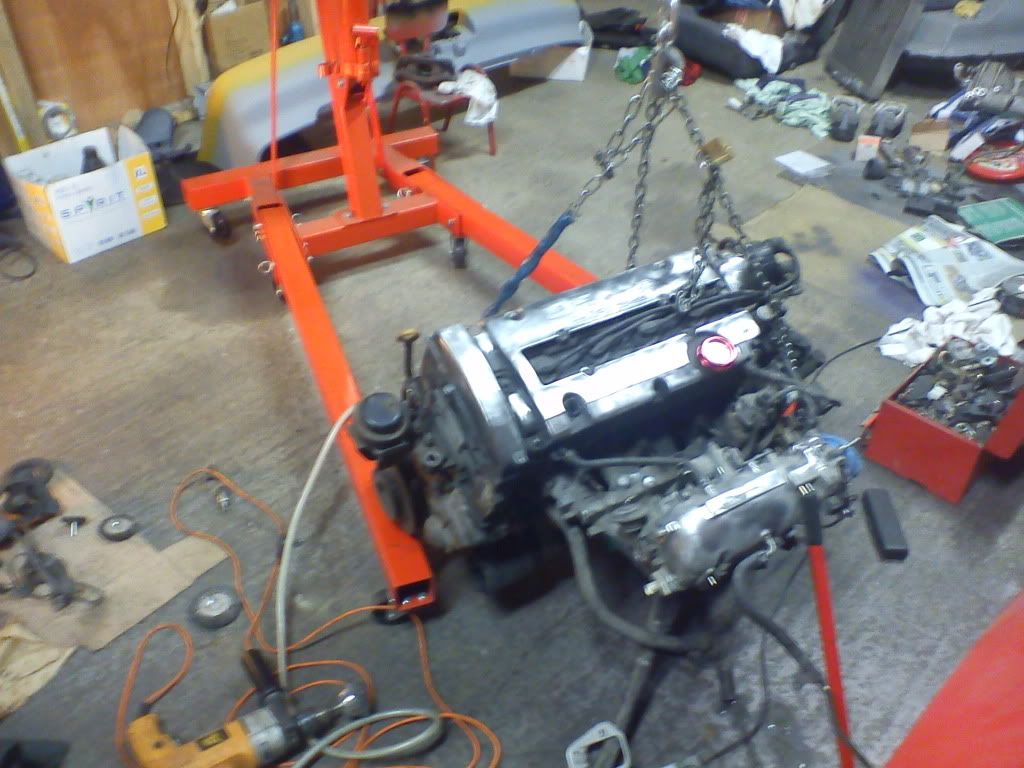
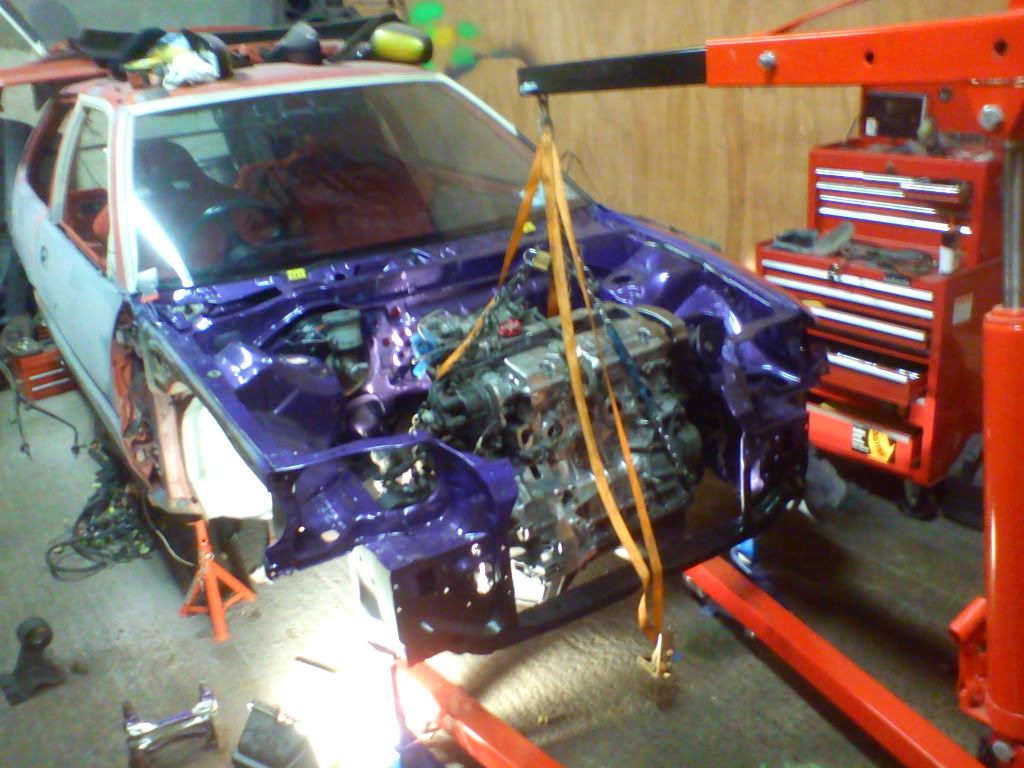
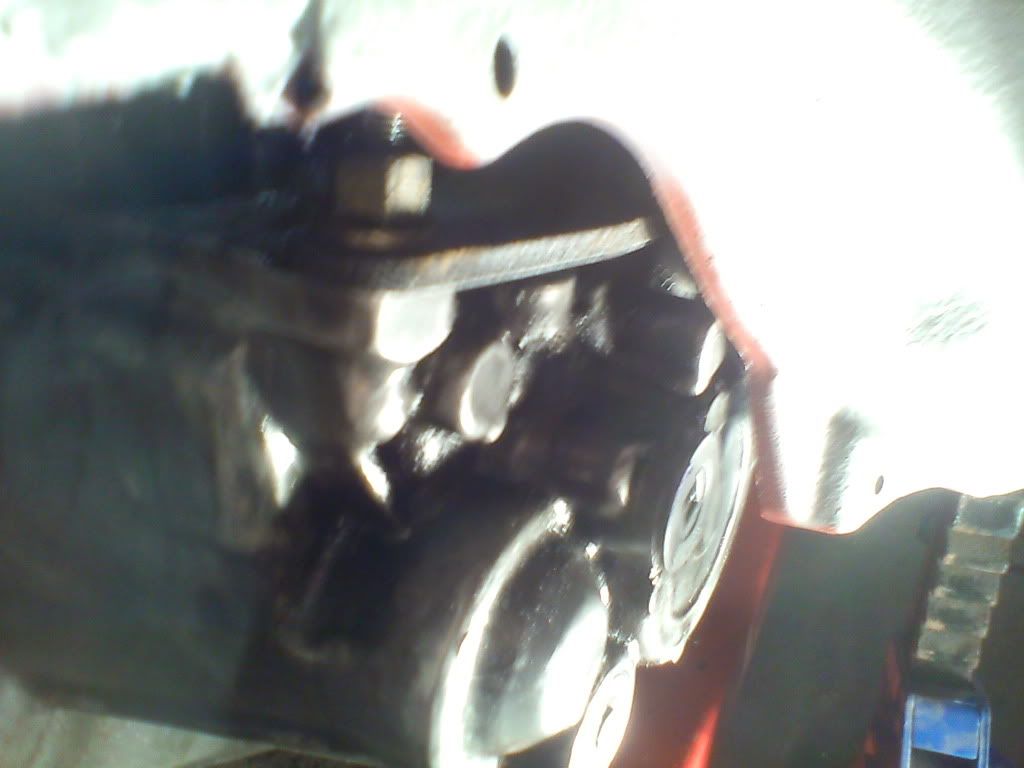
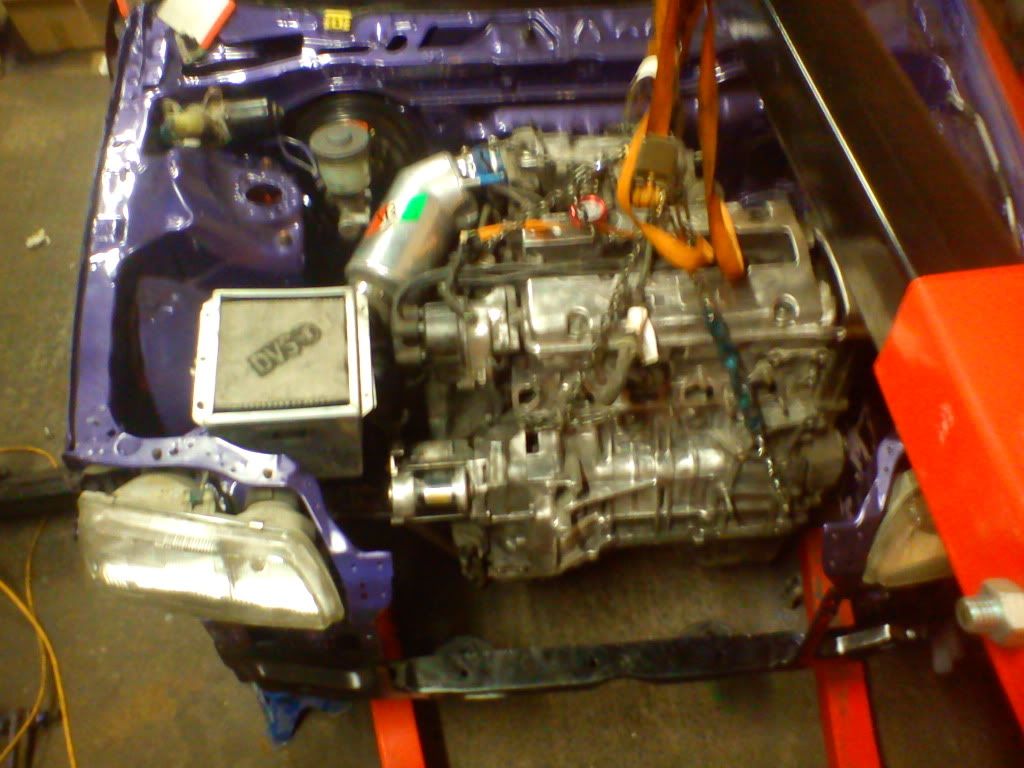
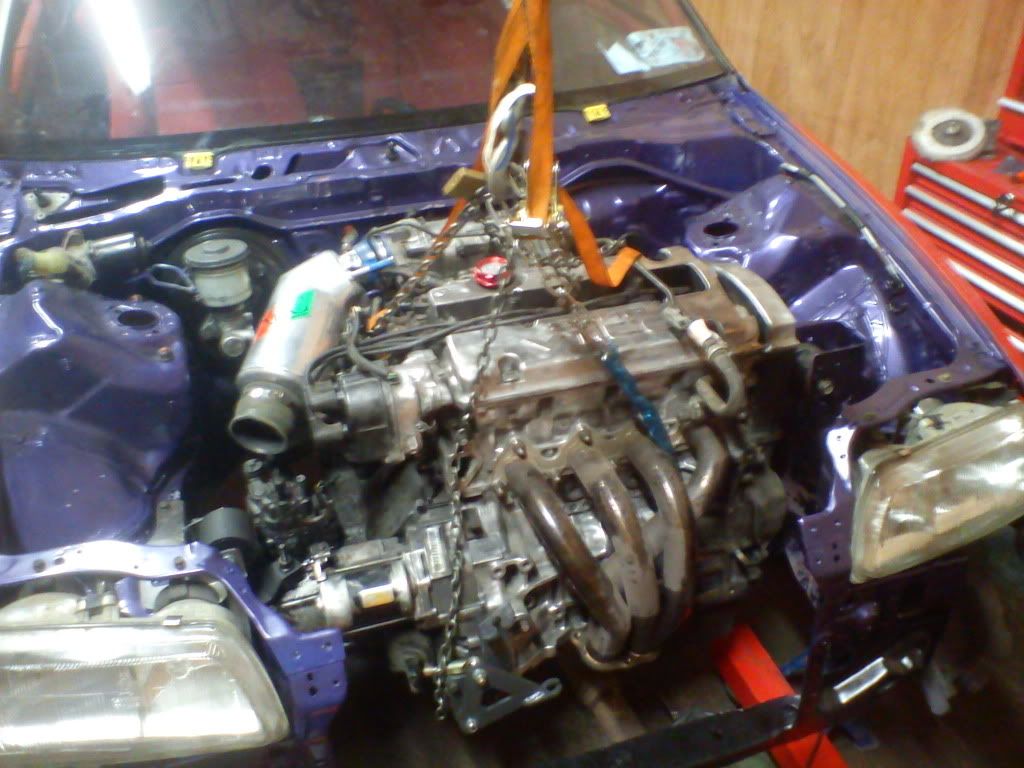
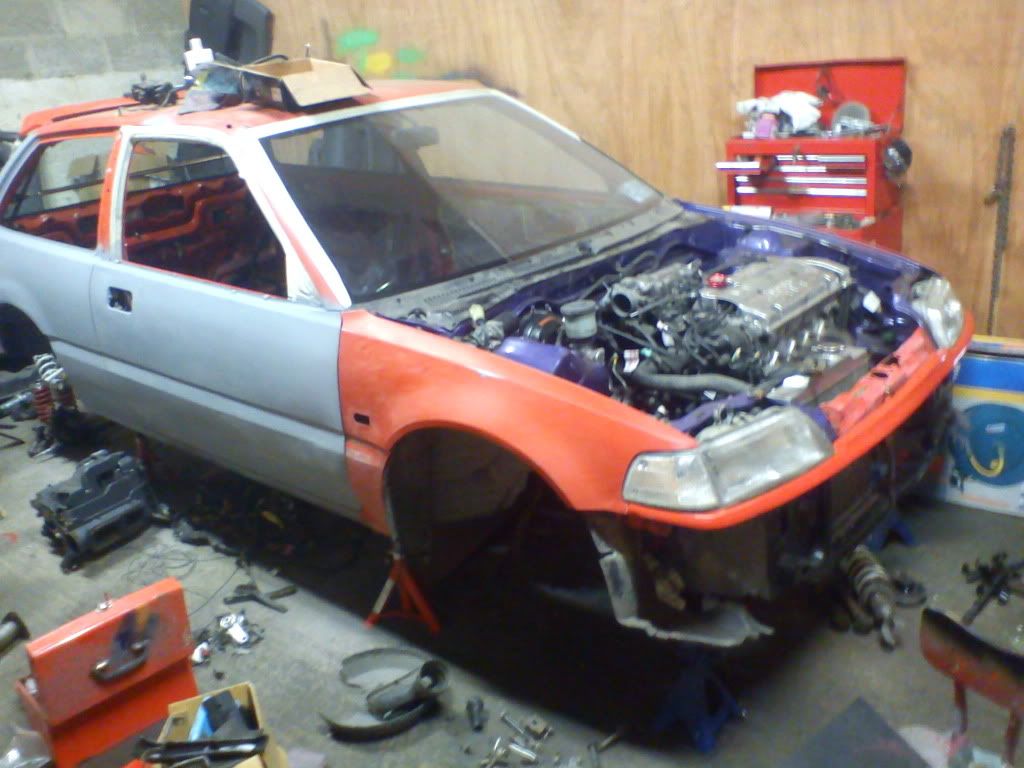
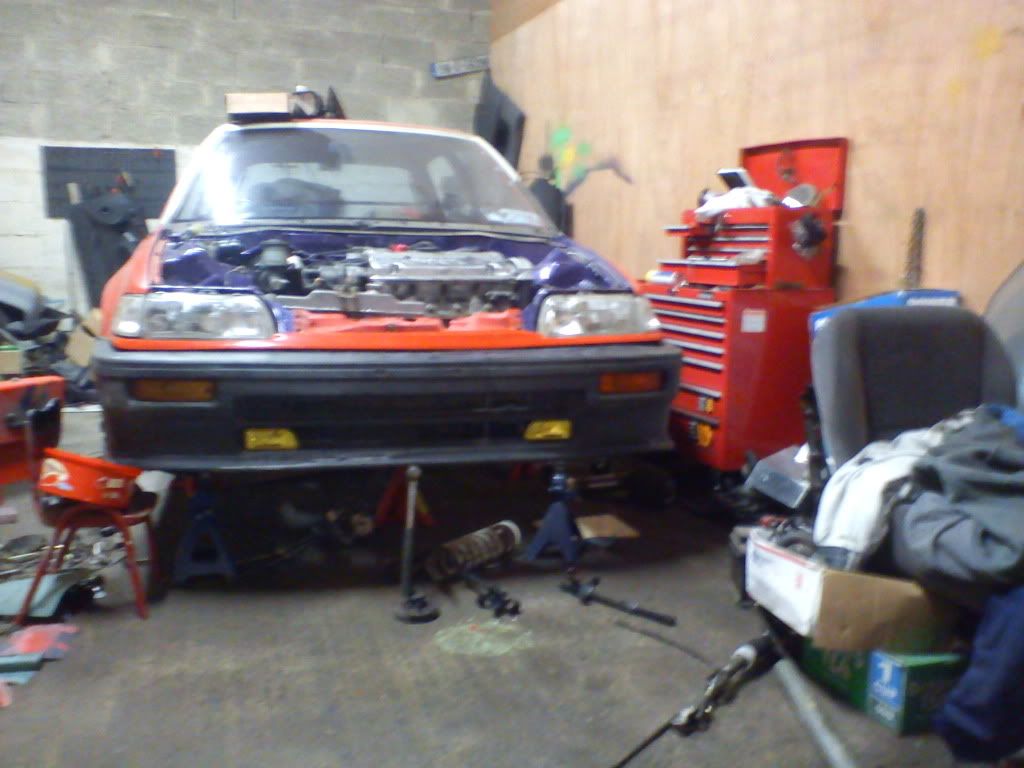
So next was the job i was dreading getting the h22 in to the engine bay, Seems i was right to dread it took a few tries to get it in straight and end up lifting it up from the ground with the subframe out but did come across a few issuses once it was in place but knew i would its a lot of engine for such a little bay, pics shows the problems i came across
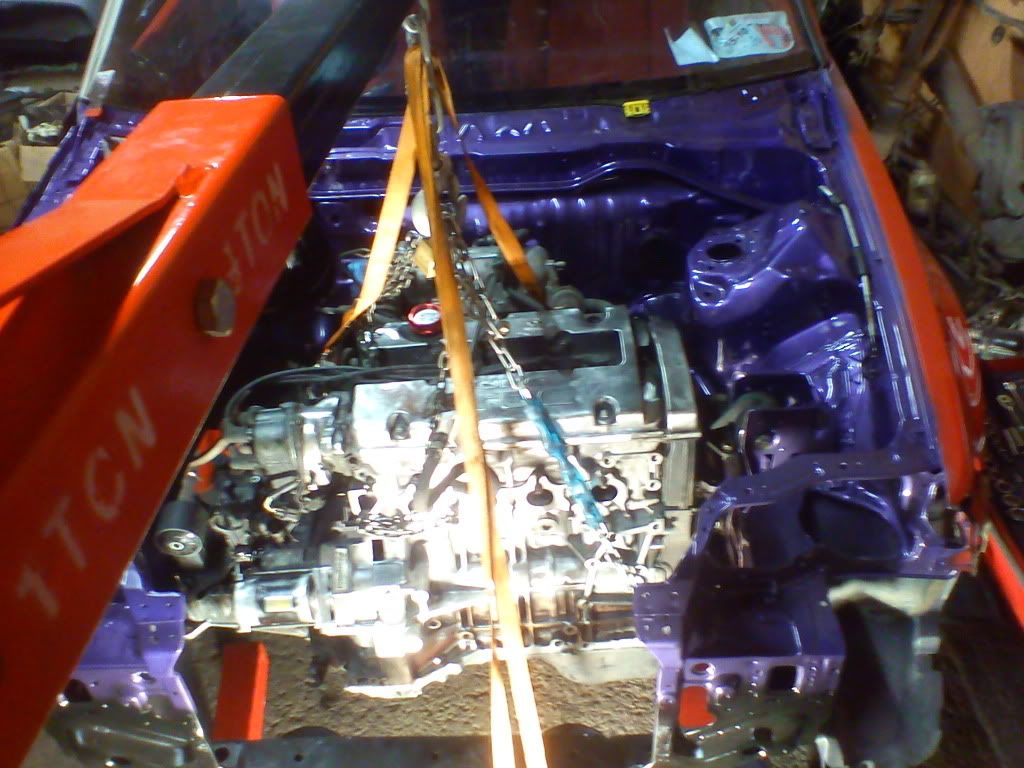
Engine in the bay
and another of it in the bay
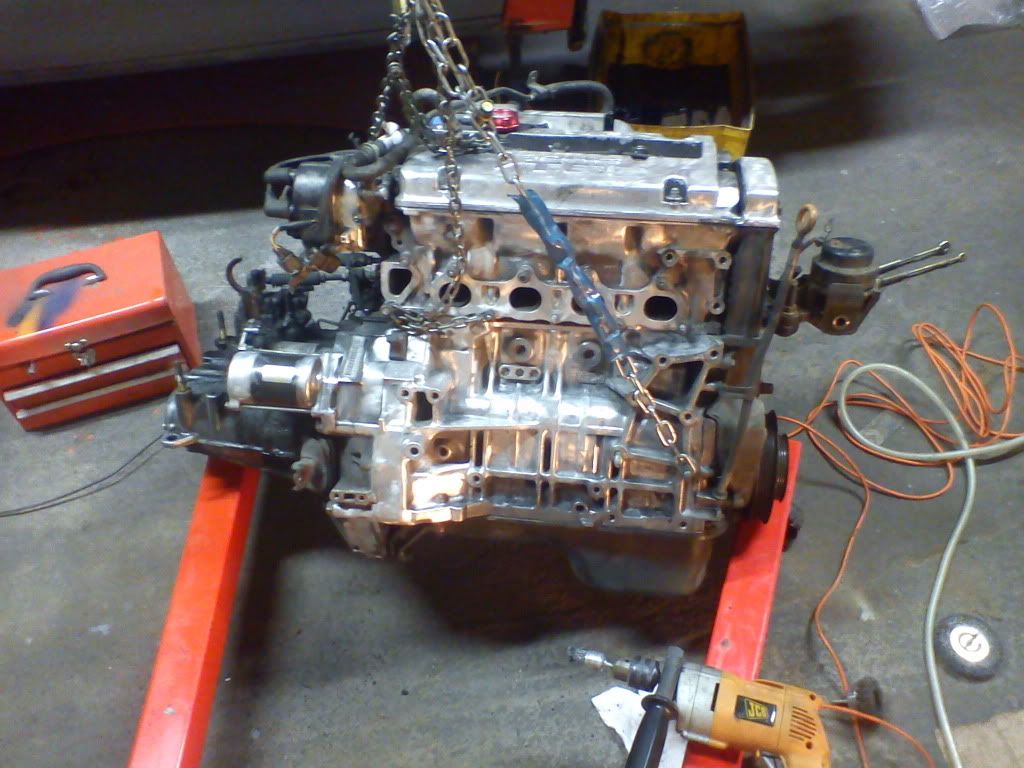
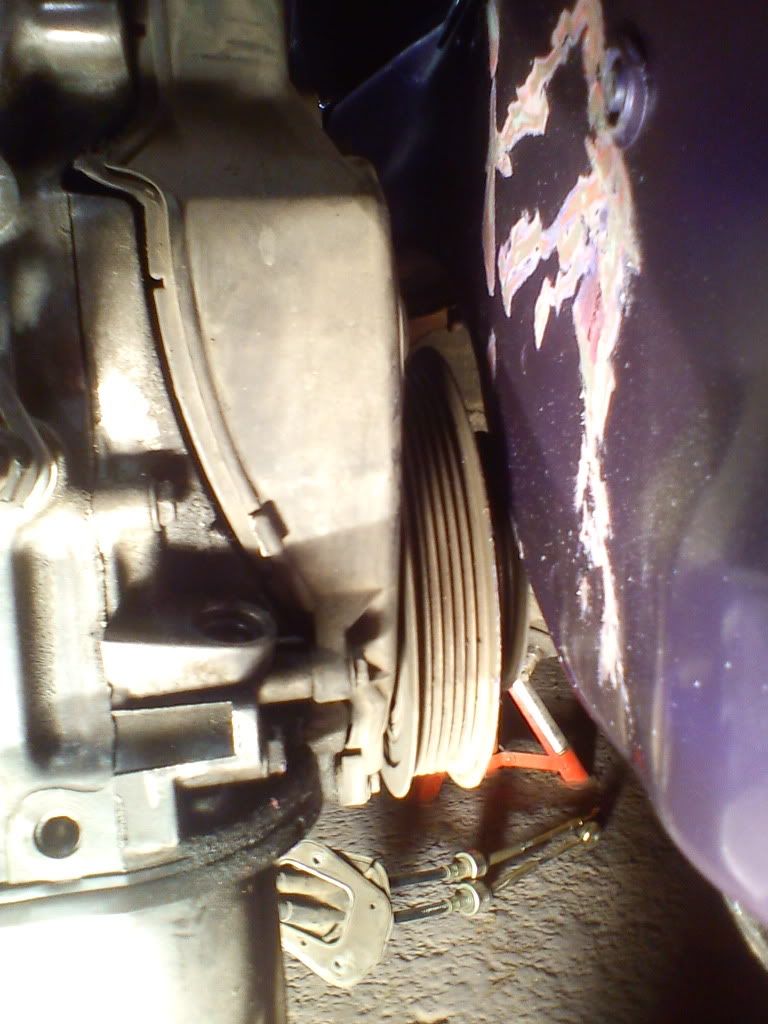
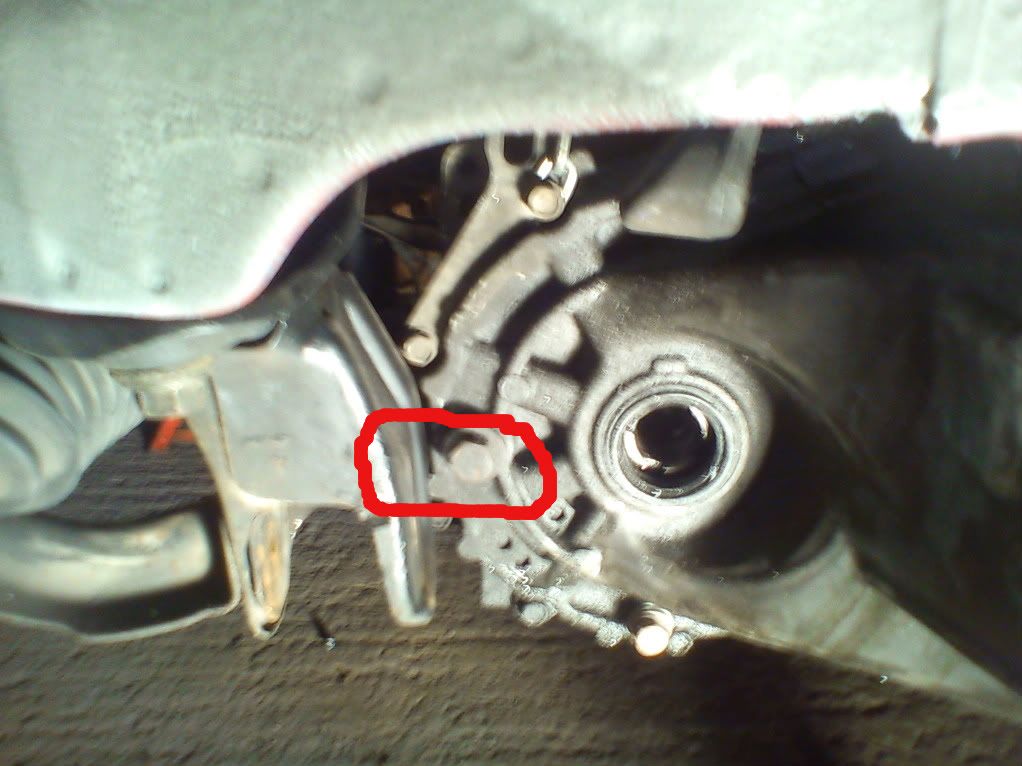
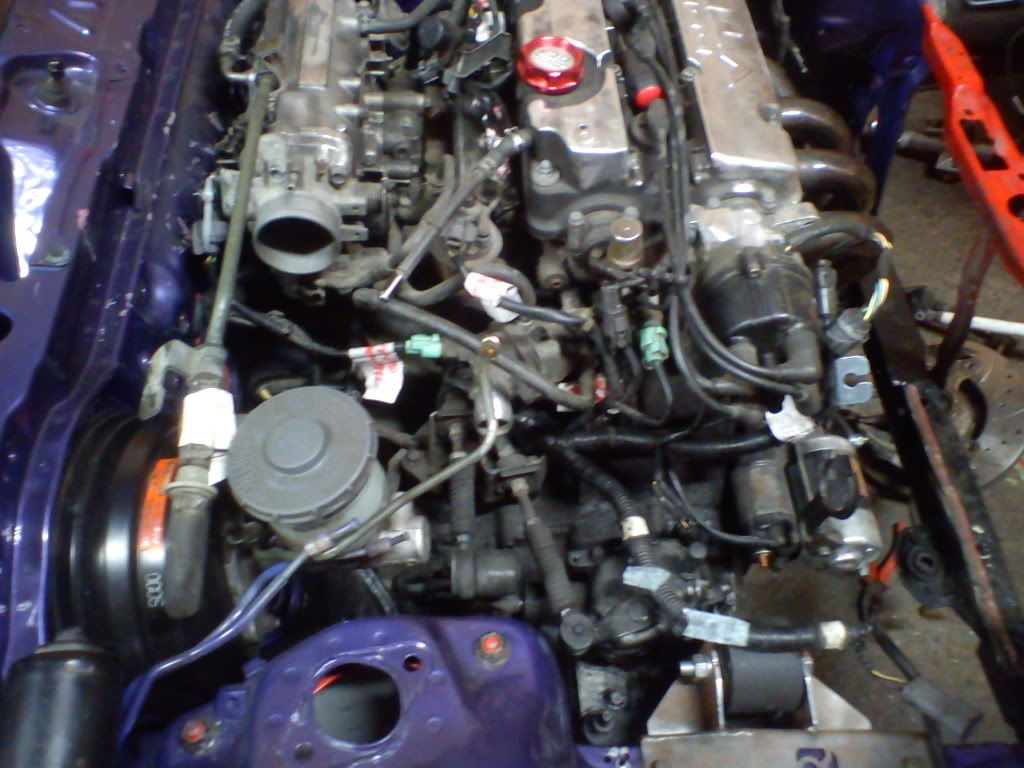
First problem 2 belt pulley is to big and will need changing for euro r or sir-t one or just get the stock one machined to work
And on the gearbox side its a bit snug so some slight wackage may be needed on this side for clearance
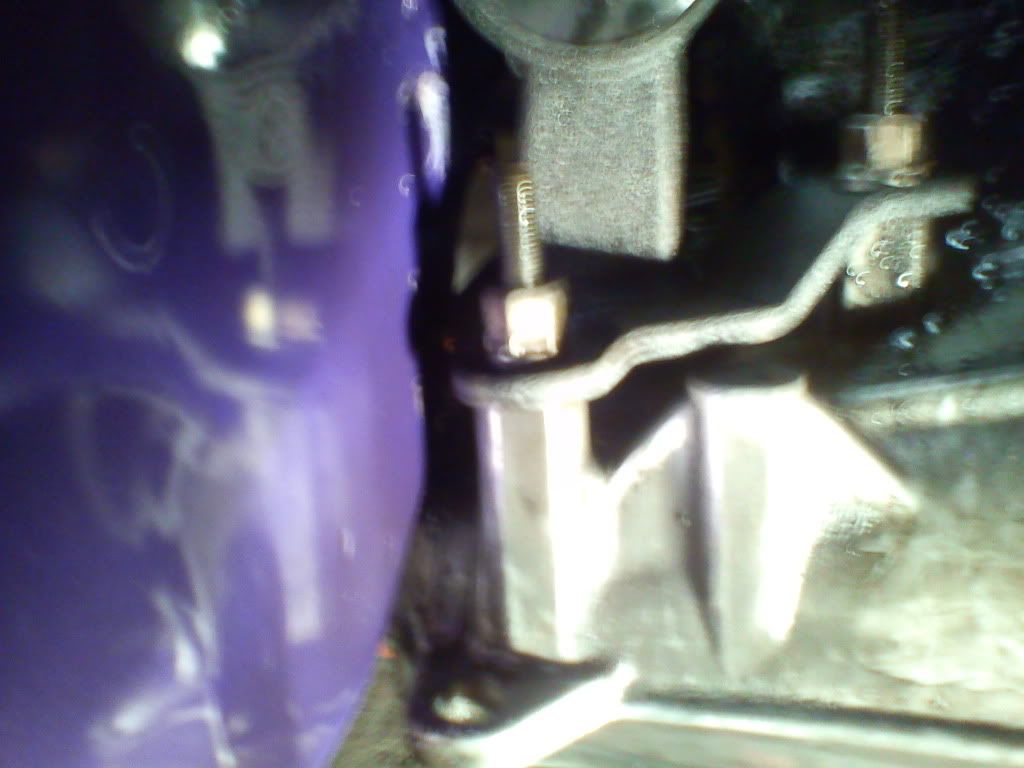
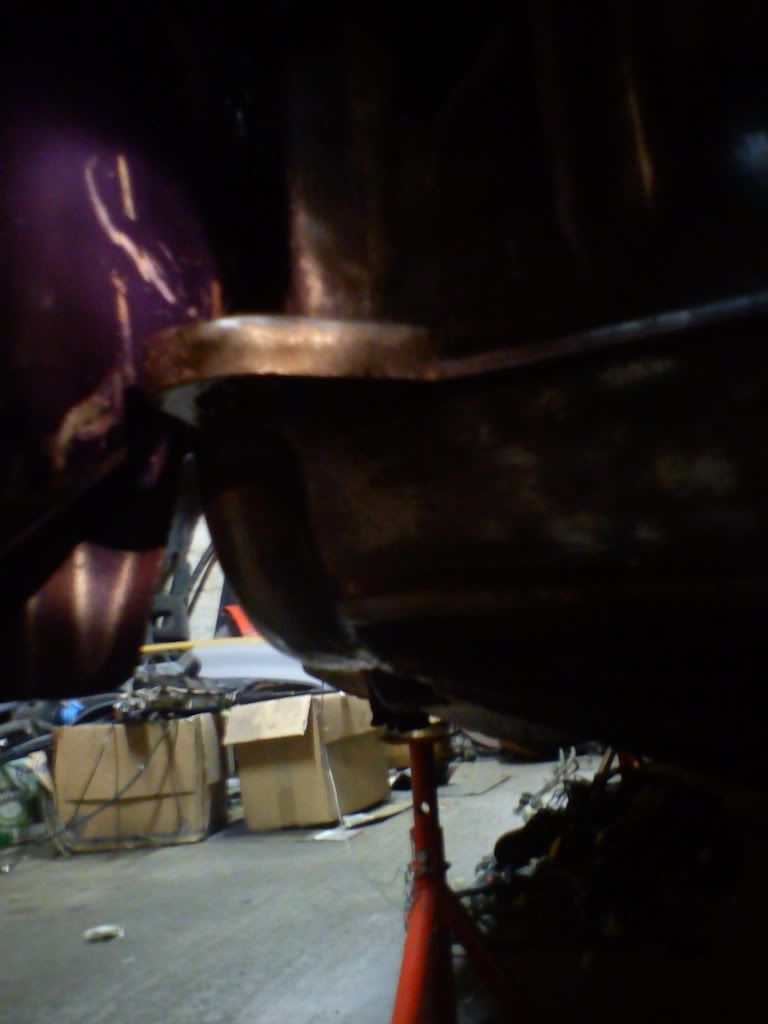
Also the gearbox filling bung will be blocked by the subframe seems the motor has an inch or 2 to go back to be on the mounts and its close as is can see where i marked them
So with engine in the bay now its time to make it fit so first i chopped off the 2nd belt pulley as was in the way for getting the motor into the right spot only gains me a few mm`s but every little helps
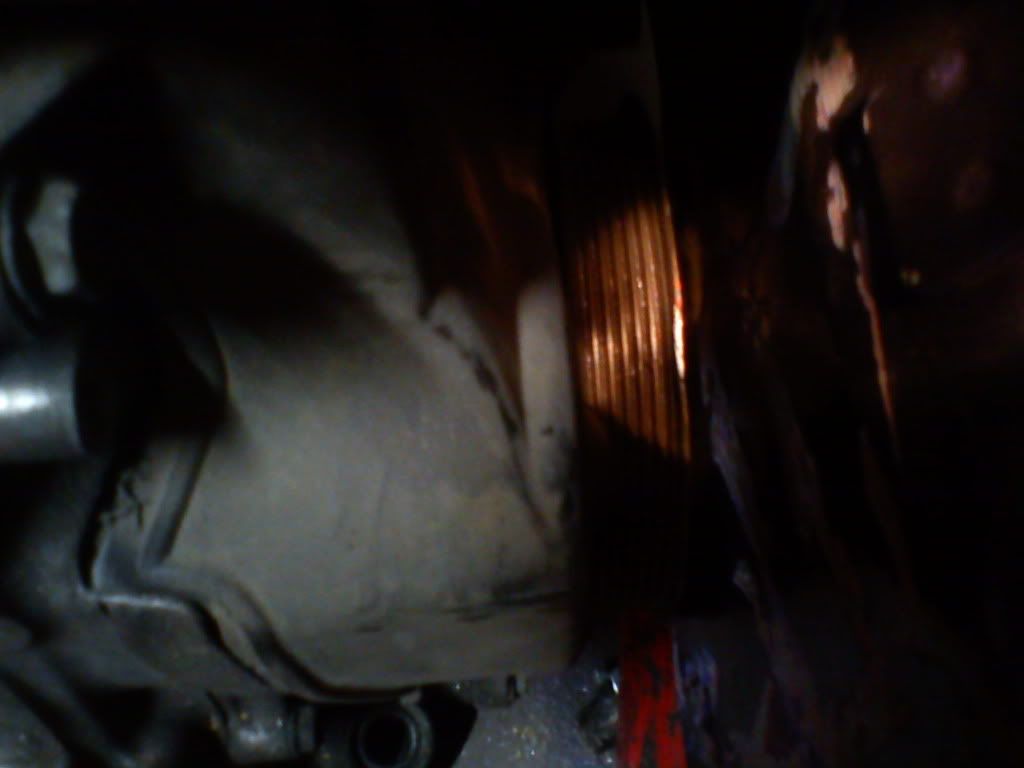
still a bit tight might need a few smacks of my american screwdriver
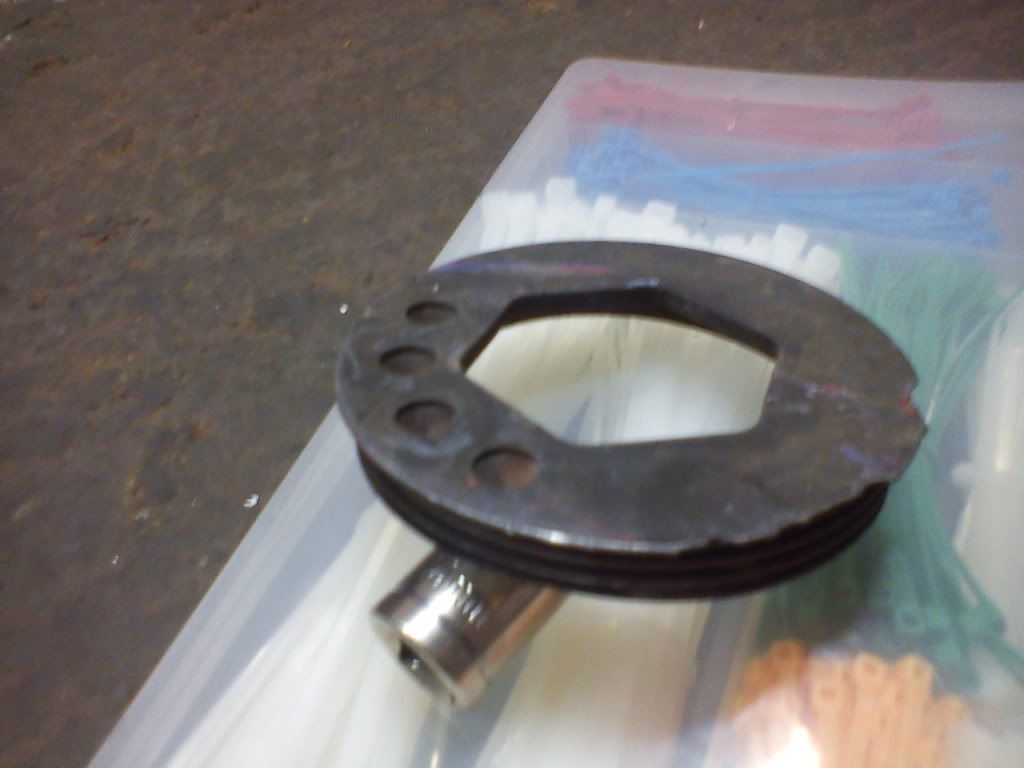
Pulley that i chopped off
Gearbox side still a bit tight might need some tweeking for clearance will know better when i can finally get the motor onto its mounts
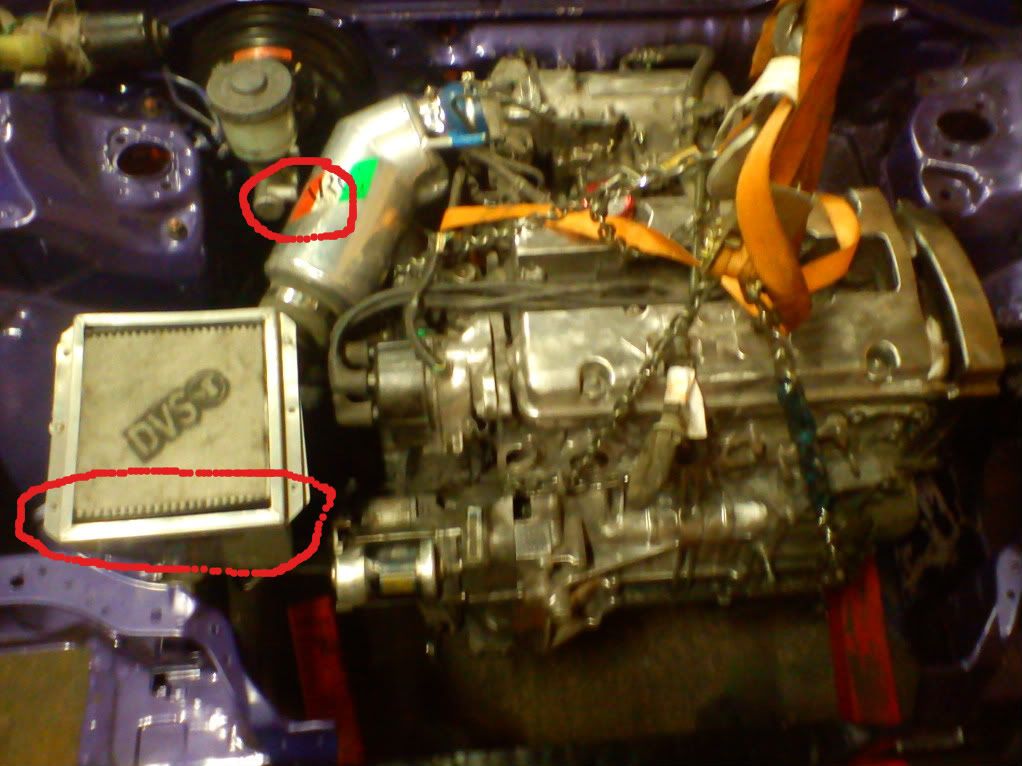
Wanted to check that the ARC fitted the inlet and the bay bit tight so not sure if i`ll use it as its hitting the brake master cyclinder and might need to skim the new mounting brackets which i`d rather not do
Highlighted the issues in the pic below hits at the back sits to high at the front
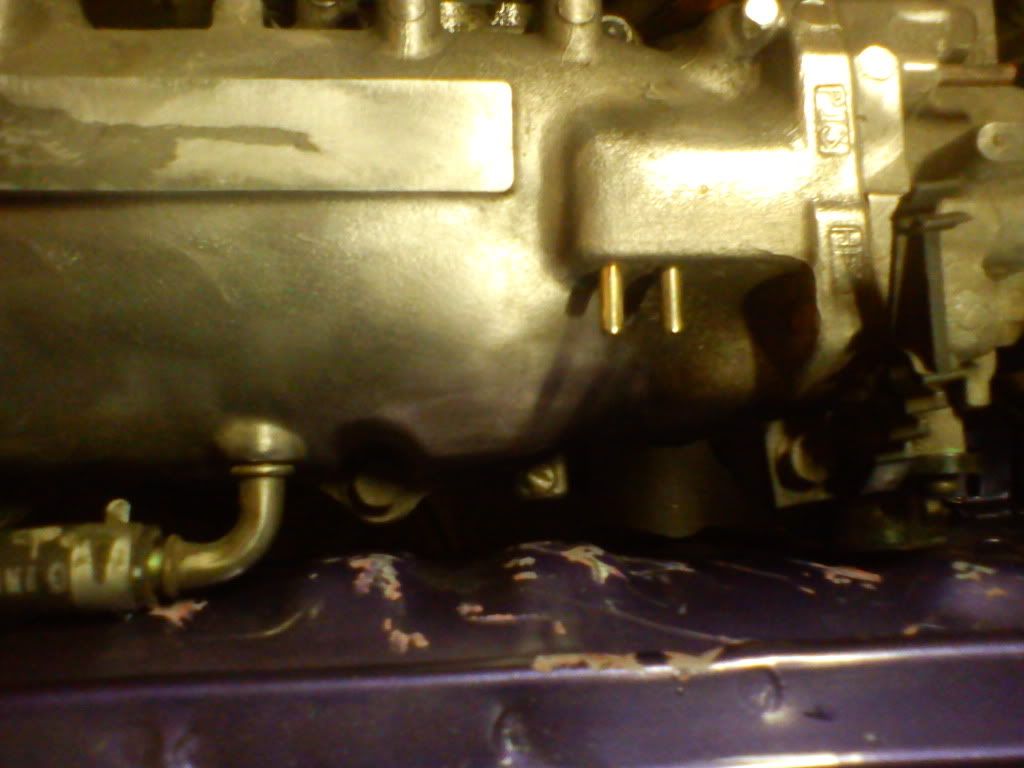
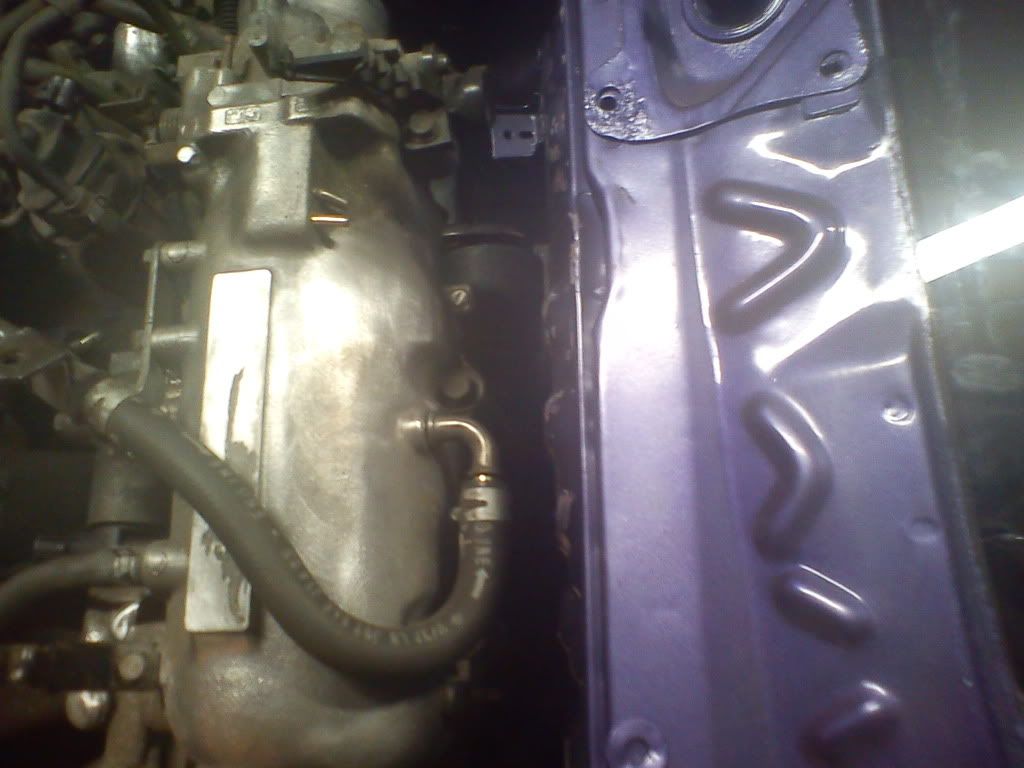
More clearance issues with the inlet mani tps sensor sits to close to the wall so does this tube might have to dent the rear wall didn`t want to but need to by the looks of it
Also took this pic so you`s can see the clearance issues with the bonnet and it still need to come up about another inch
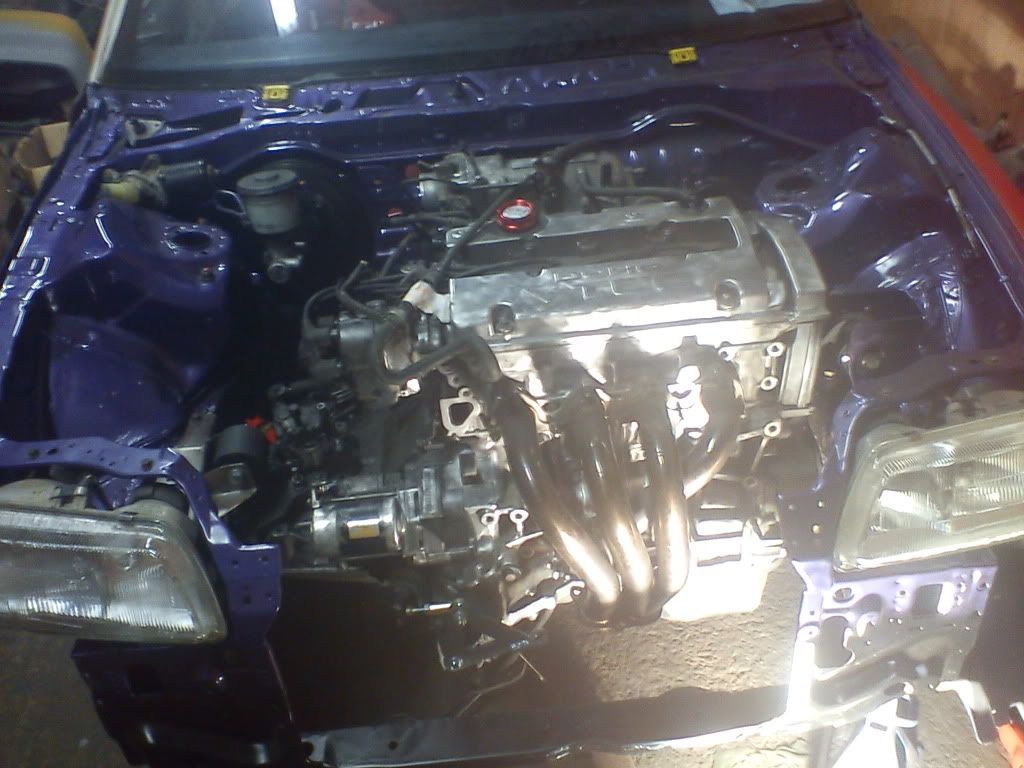
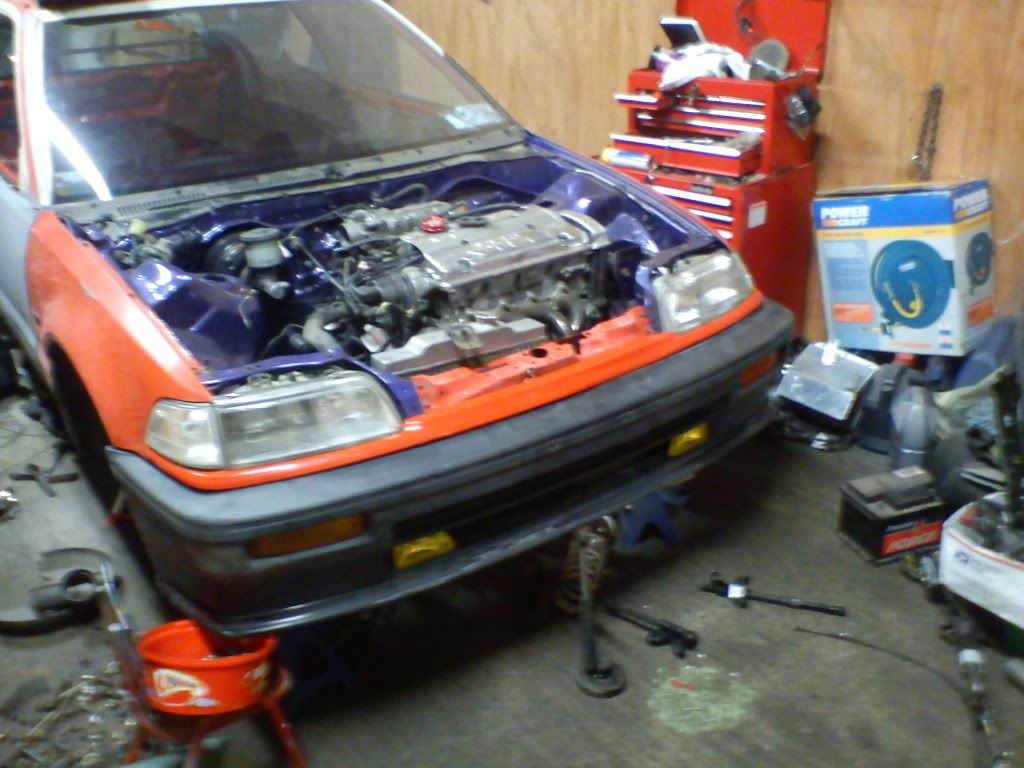
Finally got the motor on some of its mounts two side mounts attached to motor and the car like to say it was easy but it wasn`t so i wont so now its sitting in the right place can start sticking some of the parts back on the motor to see what's going to be a issue down the line so got the mani and head lights also free`d up an inch at the t,p,s on the inlet once it got onto its mounts
So next will be getting the rear mount into place with subframe attached and start the fun job of fitting the prelude dash into the ef should be fun
Finally motor on all three mounts and could move the crane out of the way and stick on rack and subframe its in with a few mm clearance in all places it was tight happy out some pics of it the proper position
Not sitting as high as i taught it would glad i went with the innovitive mounts over hassport ones ground clearance doesn`t look bad either
Well before i got stuck into the dash had a little play with the stock spoiler and gave it a little raise , what do you`s think few pics below
After putting it off and off time had come bb4 digi dash into th ec hatch :lol!: :lol!:
some pics of the progress
Mini update got my arc super induction box to work has to be mounted upside down but its in clears and looks funky so its staying
Then set about running the lume to the motor and figuring out what way it`ll have to run seems it came out of a prelude and its 3 times the size of the civics old lume
so many wires
So with the last bit of sound deadining to come out i started on that hate this stuff thank god its the last bit
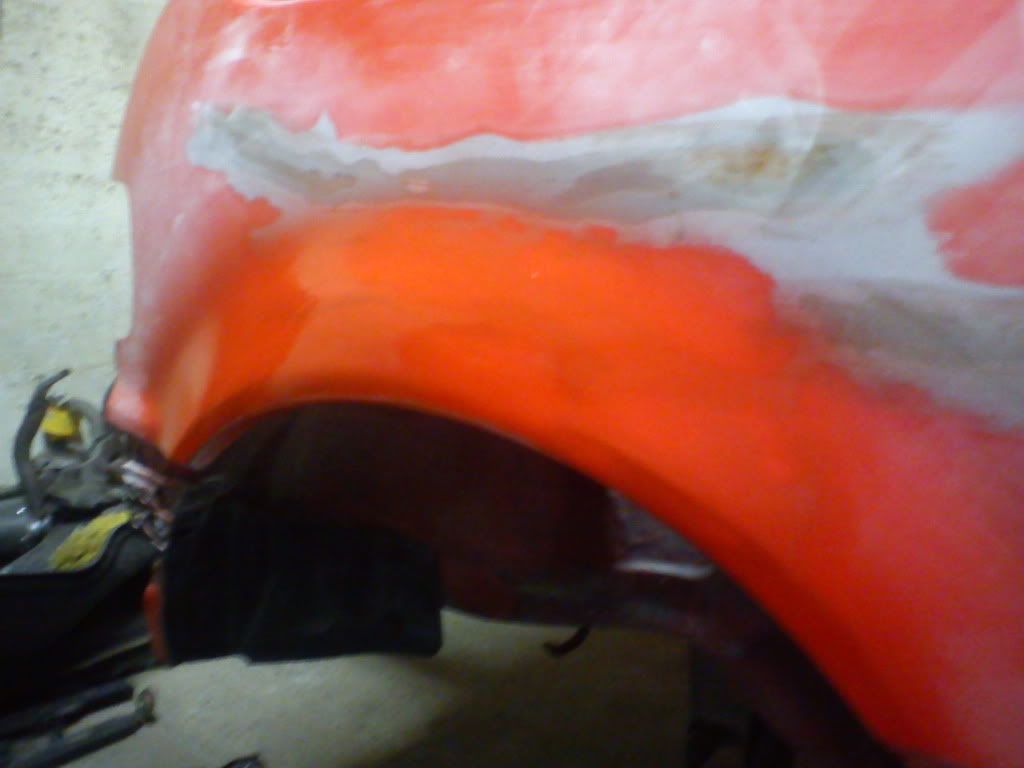
Then finished off the drivers side bodywork with a coat of primer after sorting the little dings from the last 20 odd years
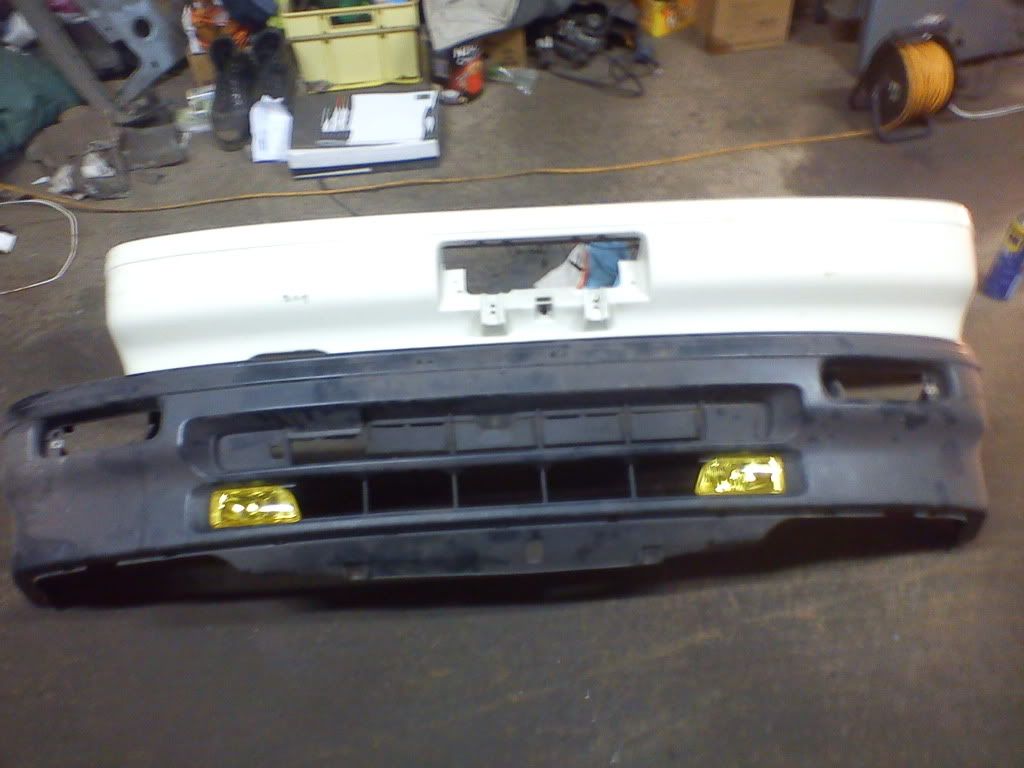
So while waiting for my welding mask and gas bottle to come back from my owl lad i started to build up the front end and smooth out the front lip i got of colin fitz fit the fogs to the bumper and and lip, So can get the front built so can see how slim line my fan will have to be anorexic me thinks
Filler bar and alloy half rad in place side lights back on
Built up the bumper still needs painting but most of prep is done on it
so stuck it on to see whats what on the rad front puller fan is a no no so slimline it has to be how slimline is a slimline rad i`v got an inch or so
Bonnet on next that should be fun and dont mind the rad bracket needed something to hold it in place
Start this later i reckon after i fit the bonnet and laugh at the gaps
Next comes bryans bodged sill repair not looking forward to that reckon i`ll just chop it out and replace with fresh steel tbh
Lots of little welding jobs to do so that list is next along with the sill on passanger side and inner arch, Weld in gear box mount and gear selector, Move rad brackets and lower an inch update as i go
Will update as i go with the build :thumbup: and get some pics of the camera as phone isn`t the best for detailed pics,Any comments and questions just ask :thumbup:
Plans for it are
performance:
h22a jdm with lsd box(m2b4)
F1 stage2 clutch pressure plate and stage 2 fly and Act 4 puk unsprung stage 2 disc
S/s 4-2-1 2.5
Power 8 8mm leads and ngk-r plugs
hamp with motull and mtf3
Cat back buddy club spec 3
Exhaust port
innovittive h series swap mounts with track inserts and innovitive cable to hydro
Short ram intake
blox magnetic drain plugs
type r oil cap
Denso rad +slimline fan with vision 1.3 bar rad cap
Raxel stage 2 h22 ef drives
Remapped + delimited + L/c
70 shot of nos
Shocks wheels brakes and handling:
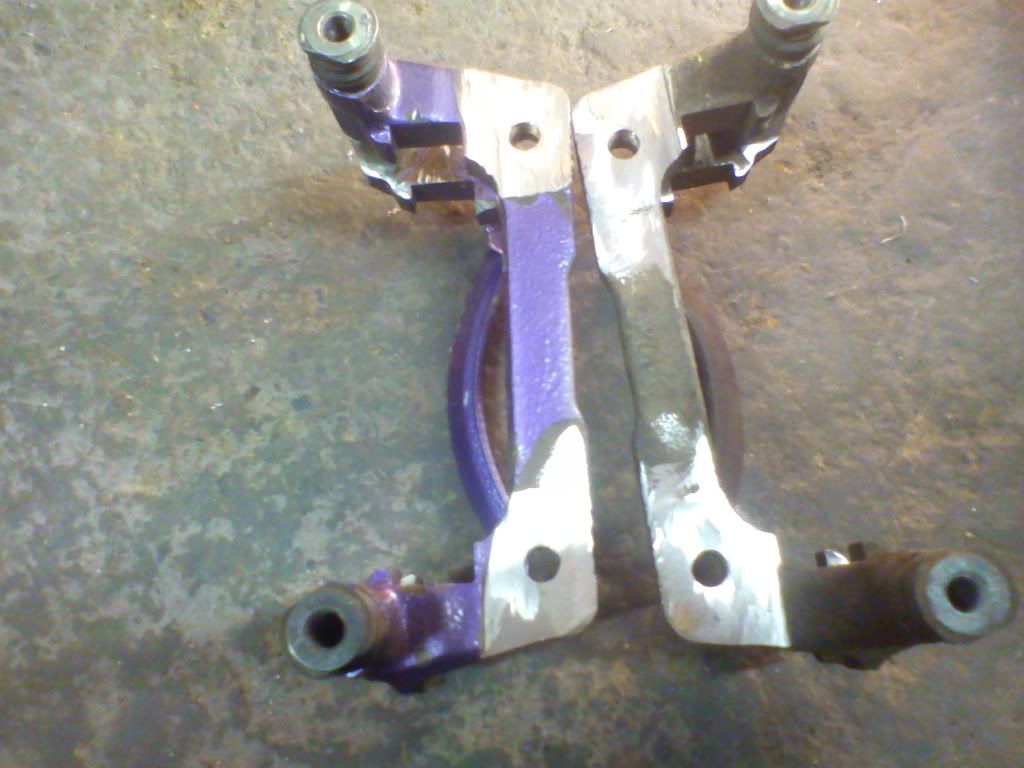
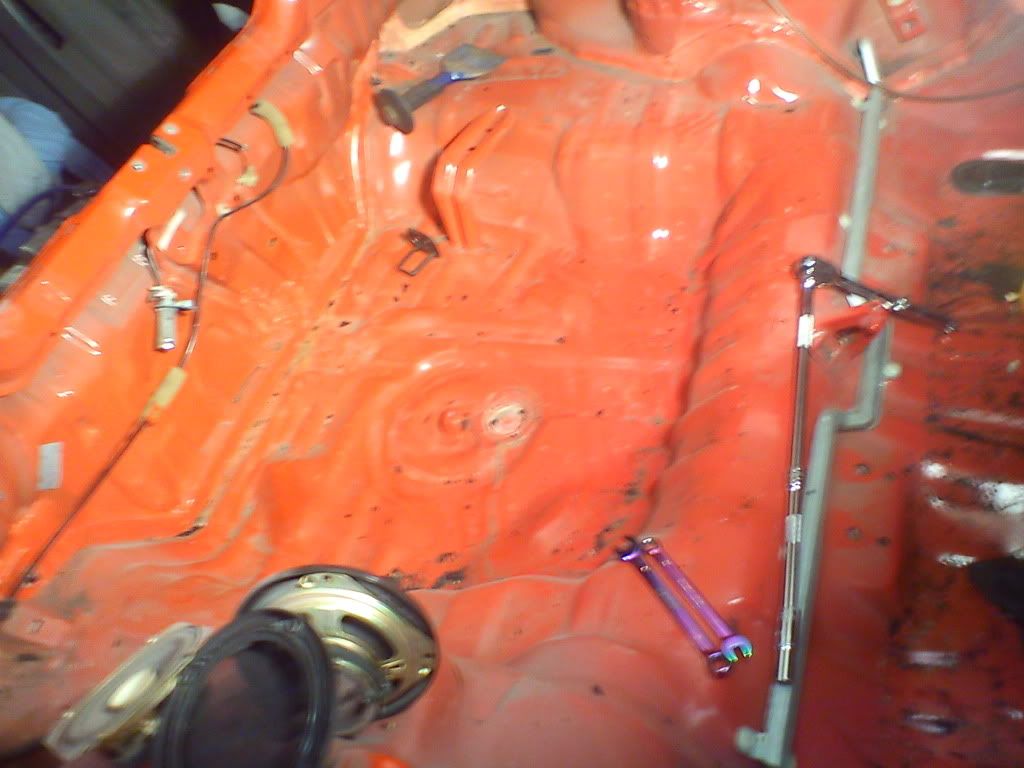
Jay`s power Adjustable camber arms all round
Keskin kt-4 `s 16inch x-7.5wide + 20mm front spacers and 15mm spacers on rears
Mtec 282mm grooved front discs on ef-9 hubs with 98 spec calipers and ebc red stuff pads + ef rear calipers + cables and yellow stuff pads with grooved discs
TnB Front upper strut , Chrome C pillar strut, Megan racing blue anodised Rear under strut and boot strut
Ef-3 front anti roll bar
ef-8 rear anti roll bar
prelude brake master cyclinder + new lines all around
E,S,P Traction bars
Ohlin`s all around on ebach springs
Bodywork:
Ef-9 Rear spoiler with chargespeed rep
Jdm Rear bumper
Ef-3 rear lights
Jdm front facelift bumper with ef-9 lip all amber corners
Yellow fogs - to be found
Raised bonnet not by choice has to be raised to clear motor
EK-9 chargespeed skirts modded to fit
Oem ef-3 electric folding mirrors
hopefully wind deflectors and a indigo recess one can hope
Respray interior and exterior championship white
Interior :
Dc-2 Black recaros
omp swede deep dish 350mm wheel
Razo pedals
BB-4 prelude digital dash
prelude center section + armrest
Ef carpet with ek-9 mats up front and da-6 honda access rear mats
Gathers graphic equalizer + pionner head unit + 1000w worth of speakers
Ome plastics and door cards from Dx + chrome window winders
Prelude shifter box + ctr gear knob
Say i`m leaving loads out but theres a load to list so to be exspected
Doing all the work my self from running gear to painting the shell so wish me luck :lol!: :lol!:
copied this from my thread onwww.honda-haven.com update and fix as i go with the build