What Engines In The Ef2?
And What Will You Be Doing With it once it comes out?
Love your Car man!
Wheels make it!
Project EF2 - Rebirth!
-
Colin_D13B
- Lvl4 Nos Enhanced Poster

- Posts: 907
- Joined: Sat Feb 14, 2009 7:42 pm
- Location: IRELAND


Not many updates, just trying to sort the GL out for the Winter (MOT an all that)
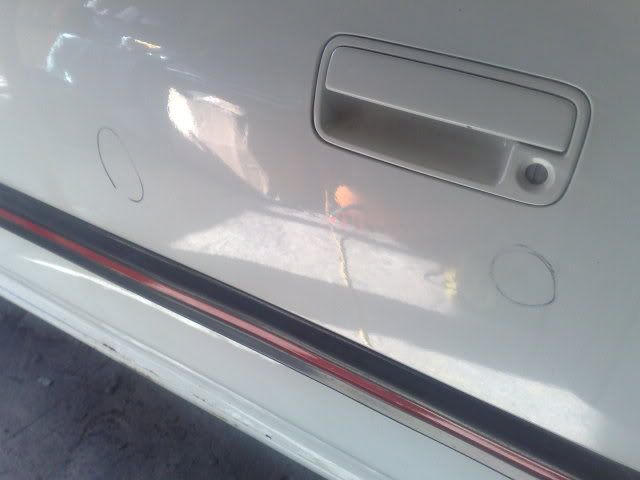
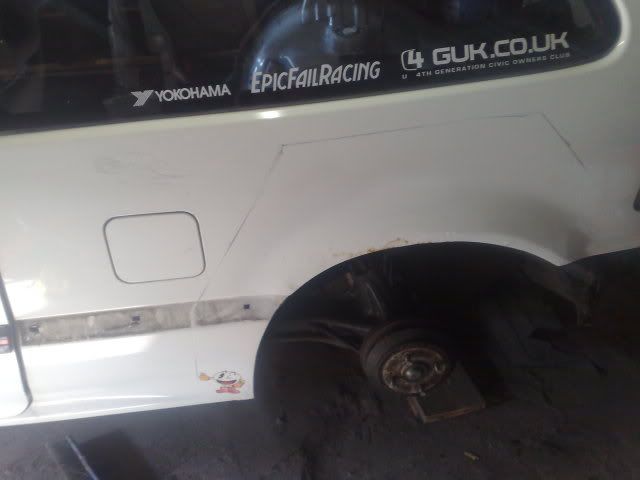
I got busy with a marker pen, Circled any Pin-Dents in the doors, any areas that needing sorting, lined up the new arch and marked where it needed to be cut.
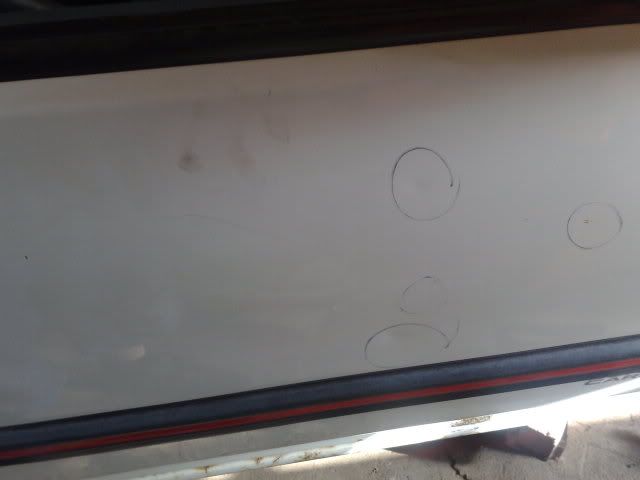
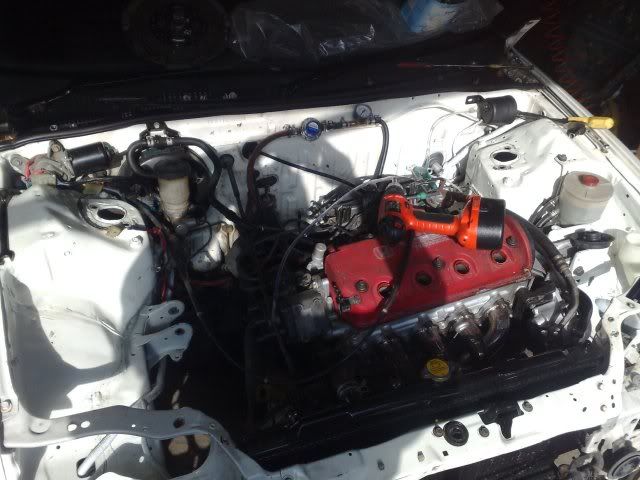
Also started to removing some bits from the engine bay also, Engine should out this week, so i can start on that all important engine bay
Found a few more areas that need attention (welding), Going to cut the Passenger floor section out of the EE9, as its quite solid (the bit i need anyways), cut the rotten floor section out the EF2, replace accordingly!
I got busy with a marker pen, Circled any Pin-Dents in the doors, any areas that needing sorting, lined up the new arch and marked where it needed to be cut.
Also started to removing some bits from the engine bay also, Engine should out this week, so i can start on that all important engine bay
Found a few more areas that need attention (welding), Going to cut the Passenger floor section out of the EE9, as its quite solid (the bit i need anyways), cut the rotten floor section out the EF2, replace accordingly!
1988 RT4WD Shuttle - Supercharged, VTEC Swapped Track Toy.
1988 RT4WD Shuttle - Lifted Daily Beater.
1988 RT4WD Shuttle - Lifted Daily Beater.

I would, but i wouldnt be saving, in my view, a Rare EF2 Shell, Afterall, we all come here thinking we all have EF9's (I thought my EC8 DX was a EF9 LOL!), To find out there not, its not quite an EF9, its an EF2, But its a less Sought after Chassis IMO, Making it Rarer!
1988 RT4WD Shuttle - Supercharged, VTEC Swapped Track Toy.
1988 RT4WD Shuttle - Lifted Daily Beater.
1988 RT4WD Shuttle - Lifted Daily Beater.
-
widowmaker

- Moderator

- Posts: 8097
- Joined: Wed Jul 04, 2007 10:46 pm
-
widowmaker
- Moderator
- Posts: 8097
- Joined: Wed Jul 04, 2007 10:46 pm
Just a tip regarding the rear wheel arch.
You don't have to use all that they provide, it could be making work for yourself.
Where it joins into the rest of the rear quarter is quite an expanse of flat smooth metal. Filling the join invisibly will be hard after the welding, as well as being more suseptable to heat warp from the welder.
I normally mark an area that the leaves as much original good metal as possible, and cut the repair panel to suit. Remember if you cut the panel wrong you can get another panel, if you cut the car wrong you have a headache. You'll need to let some spare metal in to make up the gaps. More possibility of heat warping and more filler to cover. Butt weldings the best finish and you can get butt welding clamps from FROST automotive, but if you prefer the flexibility of a lapped joint and do cut the panel to suit only rusted setions, get a joddling tool, also known as an edge setting tool also from FROST. I have one and its invaluable.
I hope I'm not teaching grandma to suck eggs so to speak, but when welding the panel on, do 2 - 3 inch runs starting with a bit in the centre, cool it with an air line if possible, then a run to end of the panel to the left, then the right and keep the sequence until the welds all meet.
This deosnt concentrate the heat all in one place, and stops the panel from warping if you start at one end until you get to the opposite side.
I'm loving this thread by the way, keep up the good work.
Stu
Ive no clue how to weld, but thats how i was going to do it, Tack it on in sections, of spaces 2" Apart, then another tack inside each 2 inch gap, leaving a section of 1" gaps to weld up at the same time if you get what i mean?
Good tip regarding the panel, ill cut it to suite
Good tip regarding the panel, ill cut it to suite
1988 RT4WD Shuttle - Supercharged, VTEC Swapped Track Toy.
1988 RT4WD Shuttle - Lifted Daily Beater.
1988 RT4WD Shuttle - Lifted Daily Beater.
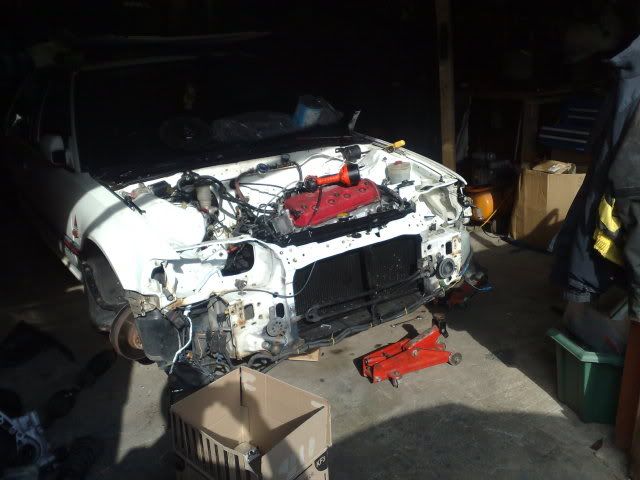
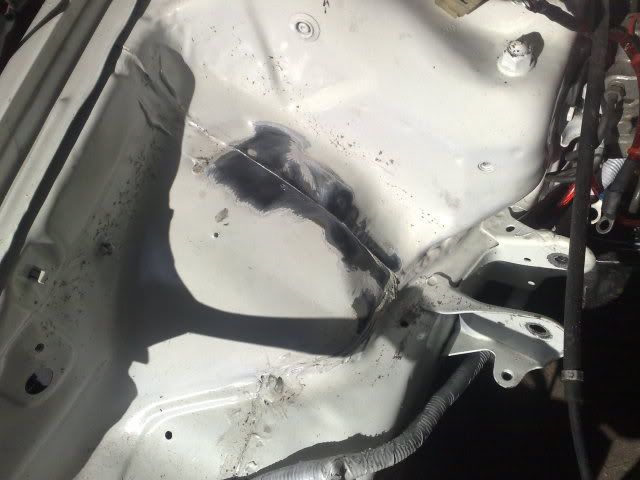
Still not done much...Removed some Odds and sods out of the engine bay as ive been going along, i also got a 3" Knotted Wire Brush cup for the grinder, made EASY work of the seam sealer! (Circa 10 seconds this took me!  ) So much for a Pig of a job
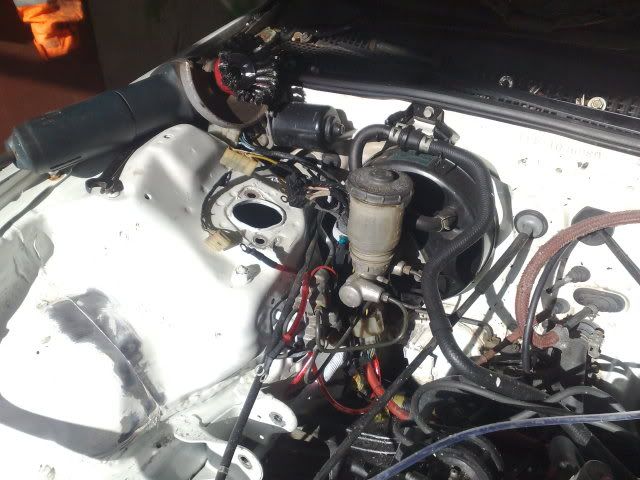
And a shot to remind me of the mess i will of hidden eventually! look at it!
Dont worry, youll only see the MC and the Wiper motor there soon!

And a shot to remind me of the mess i will of hidden eventually! look at it!
Dont worry, youll only see the MC and the Wiper motor there soon!
1988 RT4WD Shuttle - Supercharged, VTEC Swapped Track Toy.
1988 RT4WD Shuttle - Lifted Daily Beater.
1988 RT4WD Shuttle - Lifted Daily Beater.
