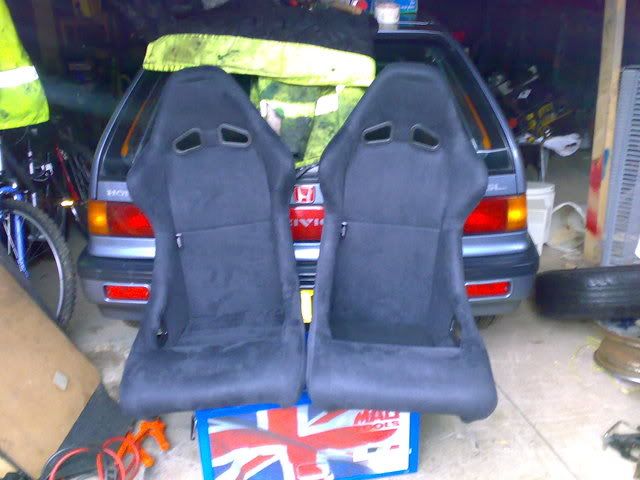
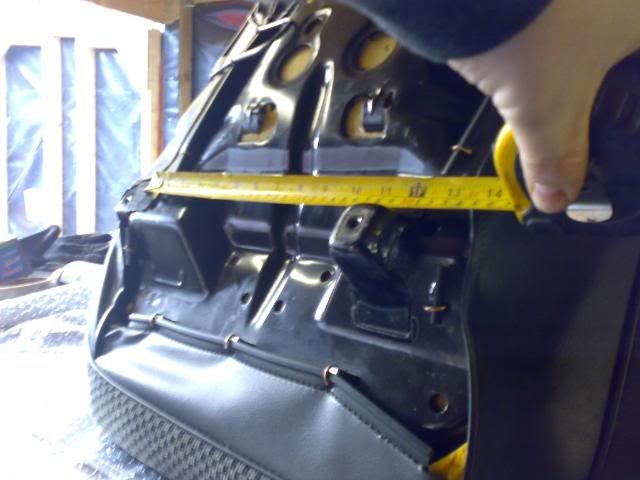
Anyways! first of, i removed the OEM seat, then removed the rails, i measured the distances between the holes were the rails bolt to on the underside of the seats, and drotted down the measurments
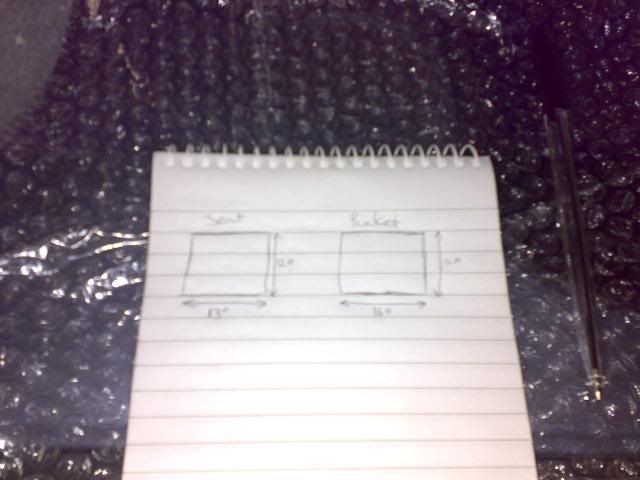
I then got some Nice thick steel, and cut 2 lenths to fit the Bucket Seats, these lenths are what the rails will bolt to, the lenths were 16" long, the rails were 13" apart, afterwich, i gave the lenths a quick coat of gloss black to protect them
(at this point, forgot to take meaningful pictures, DOH!)
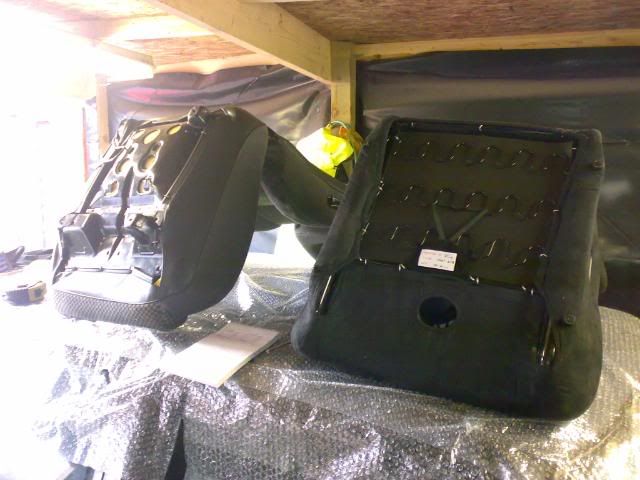
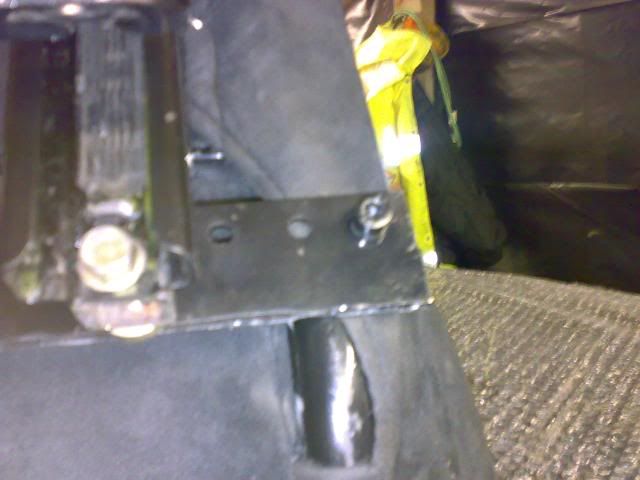
the left side rail, directly bolted to the seat after a bit of drilling to elongate one of the holes at the front so it directly bolted to the left side of the bucket seat.
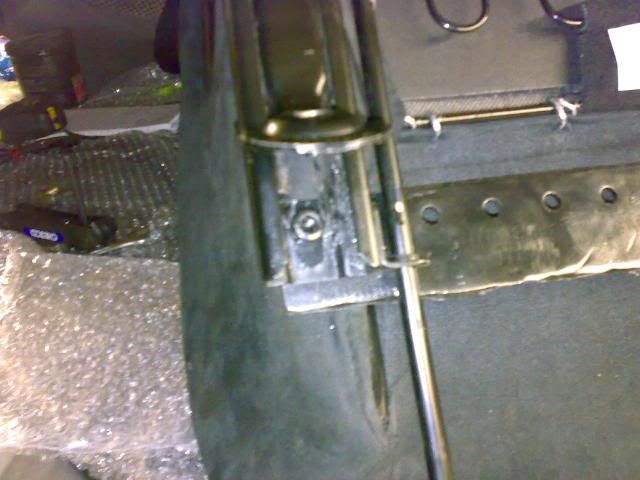
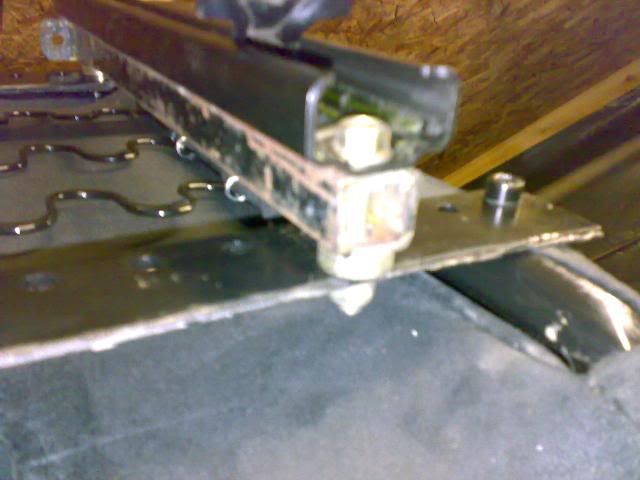
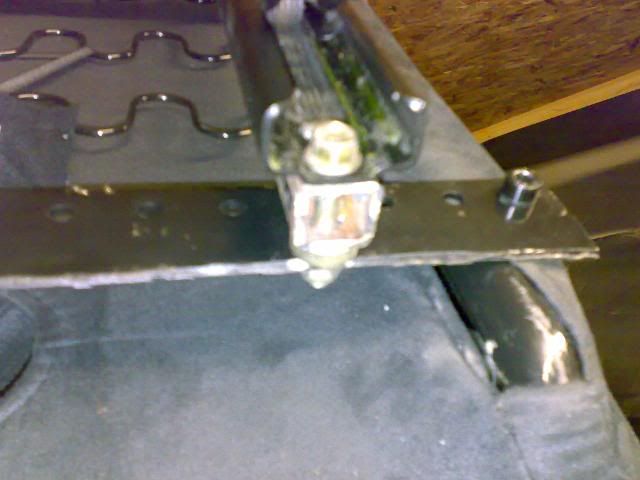
The right side rail sits roughly, 1.2"s below the left side, so, we dug out some inch box section, and cut it to lenth, and positioned it 13"s on the steel lenths from the left side rail, then sandwiched it, as we bolted the rail to steel lenths (Anyone confused yet? at this point, i remembered to take images!)
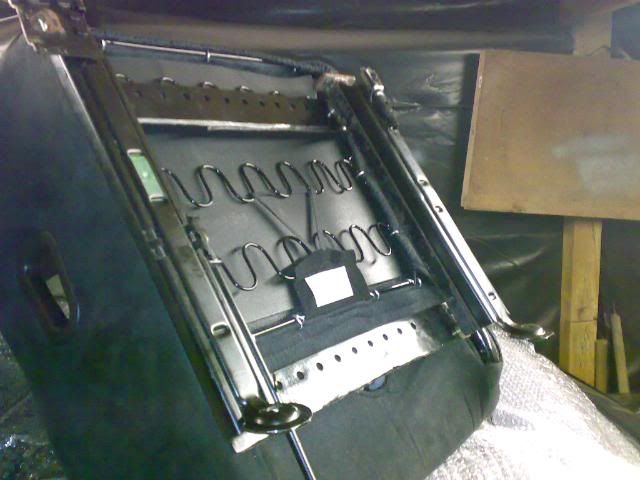
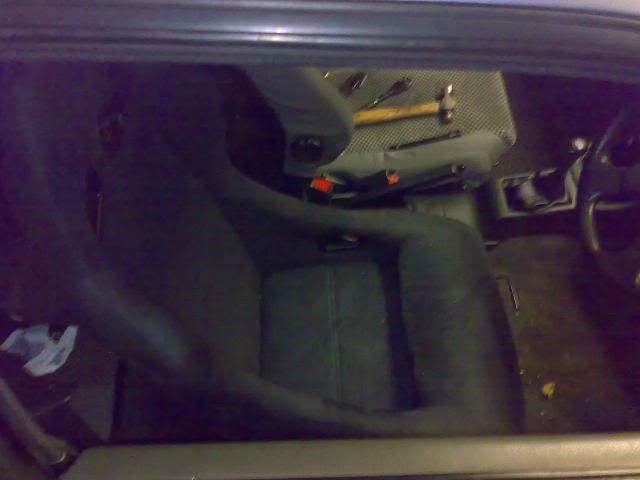
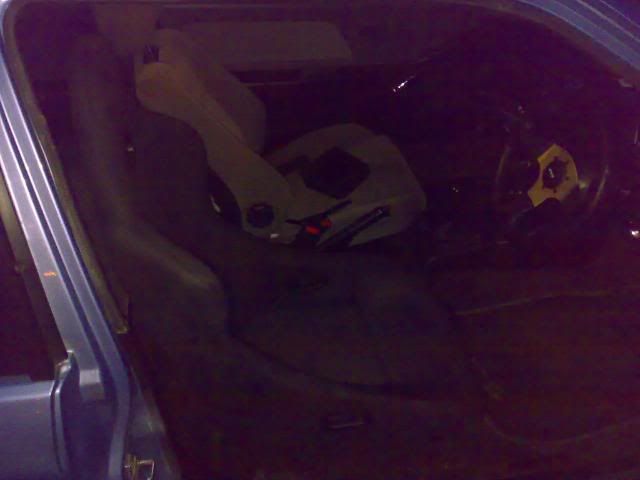
There we have it! the perfect bodge job till i can find some proper subframes! i test fitted it to my GL in the garage (Pictured) and with a tiny bit of force to warp the whole thing, it fitted, then it bolted strait into the DX no hassles! Perfect!